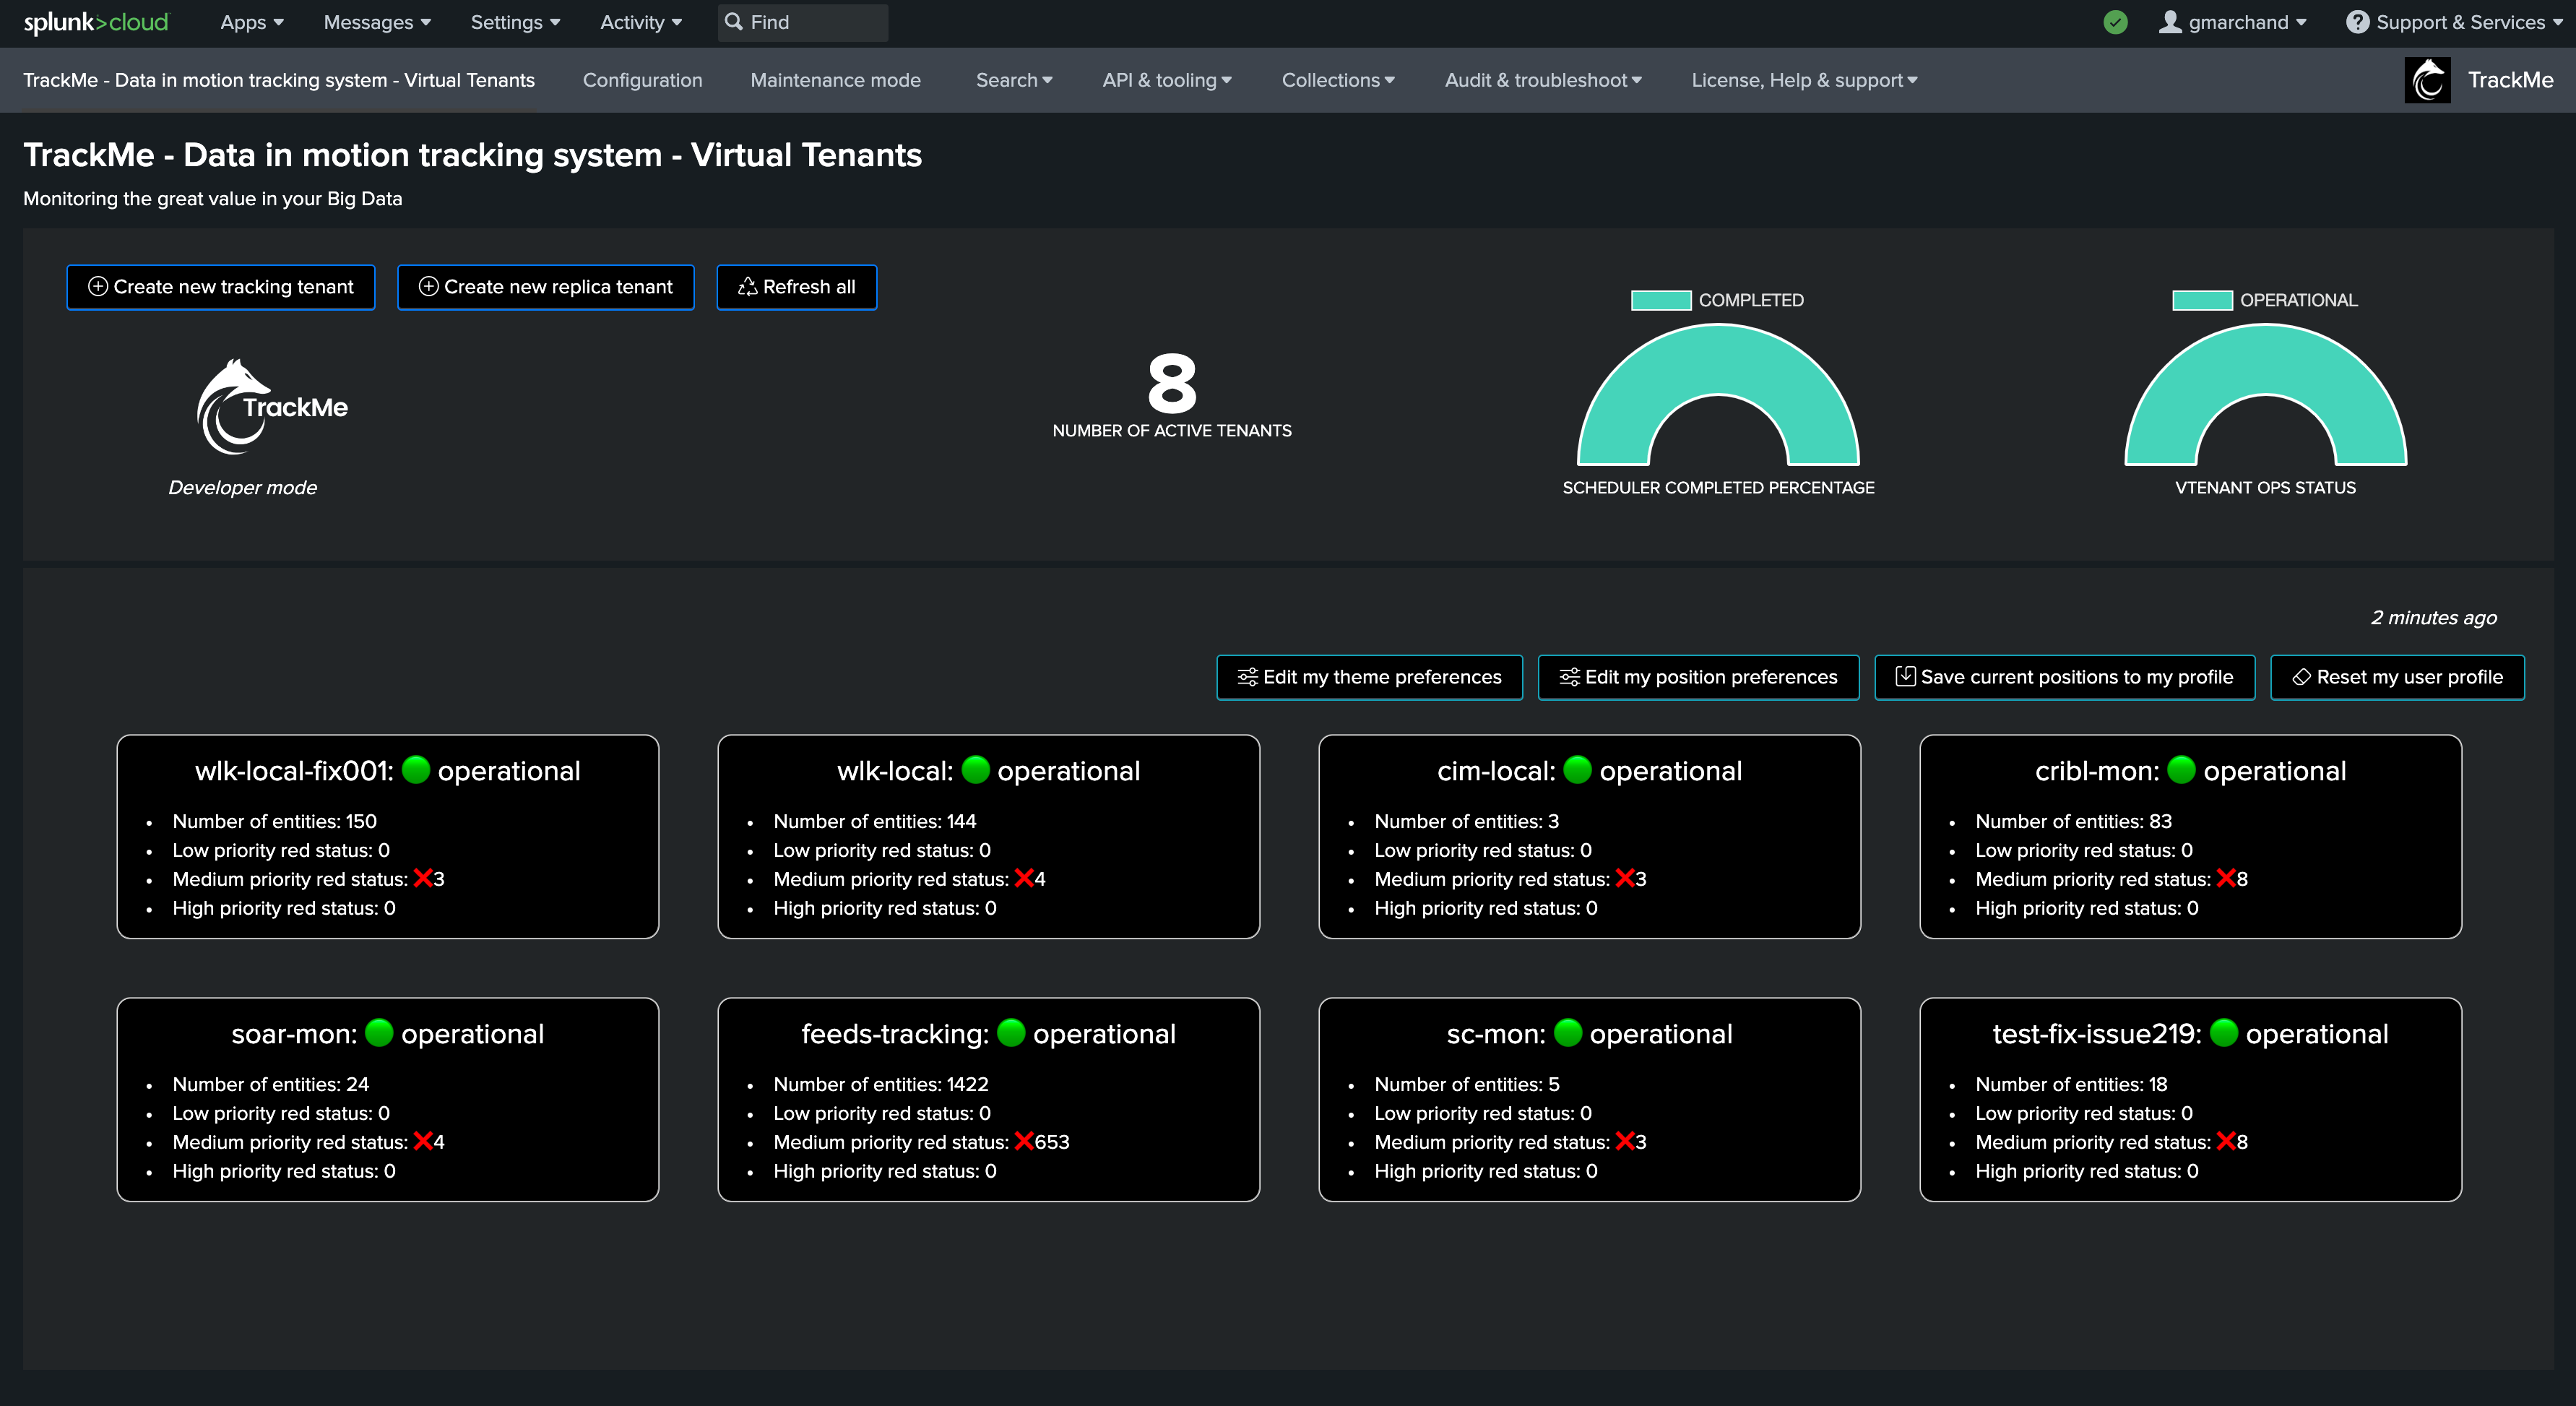
Manage Virtual Tenants
Access a Virtual Tenant
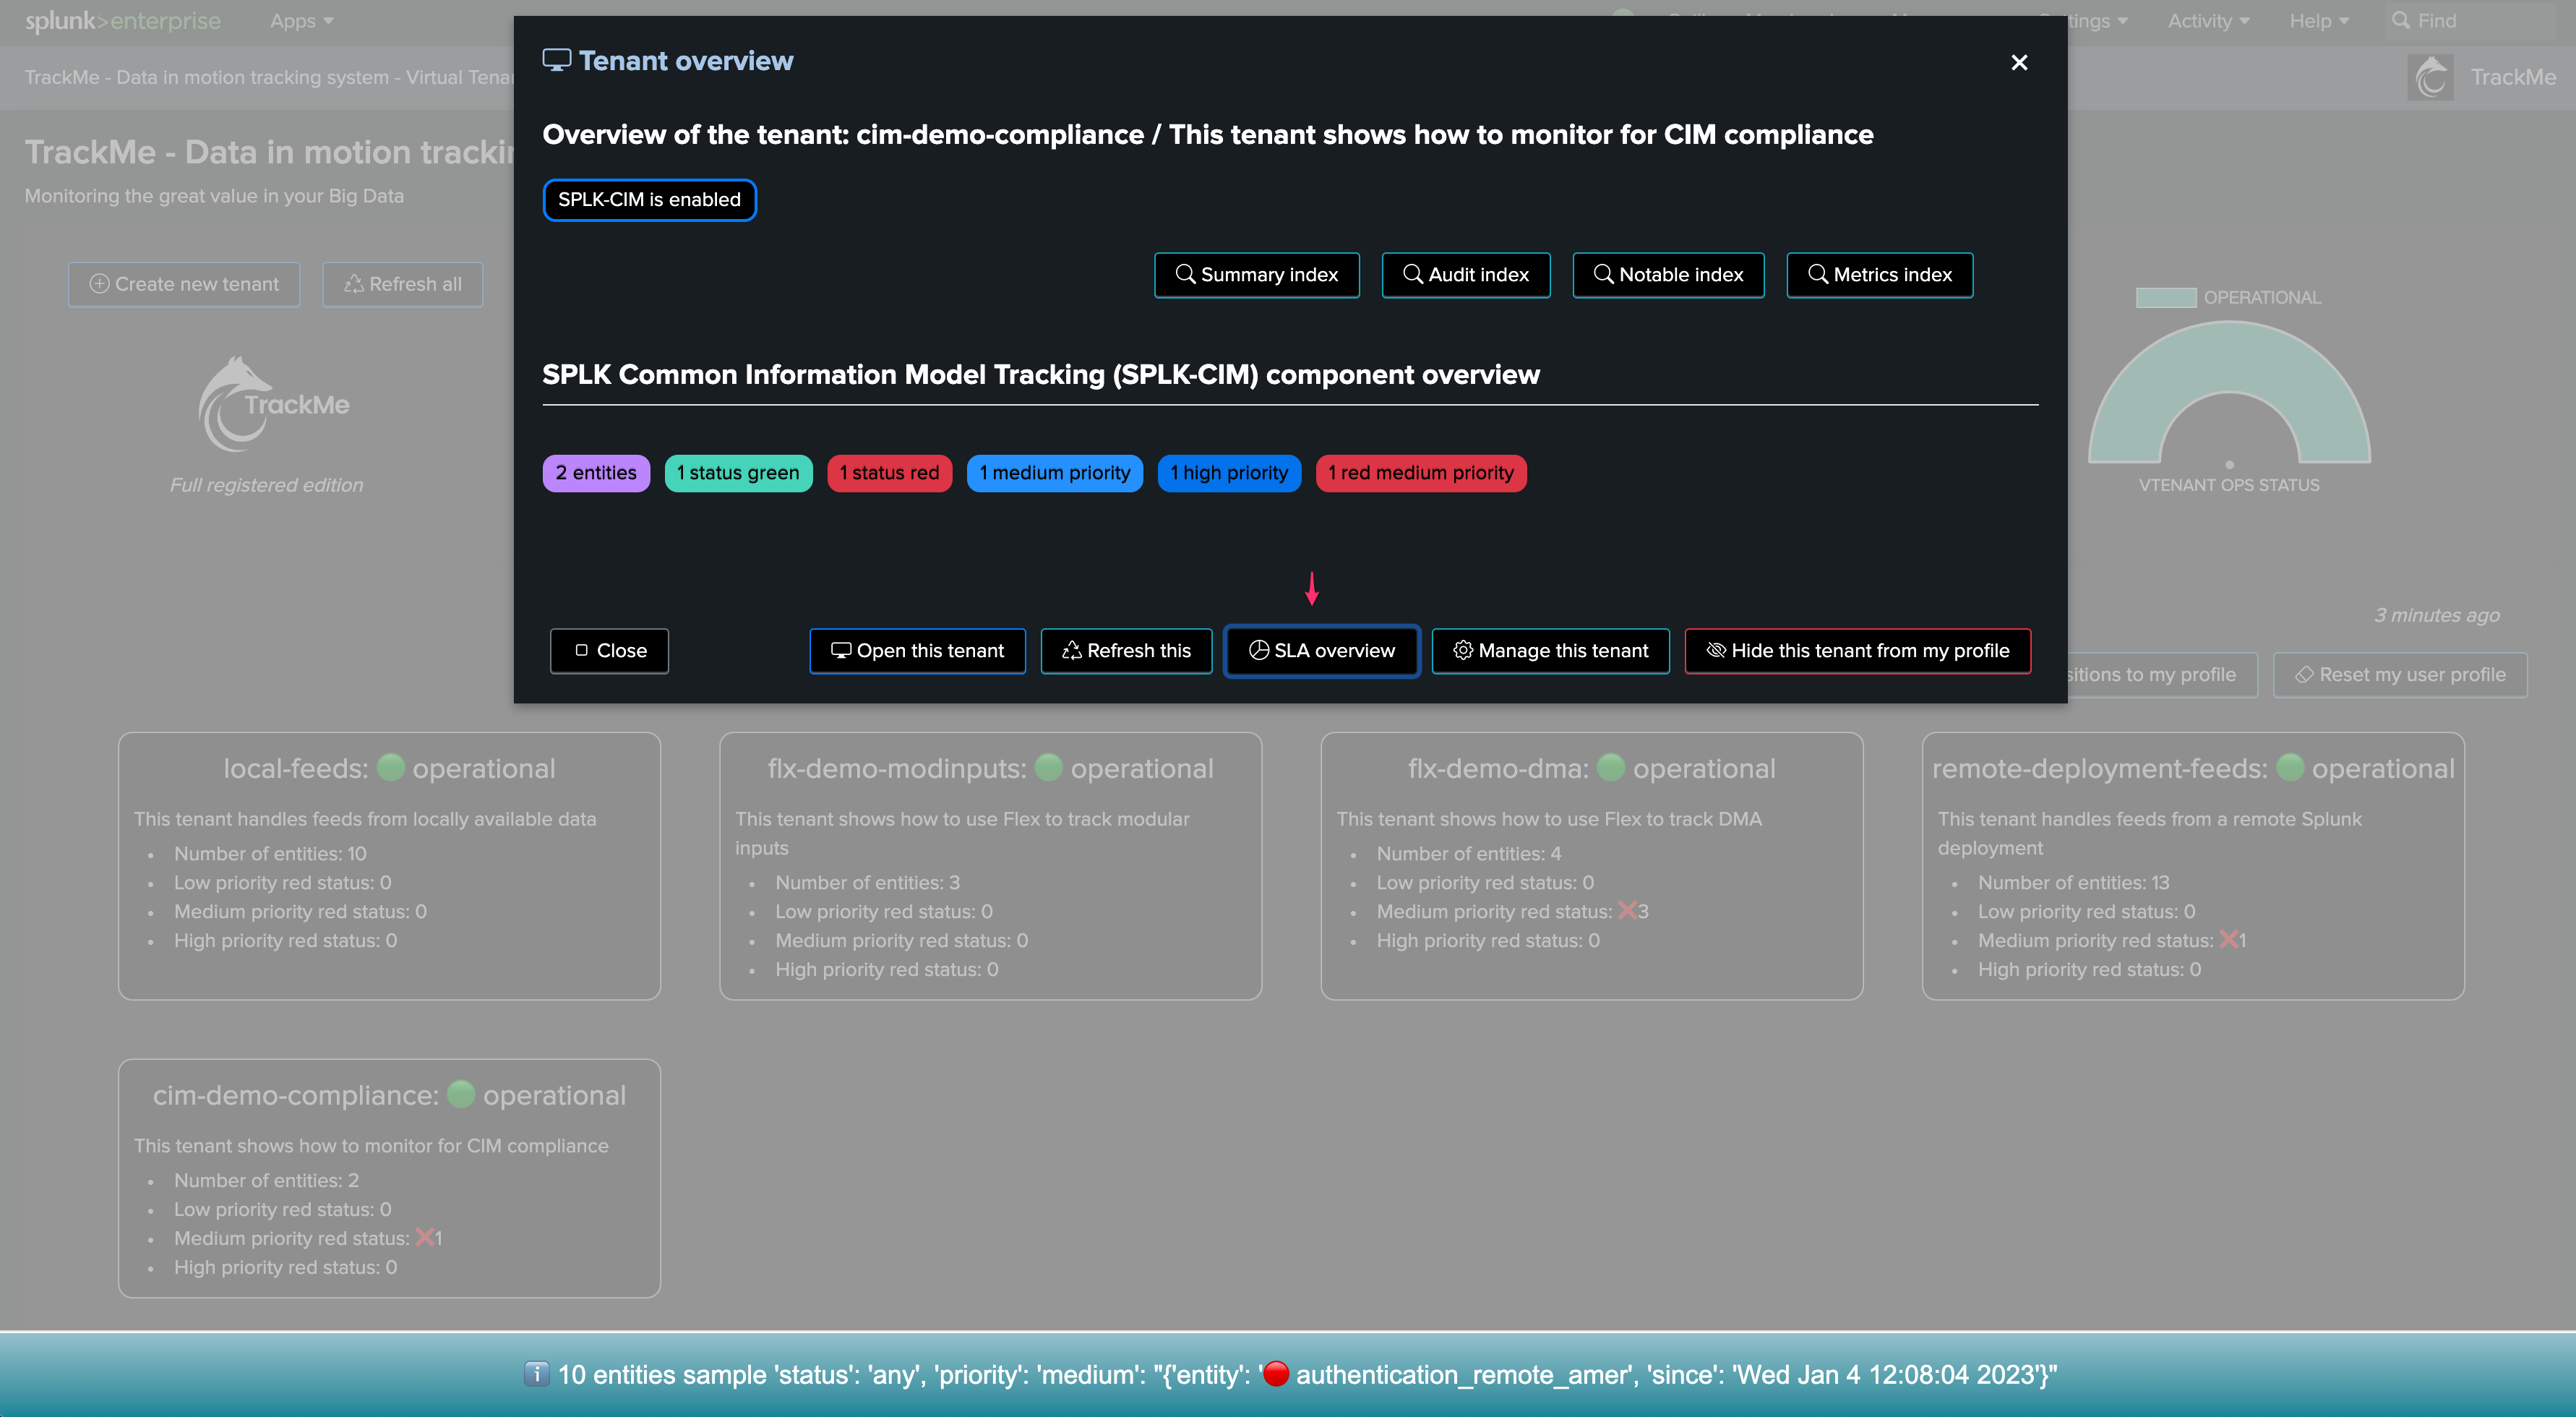
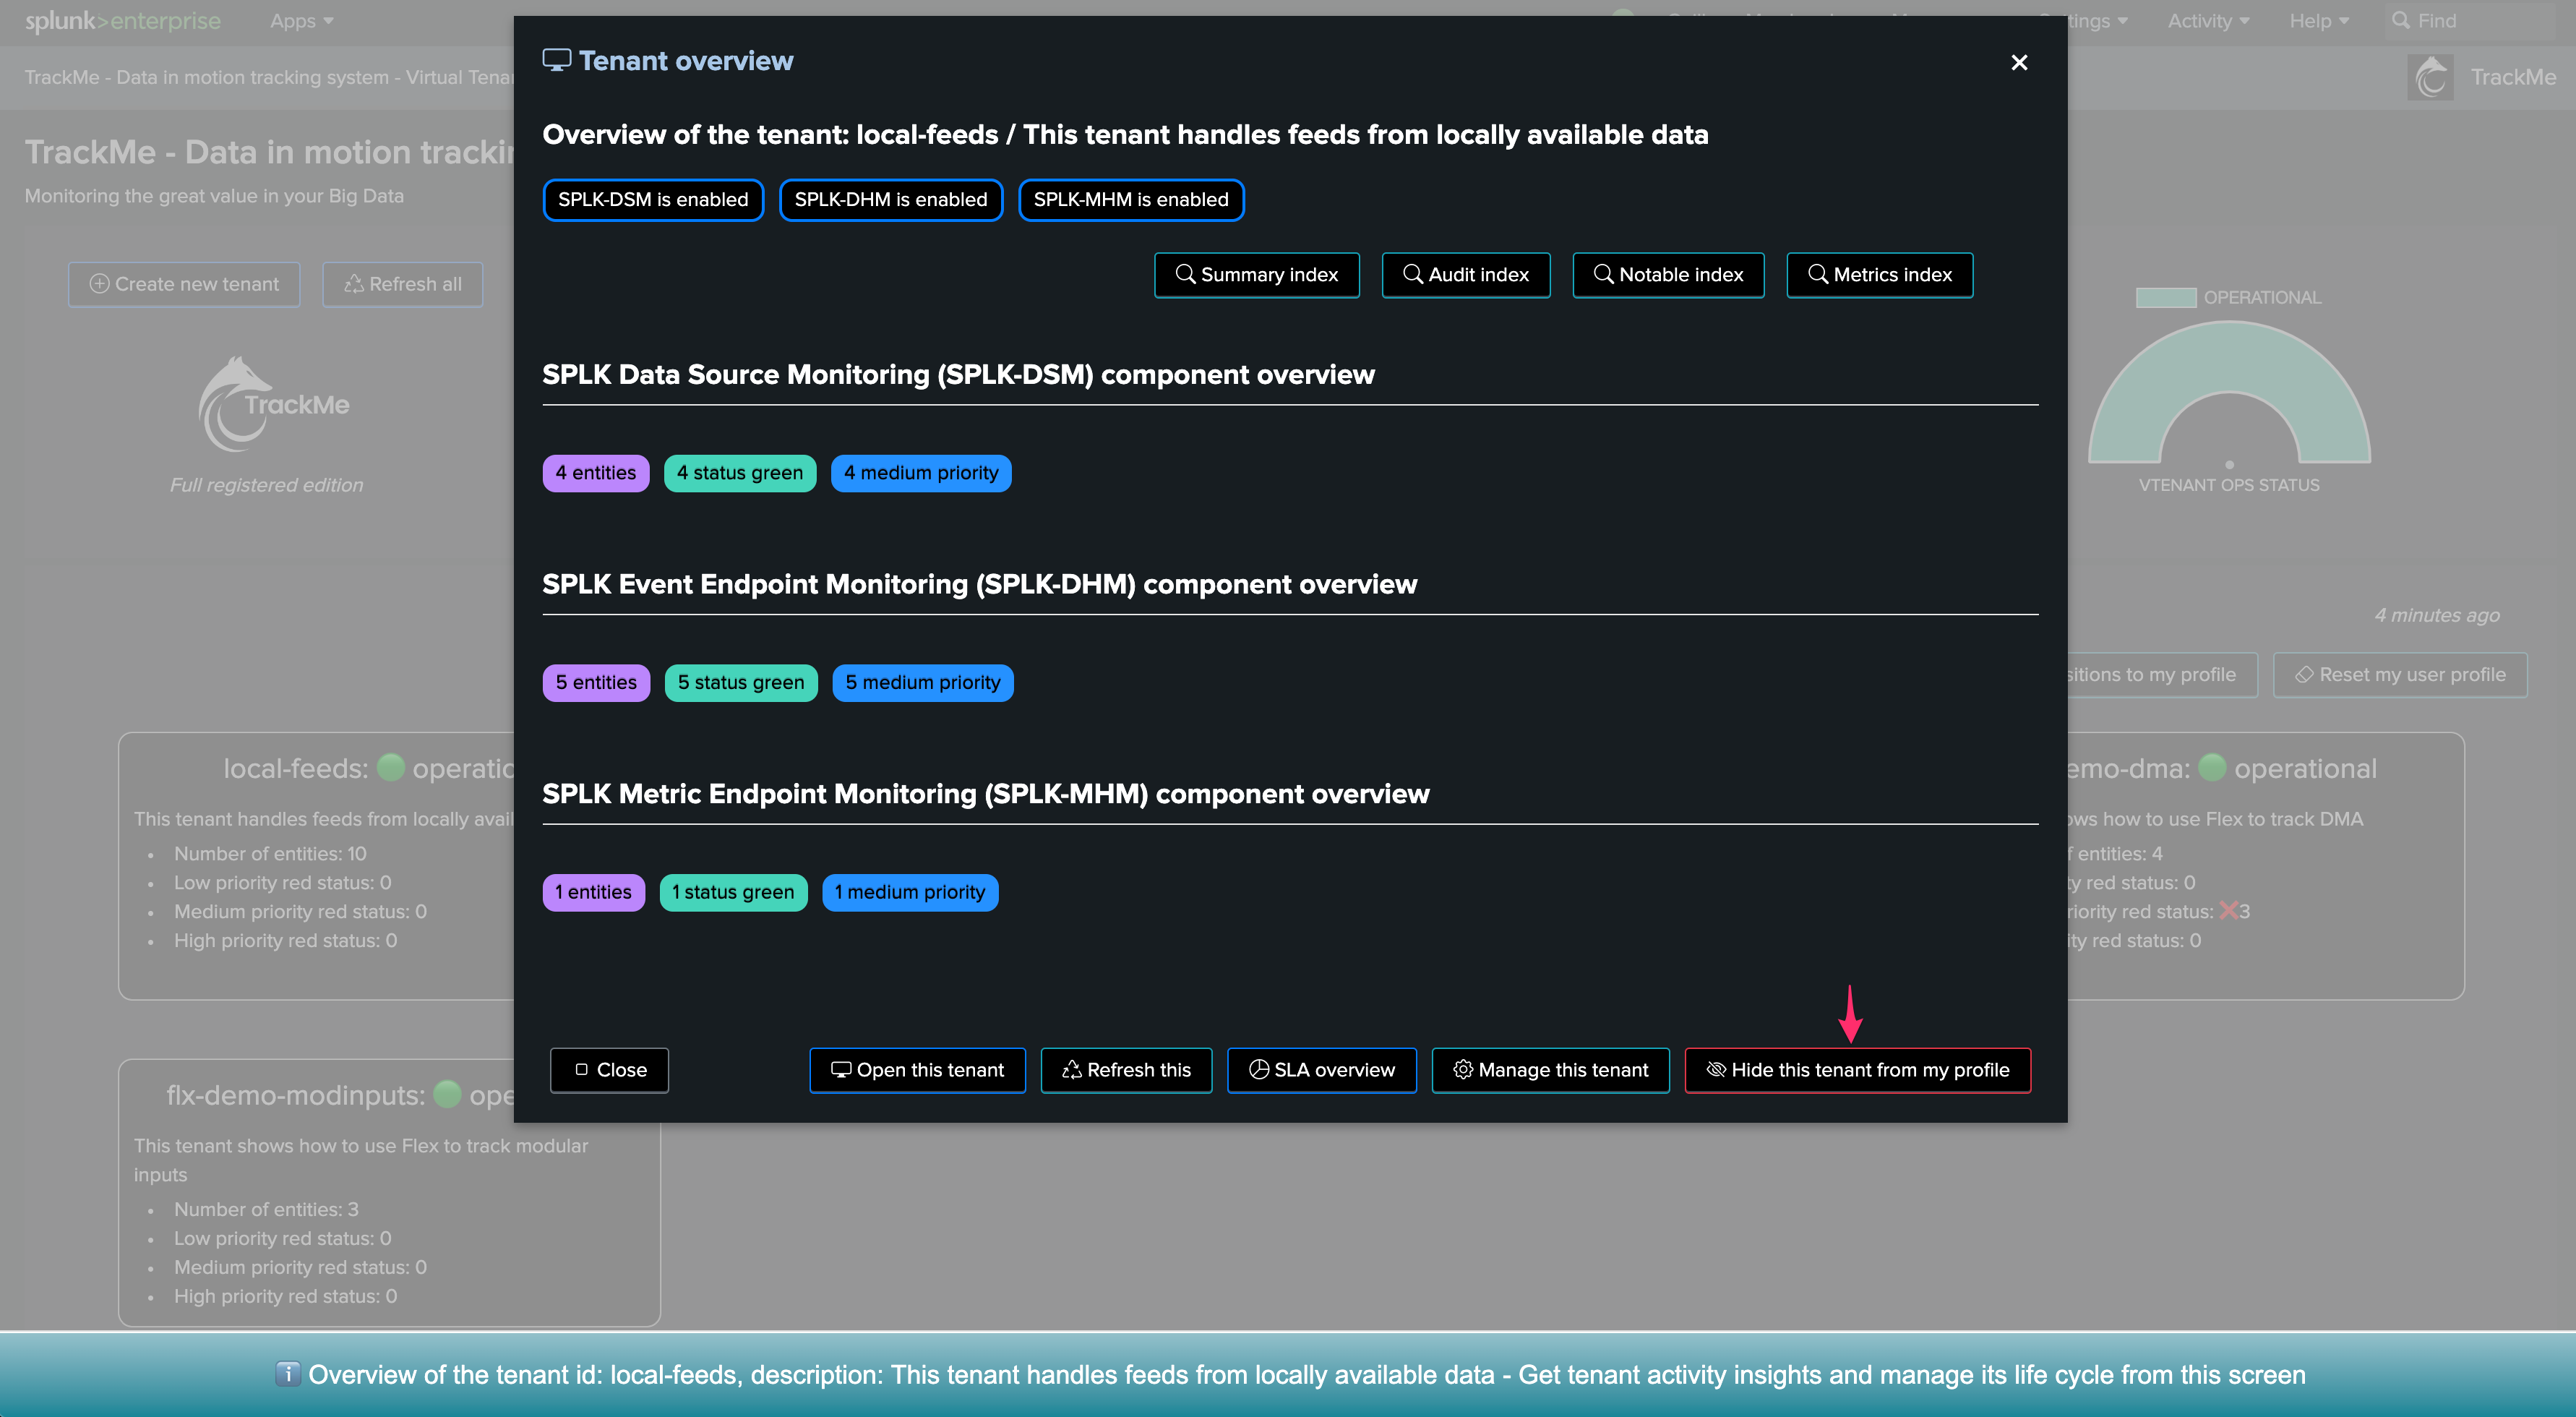
To manage the life cycle of a Virtual Tenant, double click on the tenant from the Virtual Tenants user interface:

From this screen, you can:
Open the Virtual Tenant user interface
Refresh the Virtual Tenant entities information
Access the SLA dashboard for this Virtual Tenant
Access to the Virtual Tenant management options
Hide this Virtual Tenant from your personal profile
Access to any of the Virtual Tenant indexes easily
Managing a Virtual Tenant
When accessing to the Virtual Tenant management:
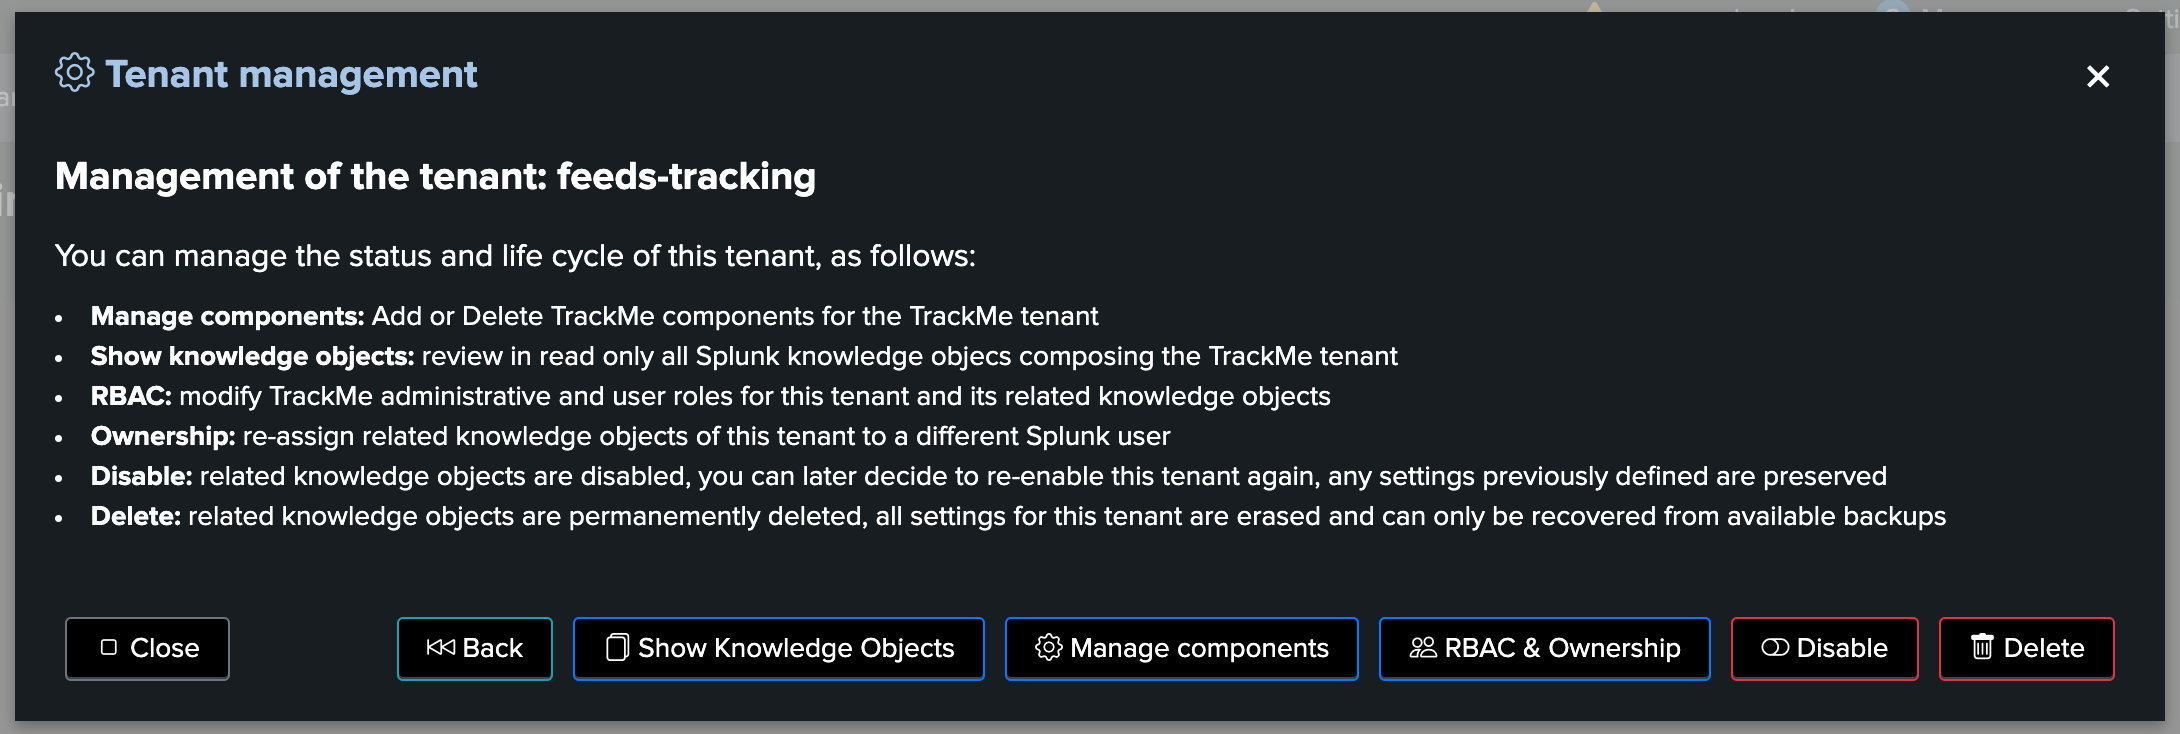
From this screen, you can:
Access to the Knowledge Objects explorer for this tenant
Modify components enabled in the tenant (add / delete tenants)
Update the RBAC policies and ownership
Disable this tenant and all of its related Knowledge Objects
Permanently delete this tenant and all of its related Knowledge Objects
Knowledge Objects Explorer
This screen allows you to easily get the full list of Knowledge Objects and their types for that specific tenant:

Click on Open in search to access through the Splunk Search user interface:
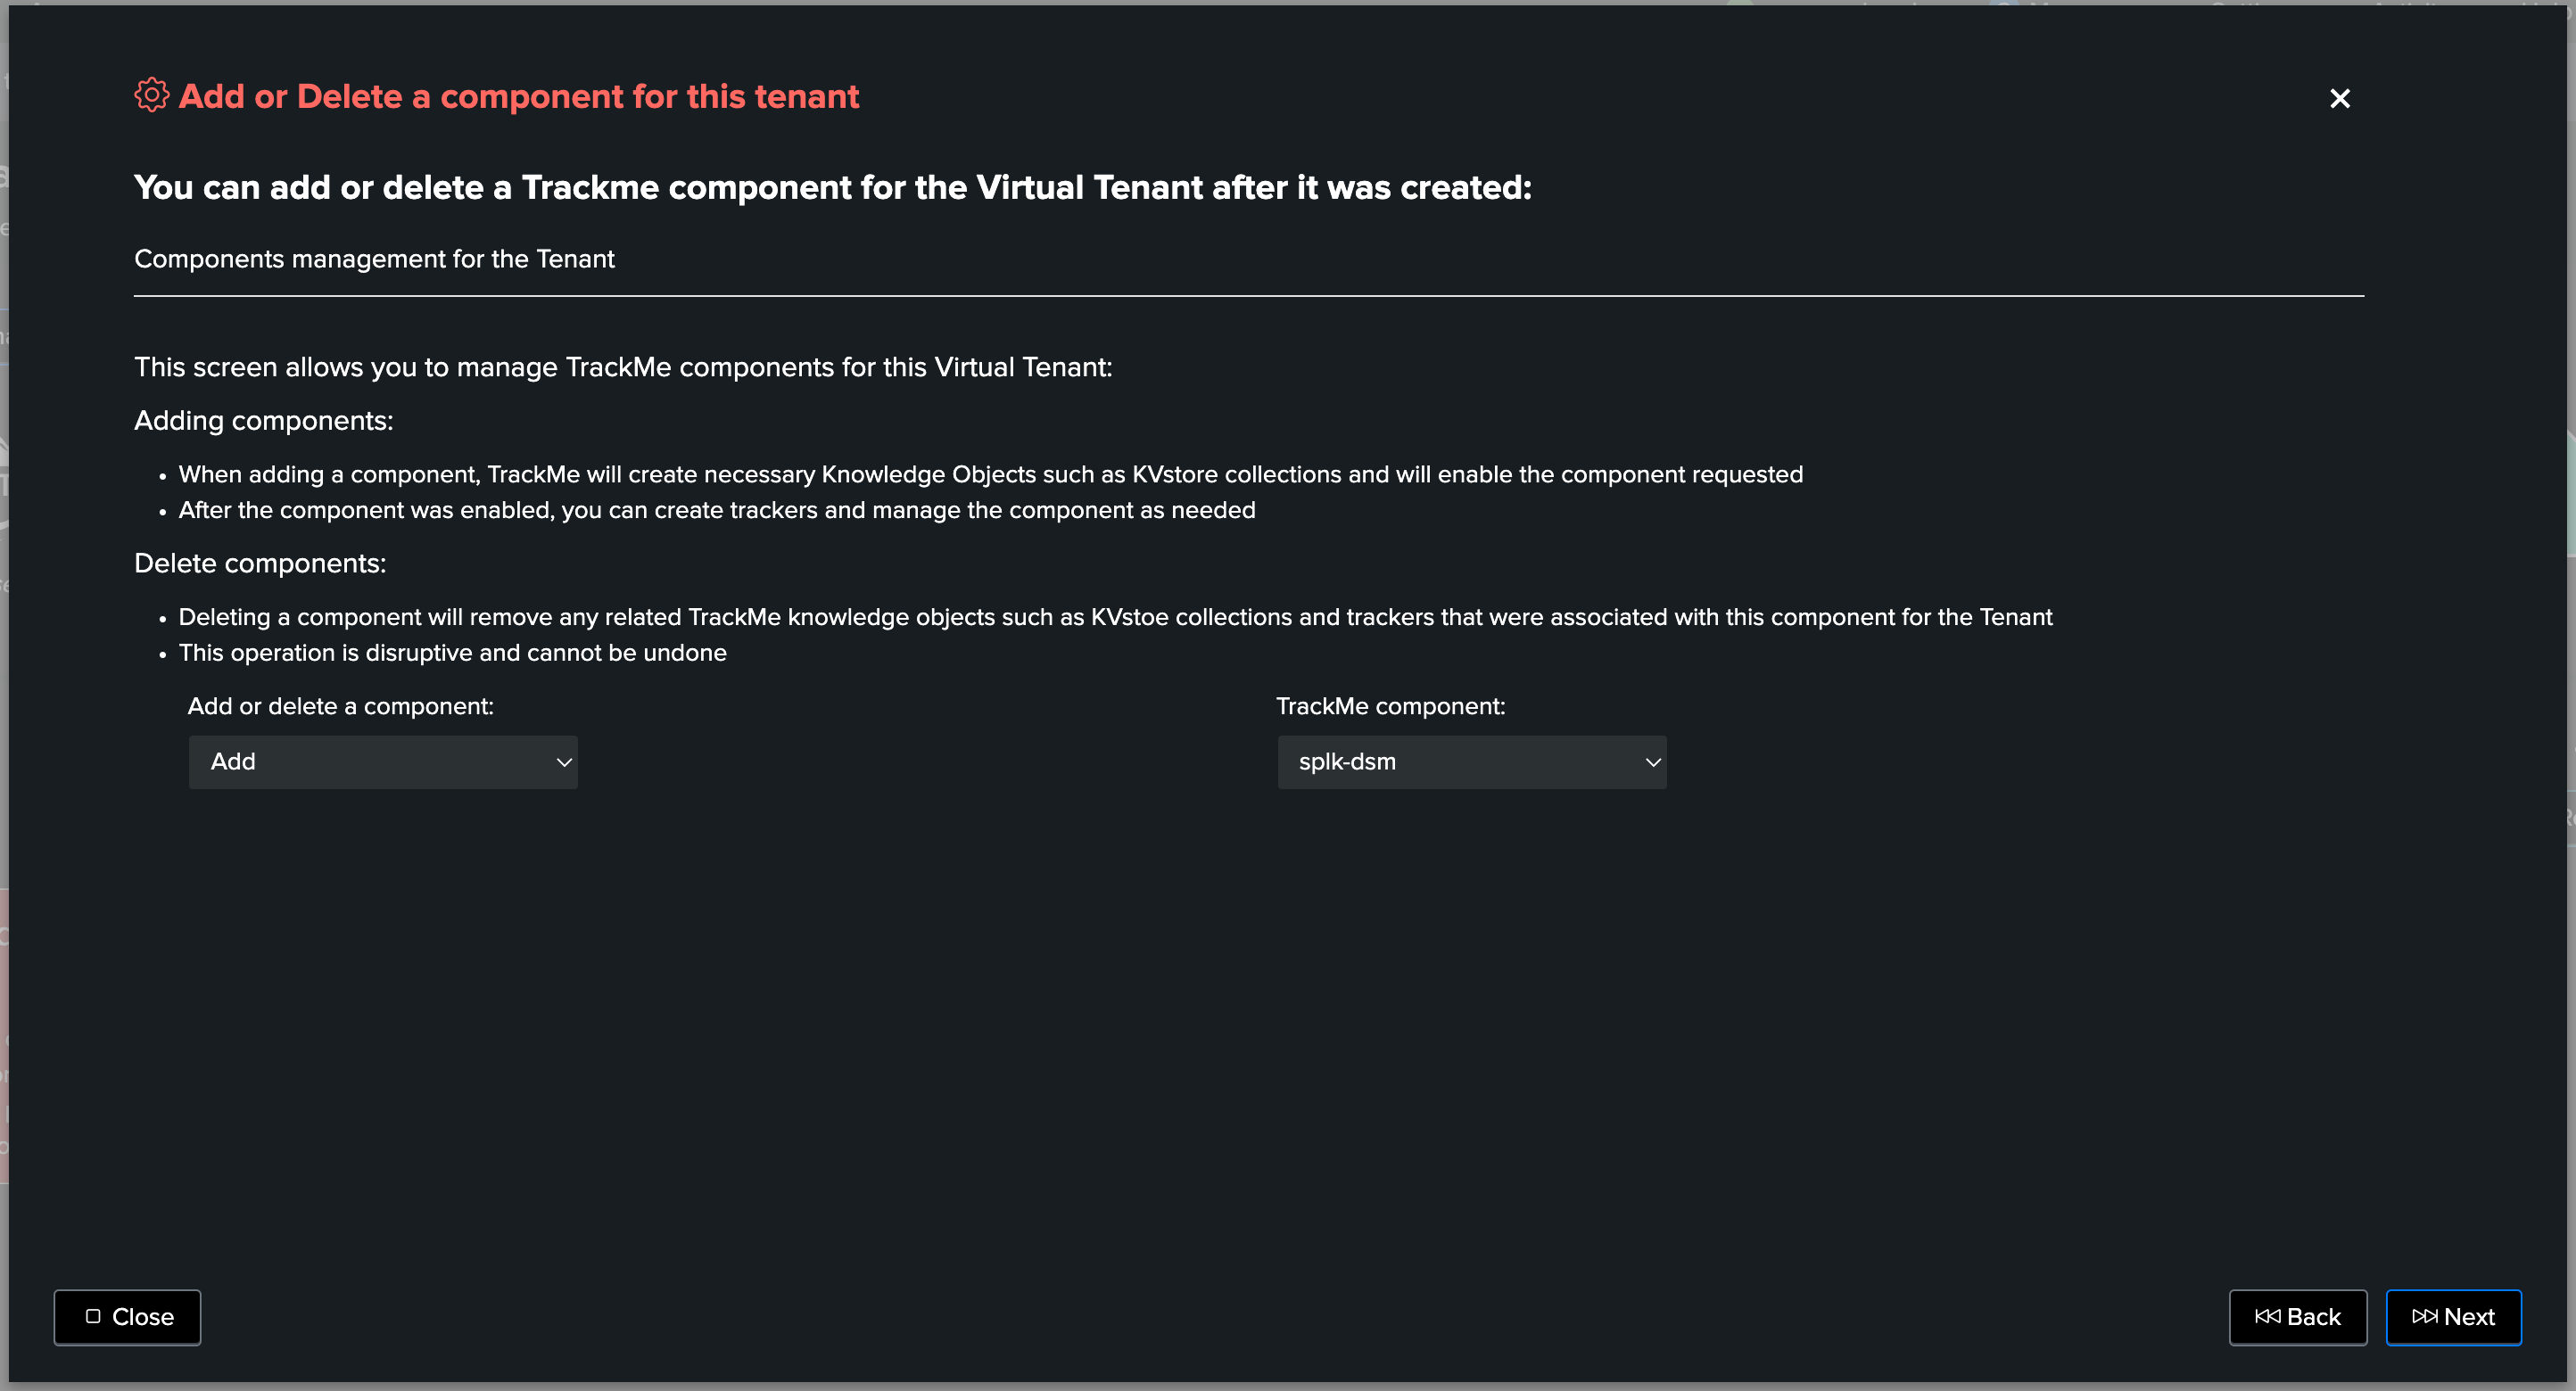
Modify (Add/Delete) TrackMe components
This screen allows to add or delete a component to an existing Virtual Tenant:
Splunk Workload (splk-wlk)
Currently, the splk-wlk component cannot be added to or deleted from an existing Virtual Tenant
However, a Workload Virtual Tenant can be modified to add or delete other components
Attention
Deleting a component
When deleting a component from a Virtual Tenant, all TrackMe related knowledge objects are permanently deleted
Related KVstores content are as well permanently purged, this operation cannot be undone
Updating RBAC and ownership
The screen allows you to modify the current RBAC policies and the Splunk ownership for this tenant:
When updating the policies or ownership:
All Knowledge Objects will be updated accordingly
If the owner is changed, all Knowledge Objects will automatically be reassigned to the target Splunk user
Future TrackMe objects will be created and assigned to the owner user defined for the Virtual Tenant
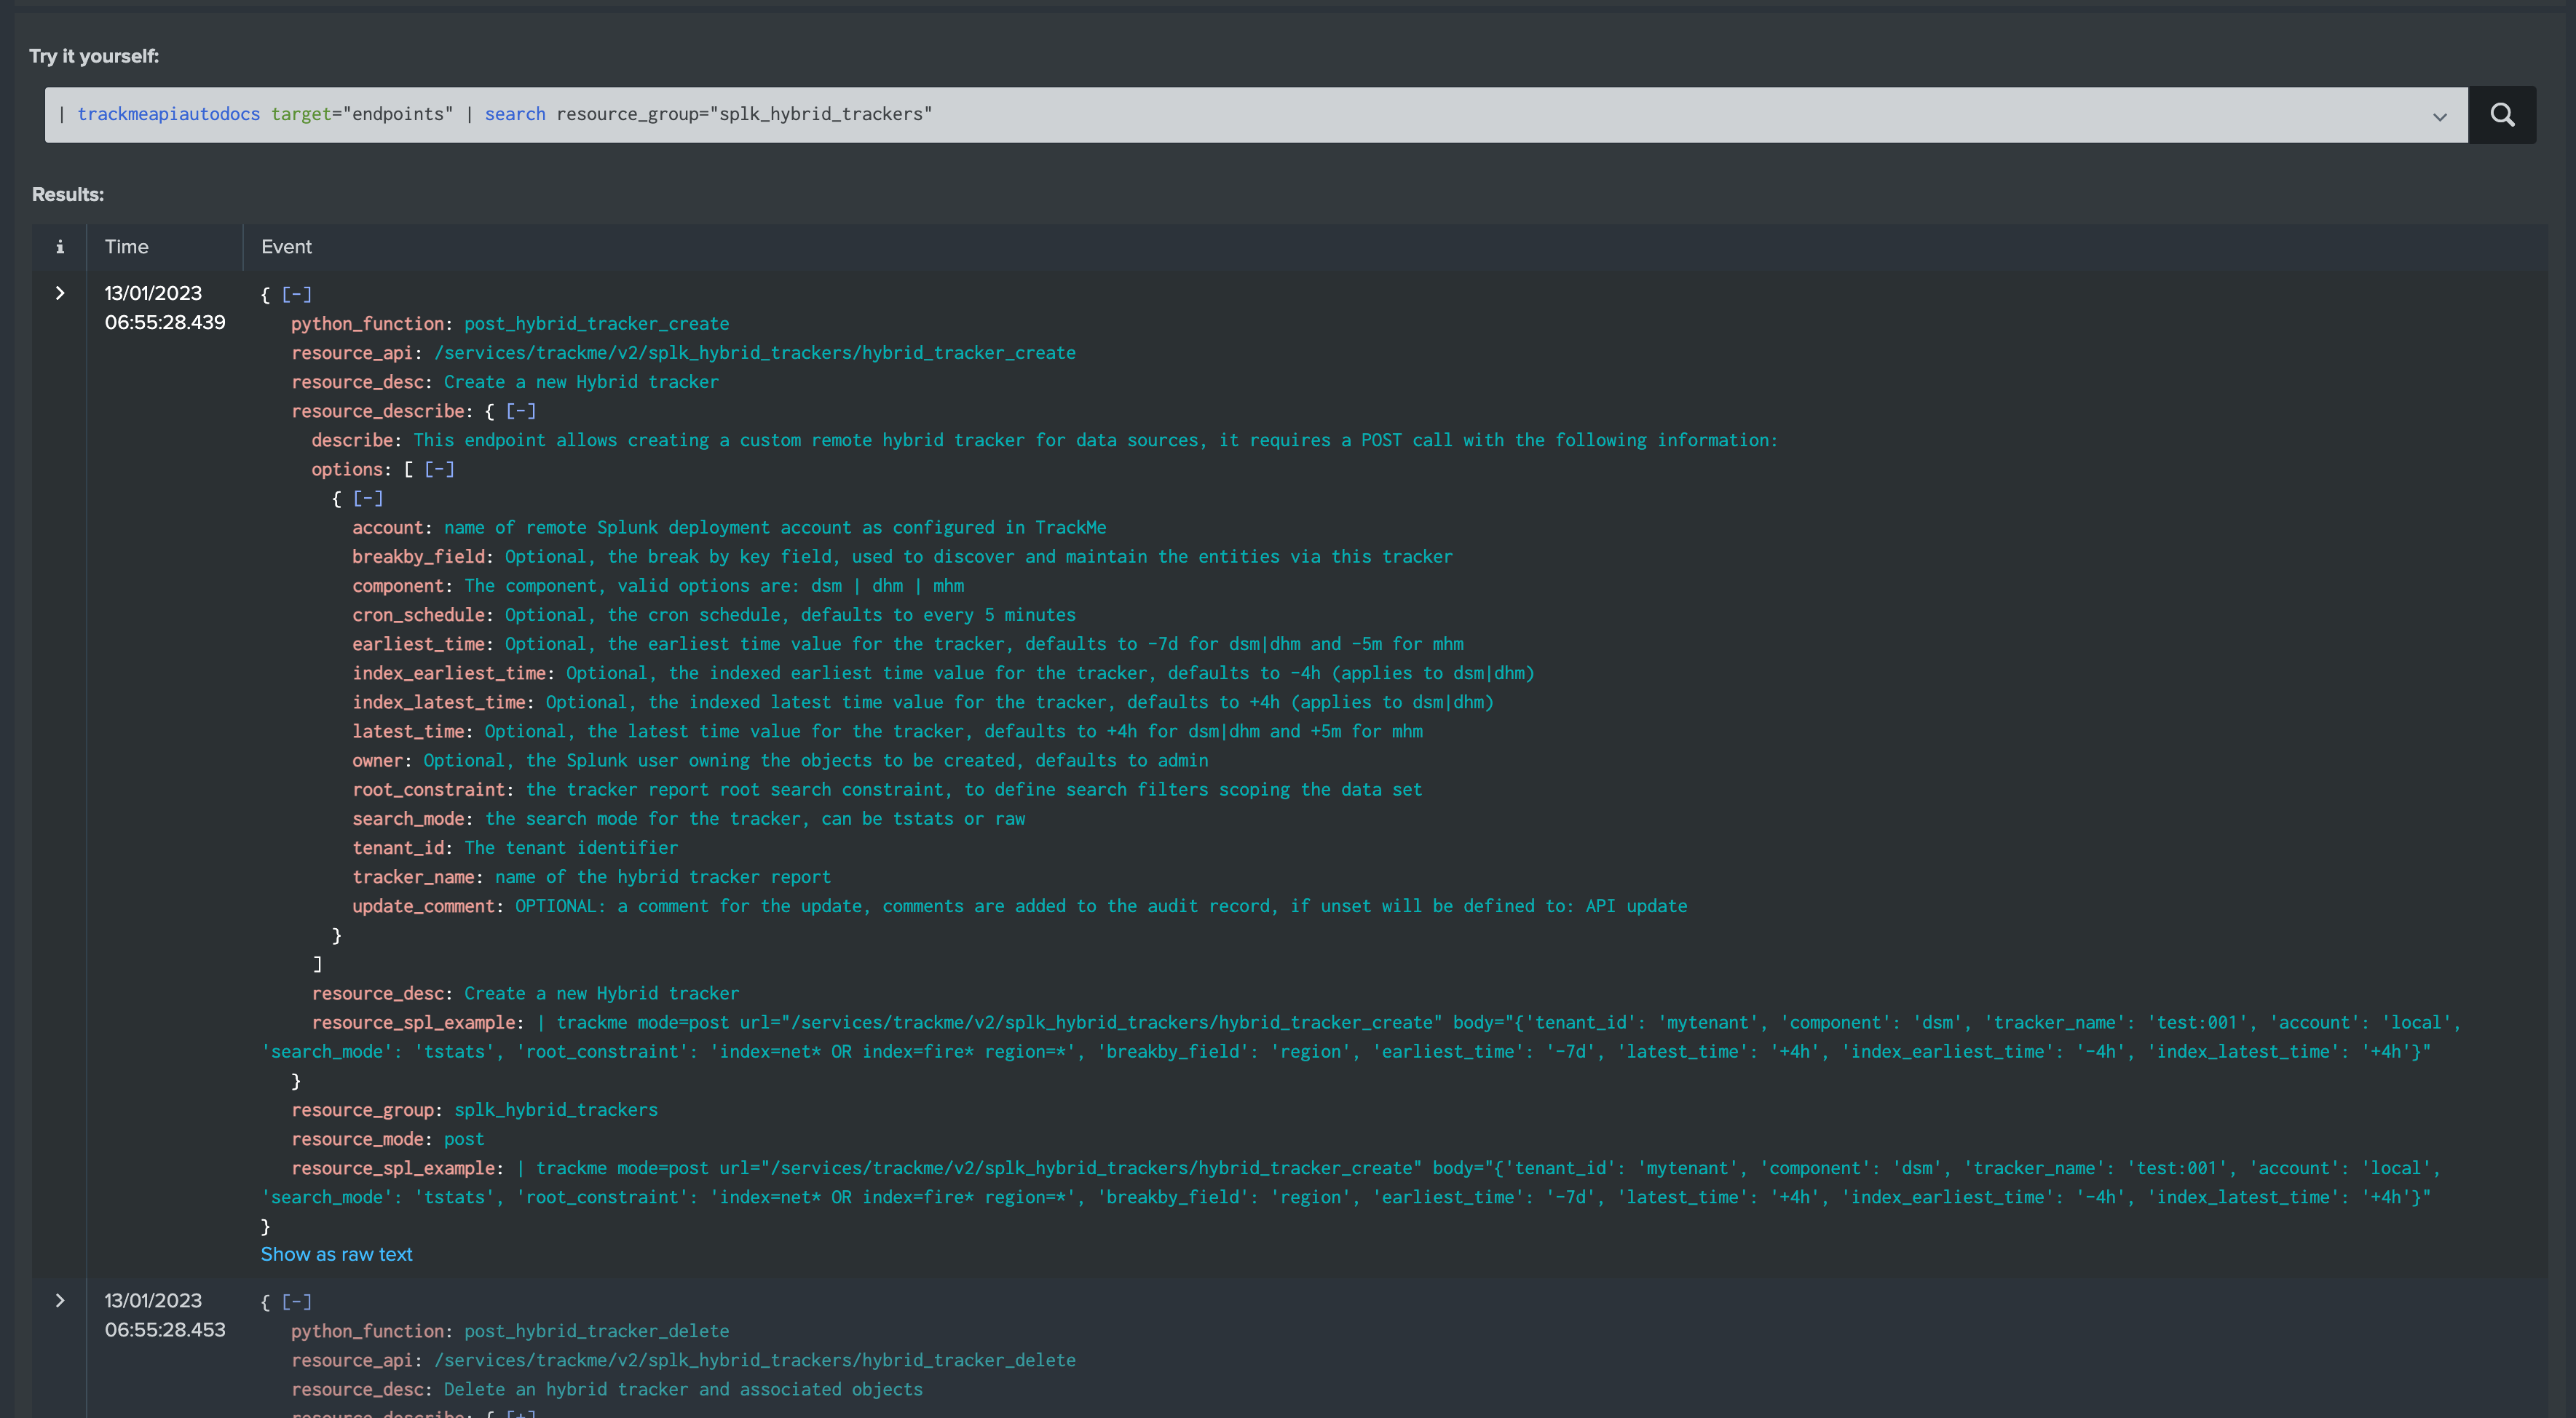
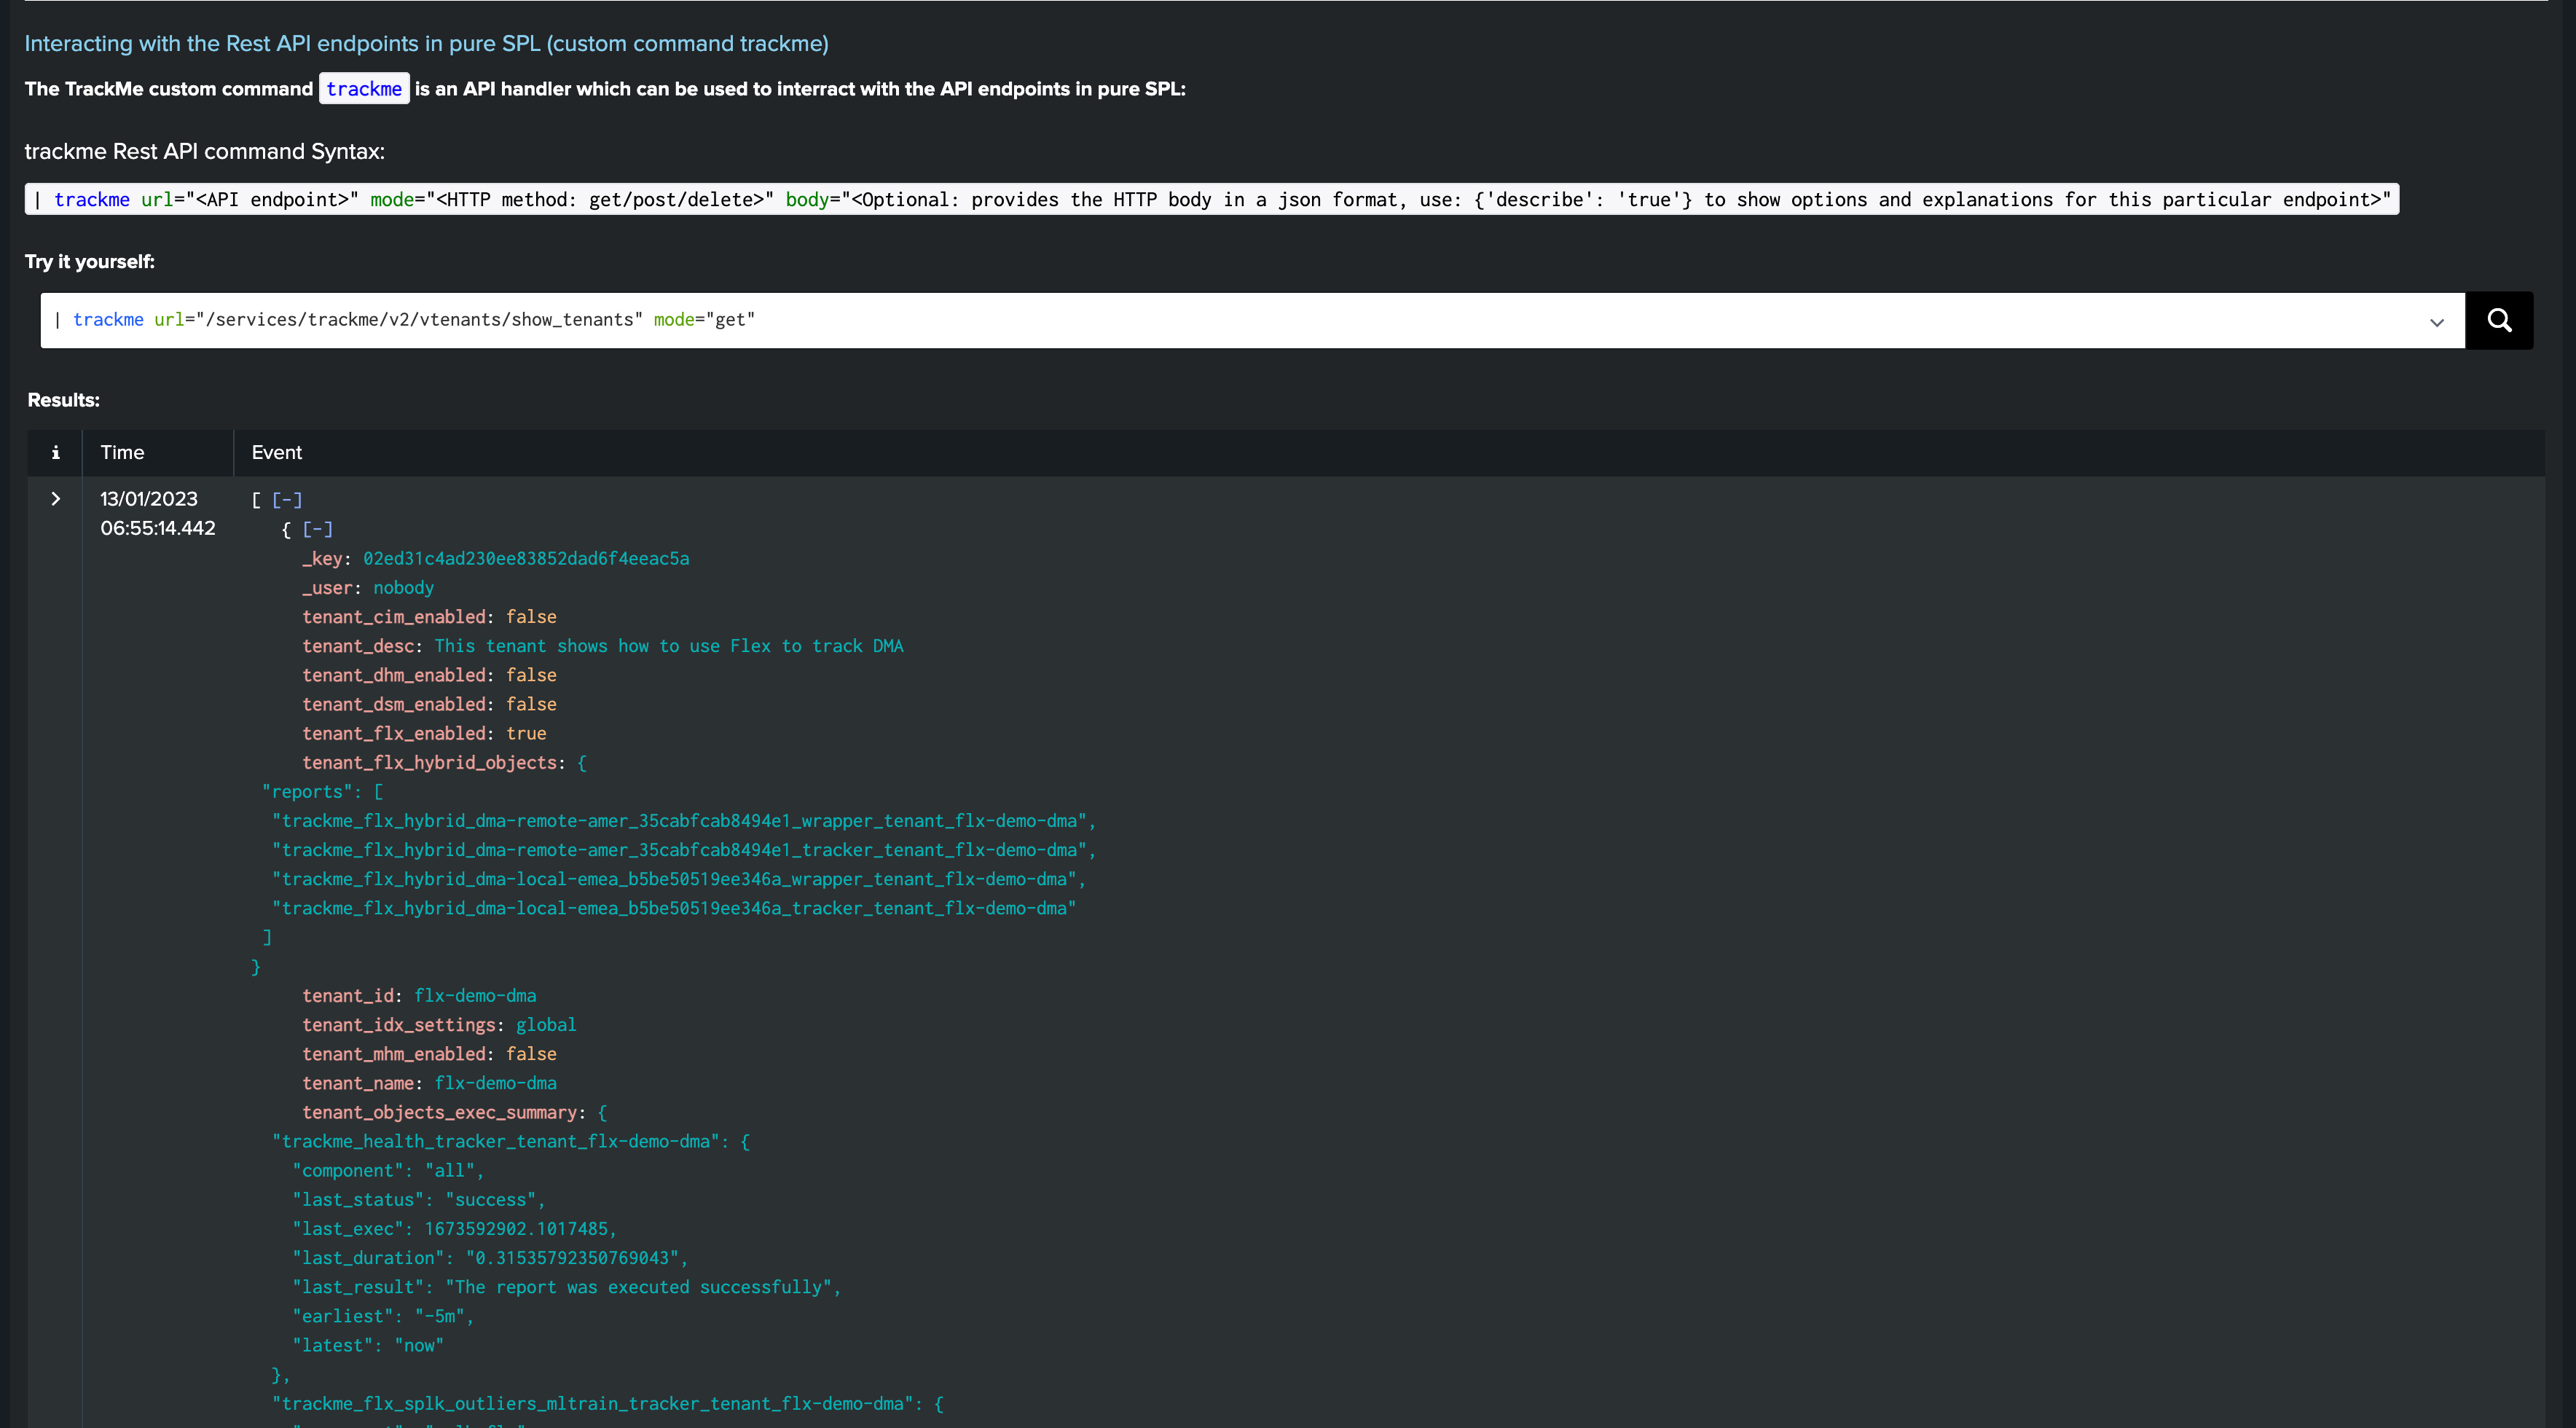
This can as well be performed via the REST endpoint and the following SPL command:
| trackme url=/services/trackme/v2/vtenants/admin/update_tenant_rbac mode=post body="{ 'tenant_id': 'flx-demo', 'tenant_roles_admin': 'trackme_amer_admin', 'tenant_roles_user': 'trackme_amer_user', 'tenant_owner': 'svc_trackme'}"

Enabling / Disabling a tenant
You can enable / disable a tenant at any time, when disabling a tenant:
All Knowledge Objects are disabled in Splunk
None of the executions related to that tenant will be performed as long as the tenant is disabled
No data is removed, but all entities are inactive and not maintained anymore
A disabled tenant can be re-enabled by an admin at any time

You can disable a tenant using the REST endpoint with the following SPL command:
| trackme url=/services/trackme/v2/vtenants/admin/disable_tenant mode=post body="{ 'tenant_id': 'flx-demo'}"
You can enable a tenant using the REST endpoint with the following SPL command:
| trackme url=/services/trackme/v2/vtenants/admin/enable_tenant mode=post body="{ 'tenant_id': 'flx-demo'}"
Deleting a tenant
When deleting a tenant:
All of its related objects are permanently deleted
This operation cannot be undone, KVstore collection are flushed and could only be restored from backups, objects such as Hybrid trackers would need to be re-created
Once a tenant has been deleted, there are no traces of the tenant left apart from the previously generated events and metrics which are left untouched

You can delete a tenant using the REST endpoint with the following SPL command:
| trackme url=/services/trackme/v2/vtenants/admin/del_tenant mode=delete body="{ 'tenant_id': 'flx-demo'}"
Hiding a tenant from your personal profile
You can use this option to permanently hide a given tenant from your personal profile:
Other TrackMe users are unaffected
One or more tenants can be hidden
You can modify this at any time, and refer to the default configuration if wanted
Once a tenant has been hidden, it won’t appear any longer from the Virtual Tenants user interface for your own profile, the tenant life cycle itself is obviously left untouched.
To access your personal tenant setting preferences, click on the button “Edit my position preferences” from the Virtual Tenants user interface:
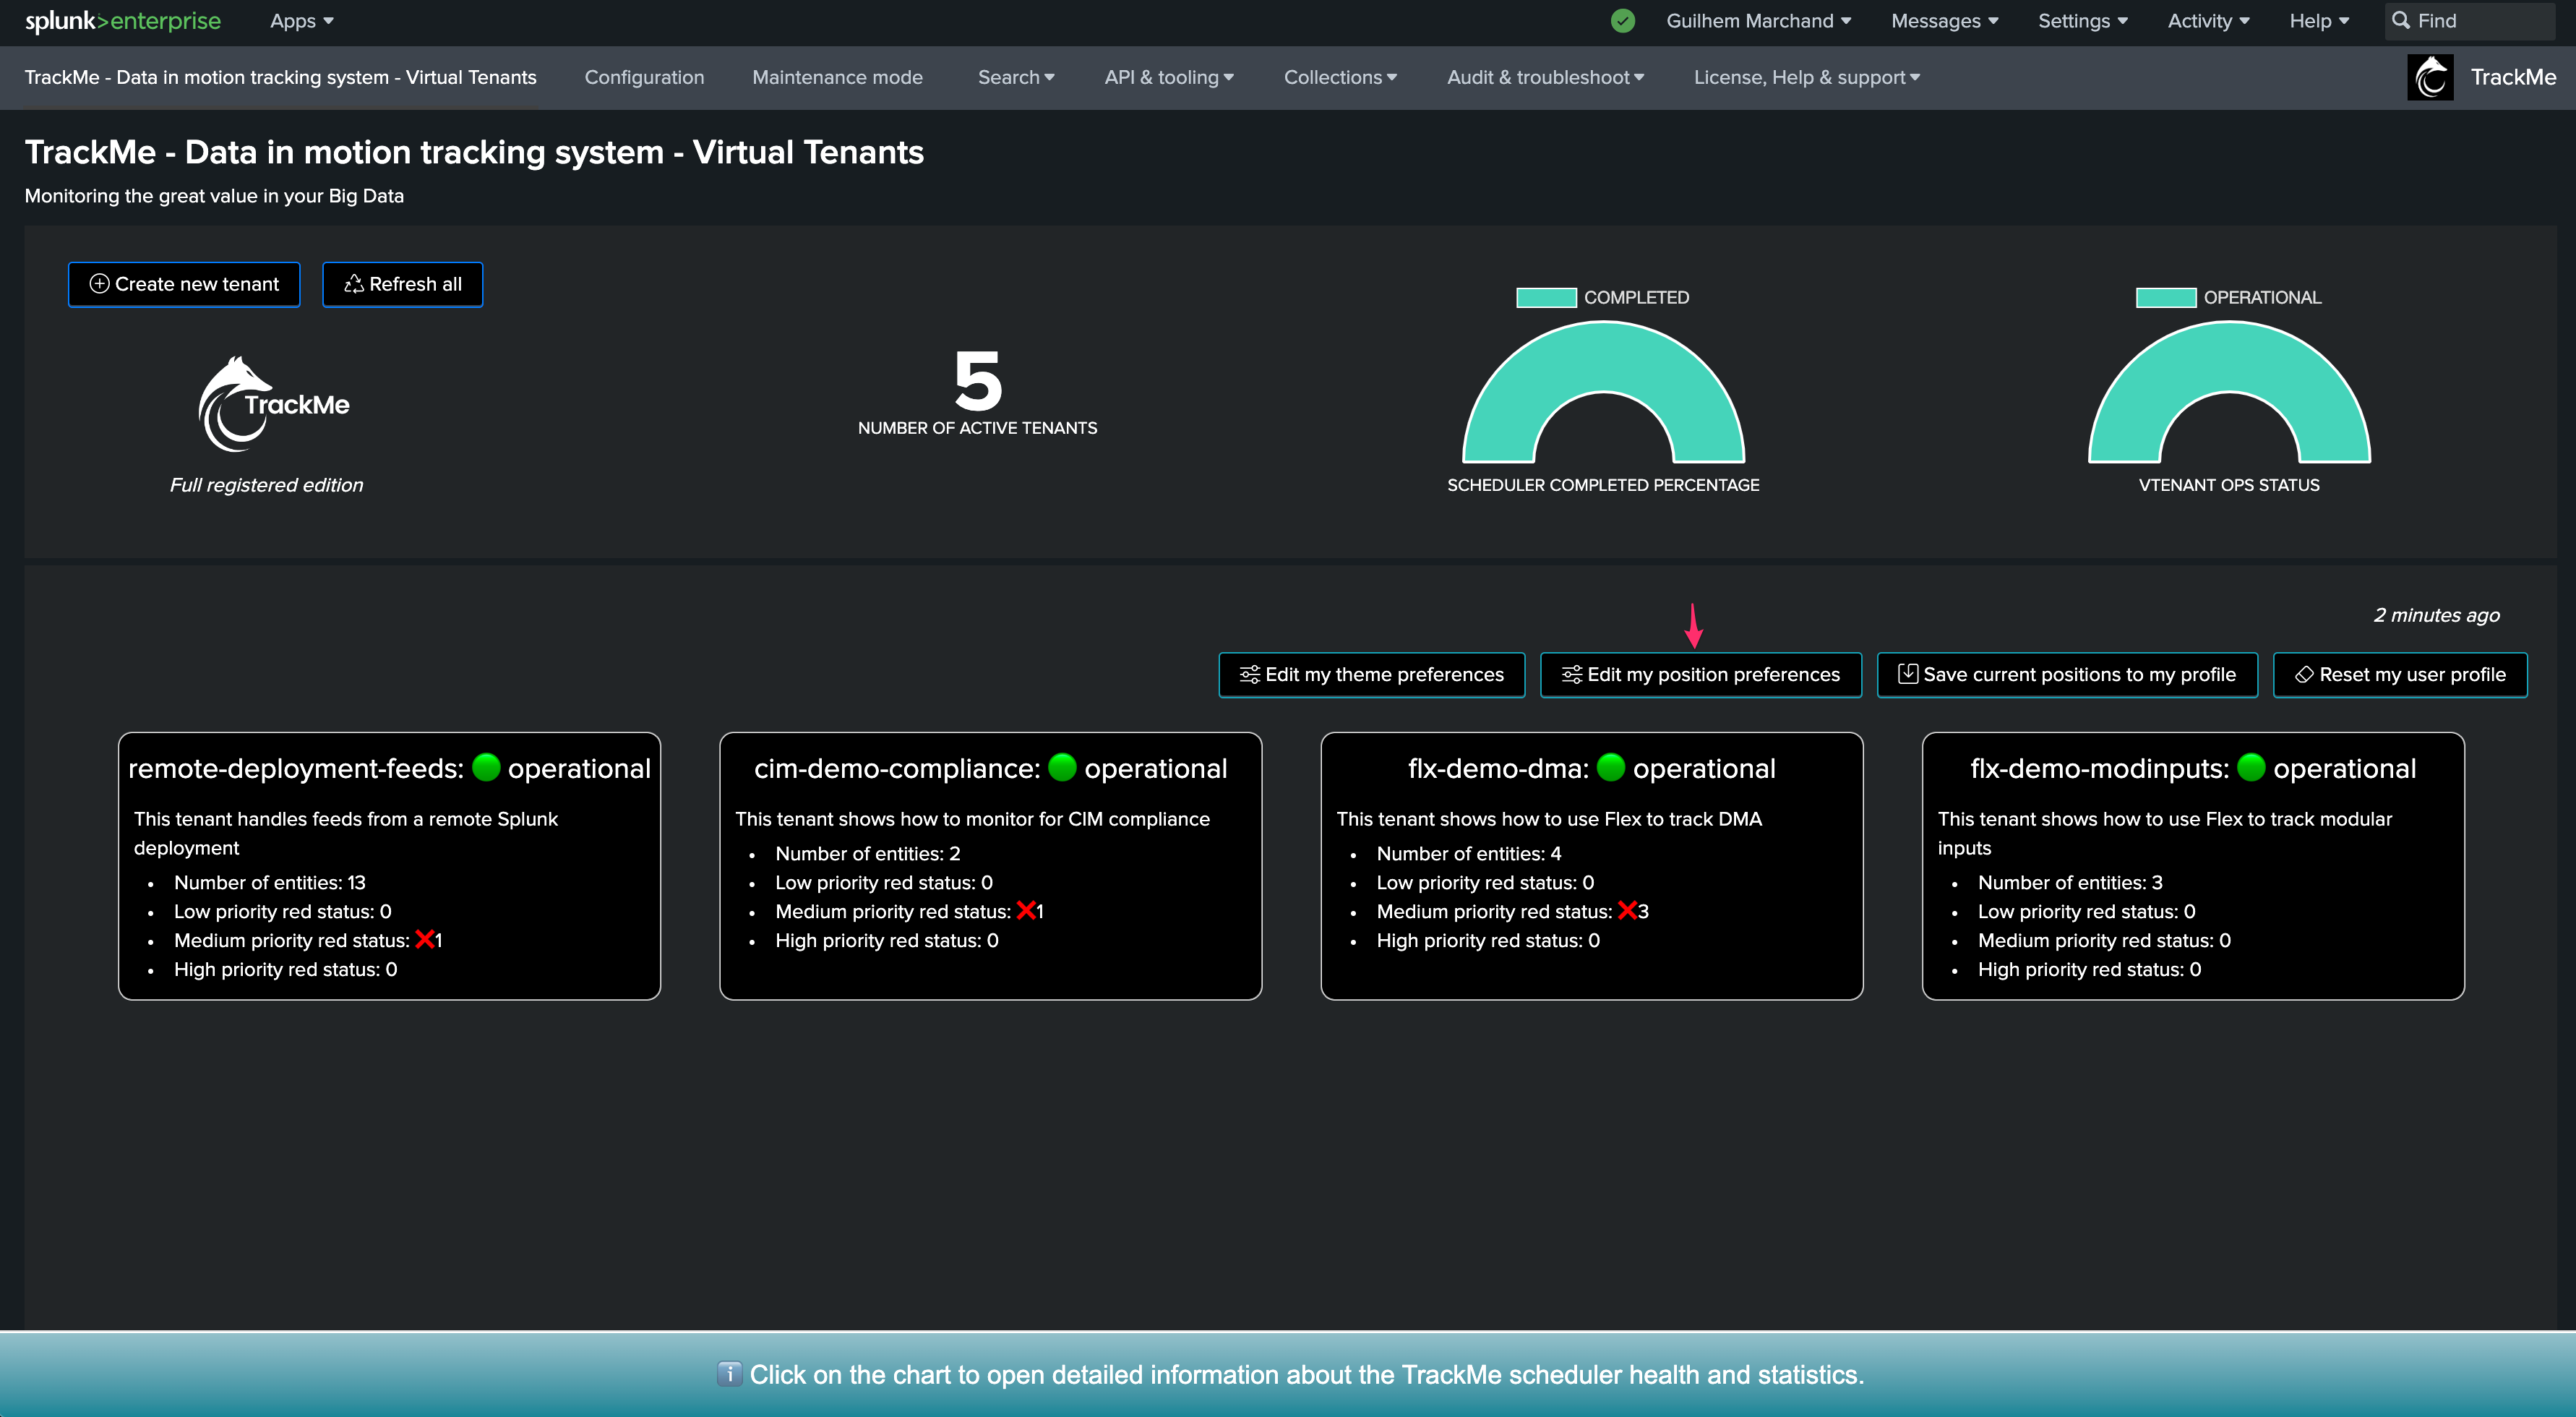
From this screen, you can:
re-order the tenants flex boxes upon your preferences
show or hide any available tenants accordingly
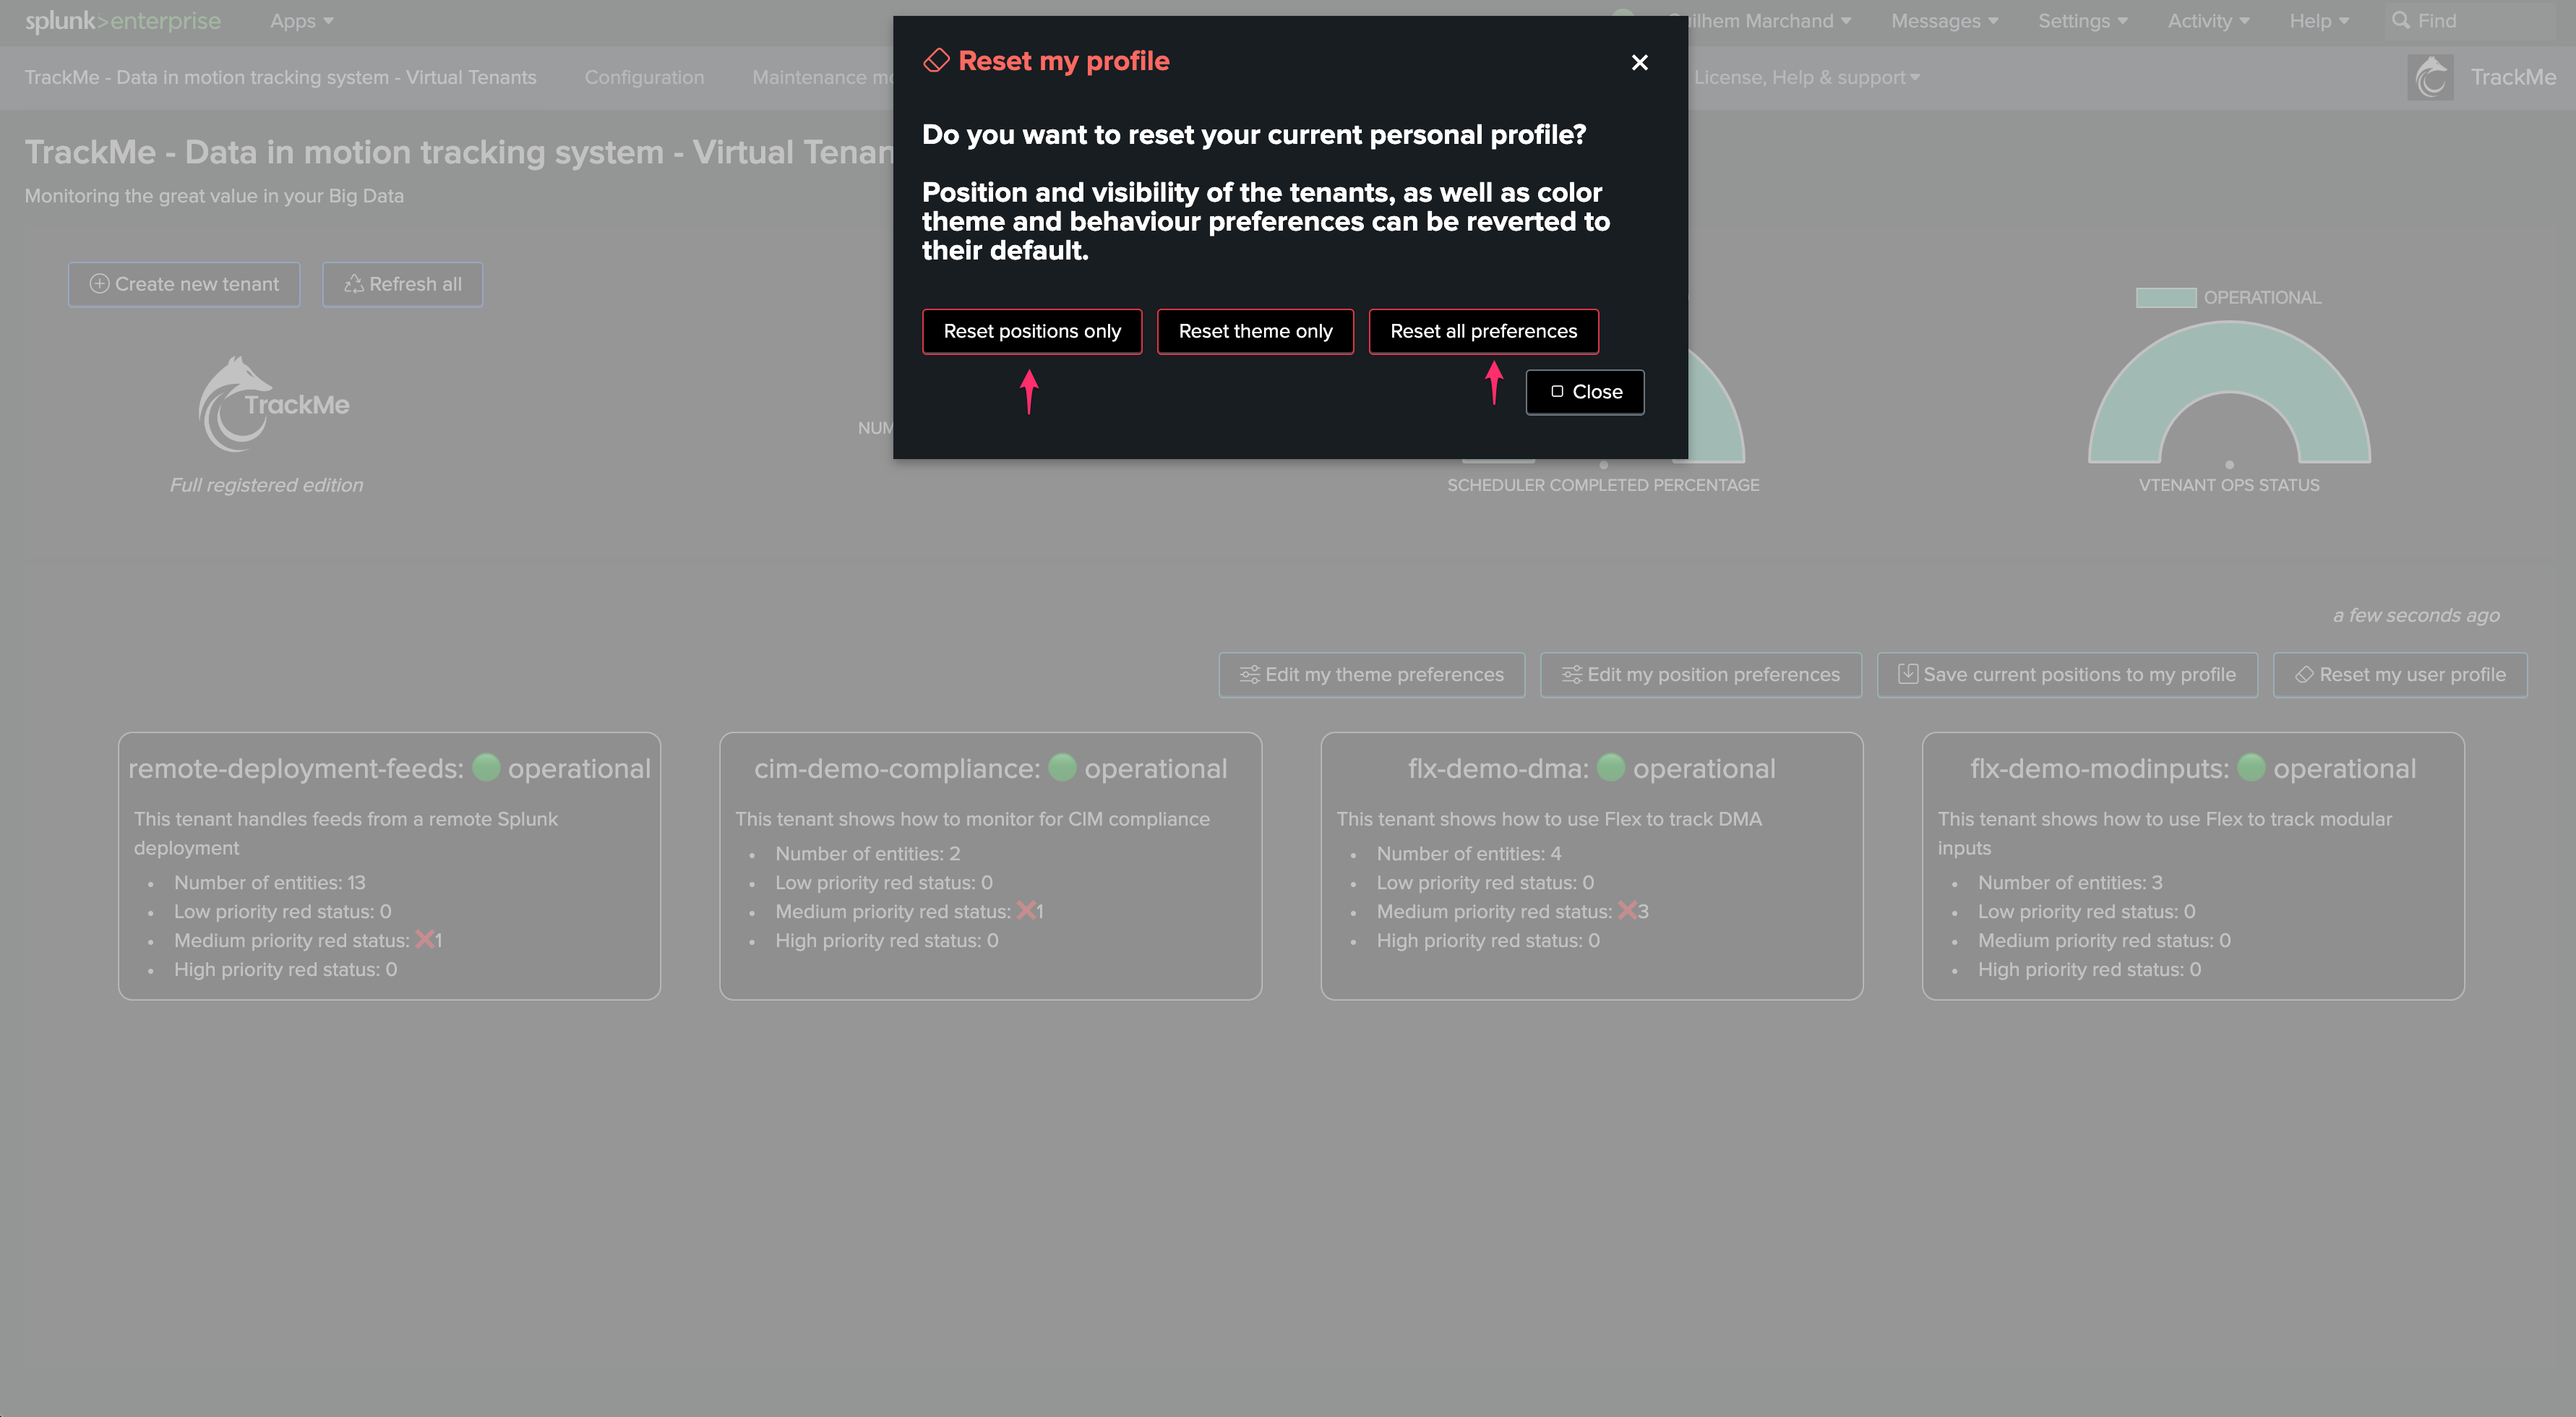
If you wish to reset your tenant preferences, click on the button “Reset my user profile” from the Virtual Tenants user interface:
You can then choose to:
Reset only your Tenants Flex boxes preferences
Reset only your theme preferences
Reset all preferences
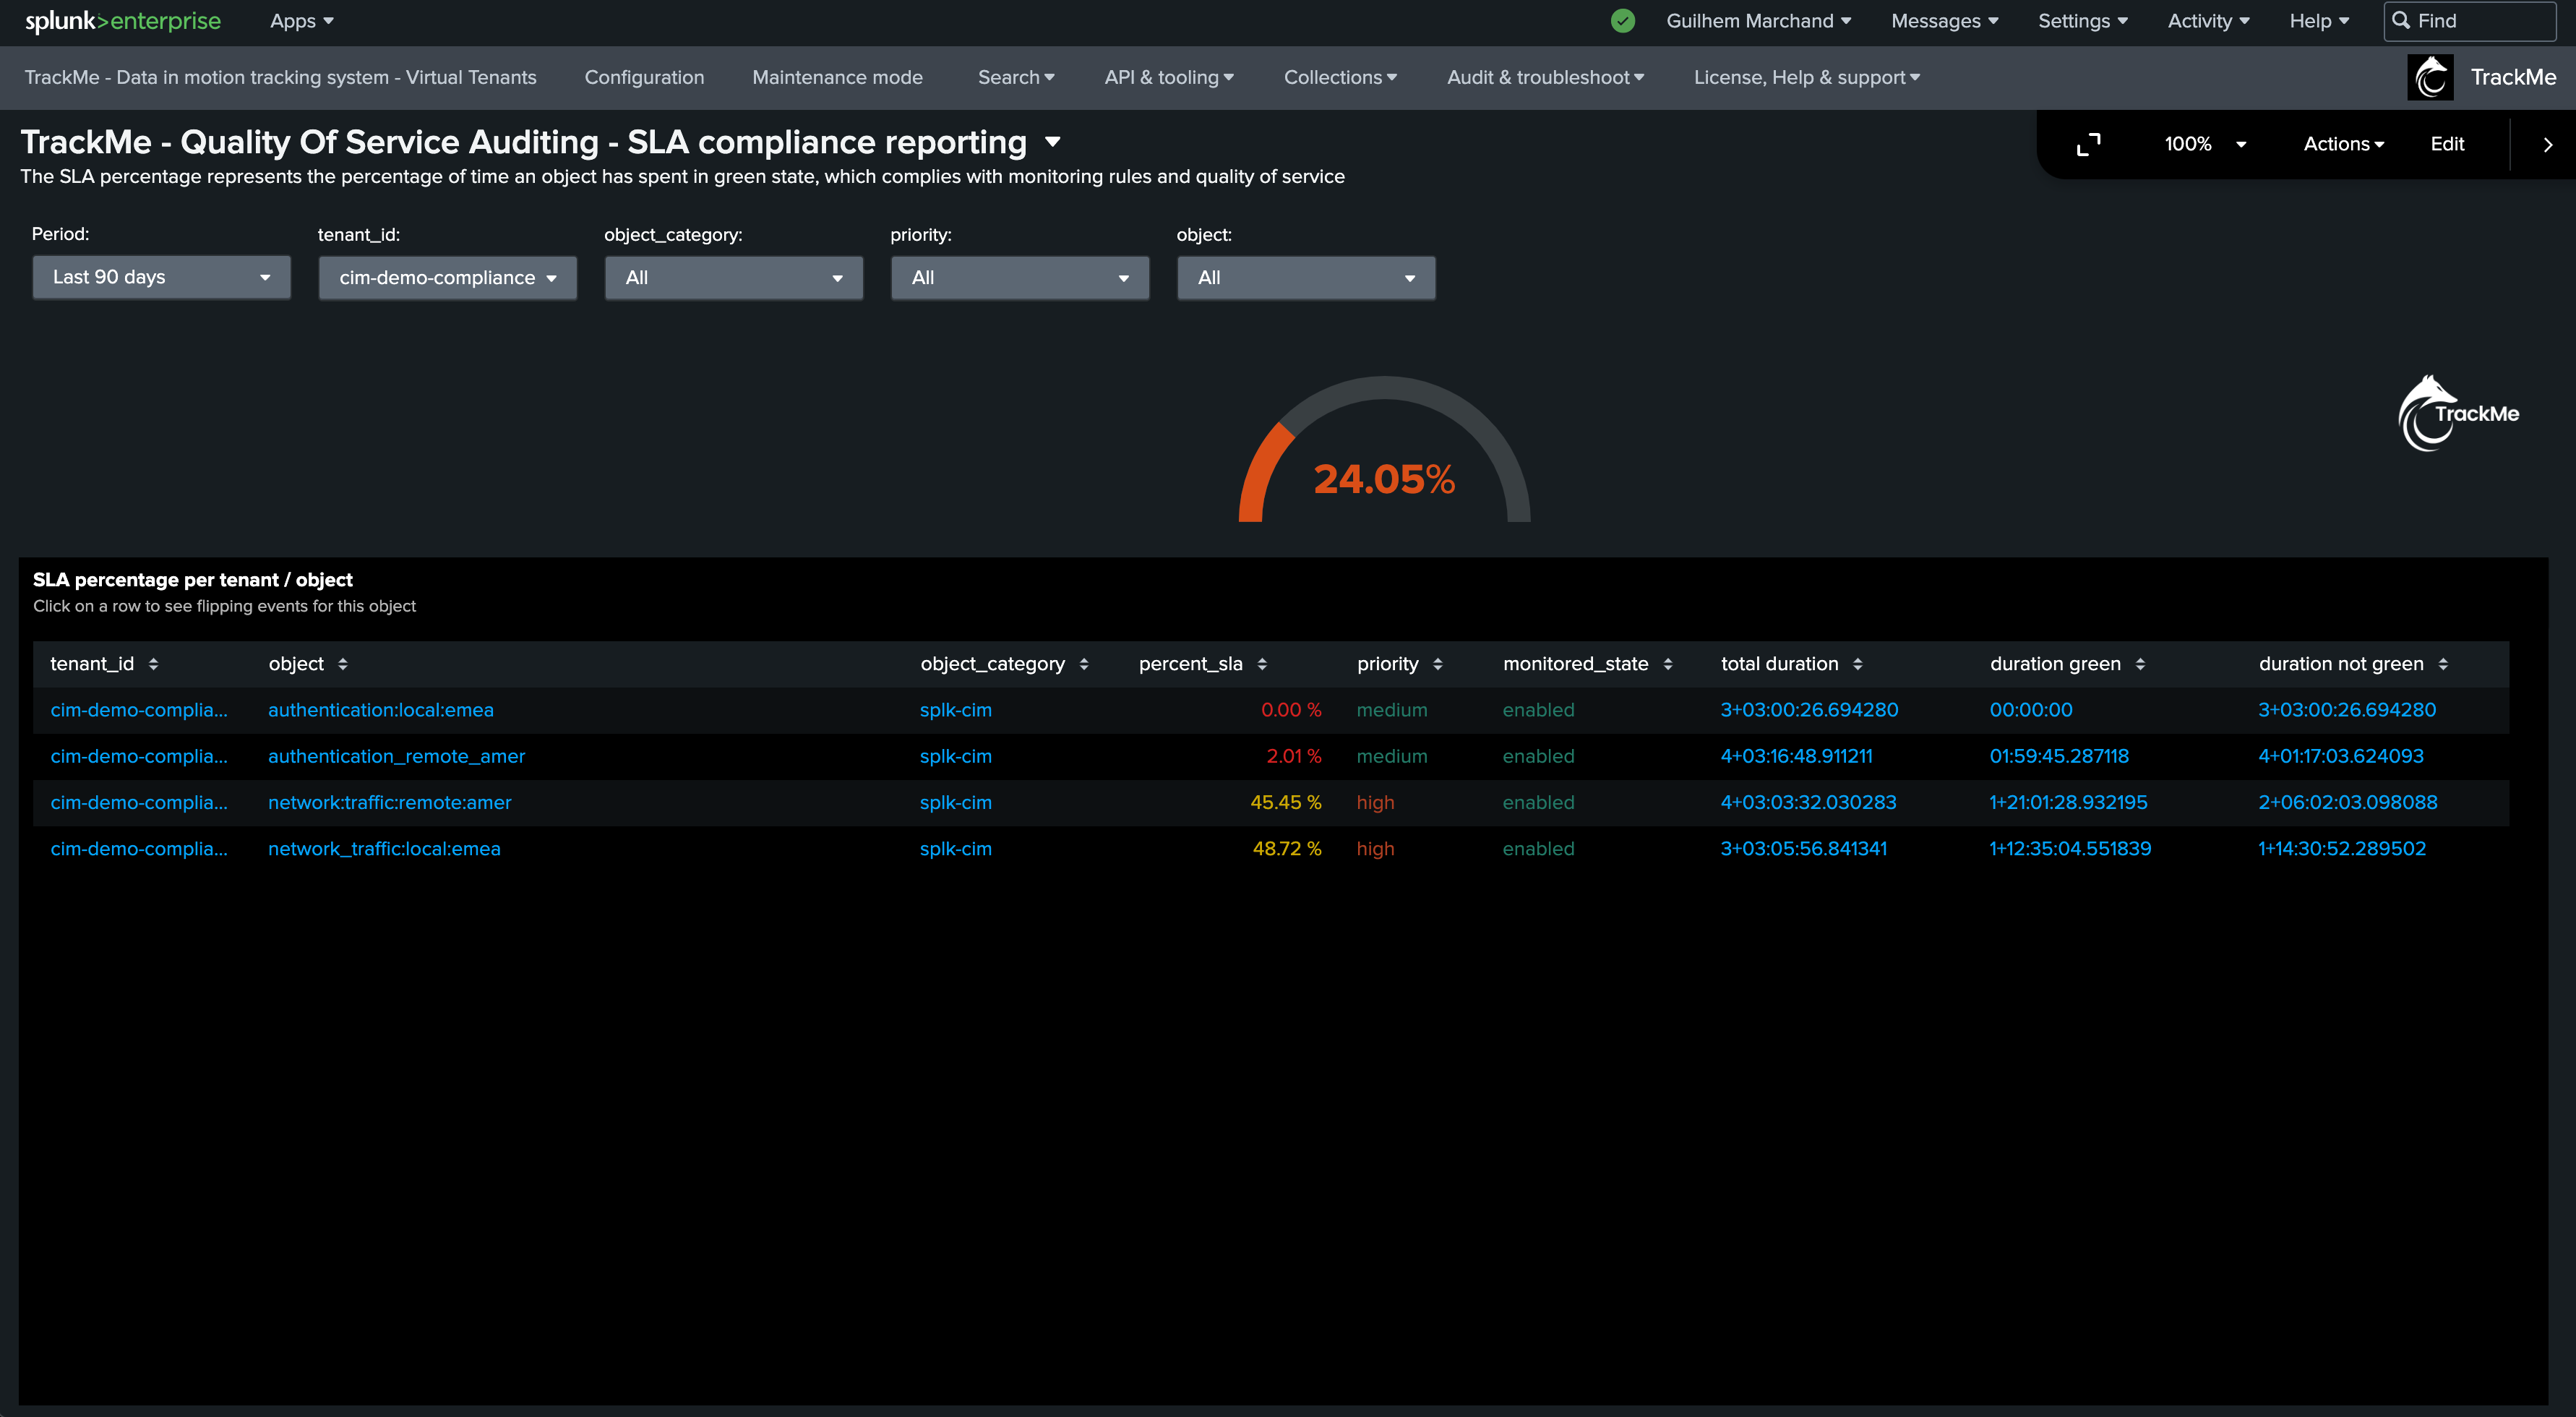
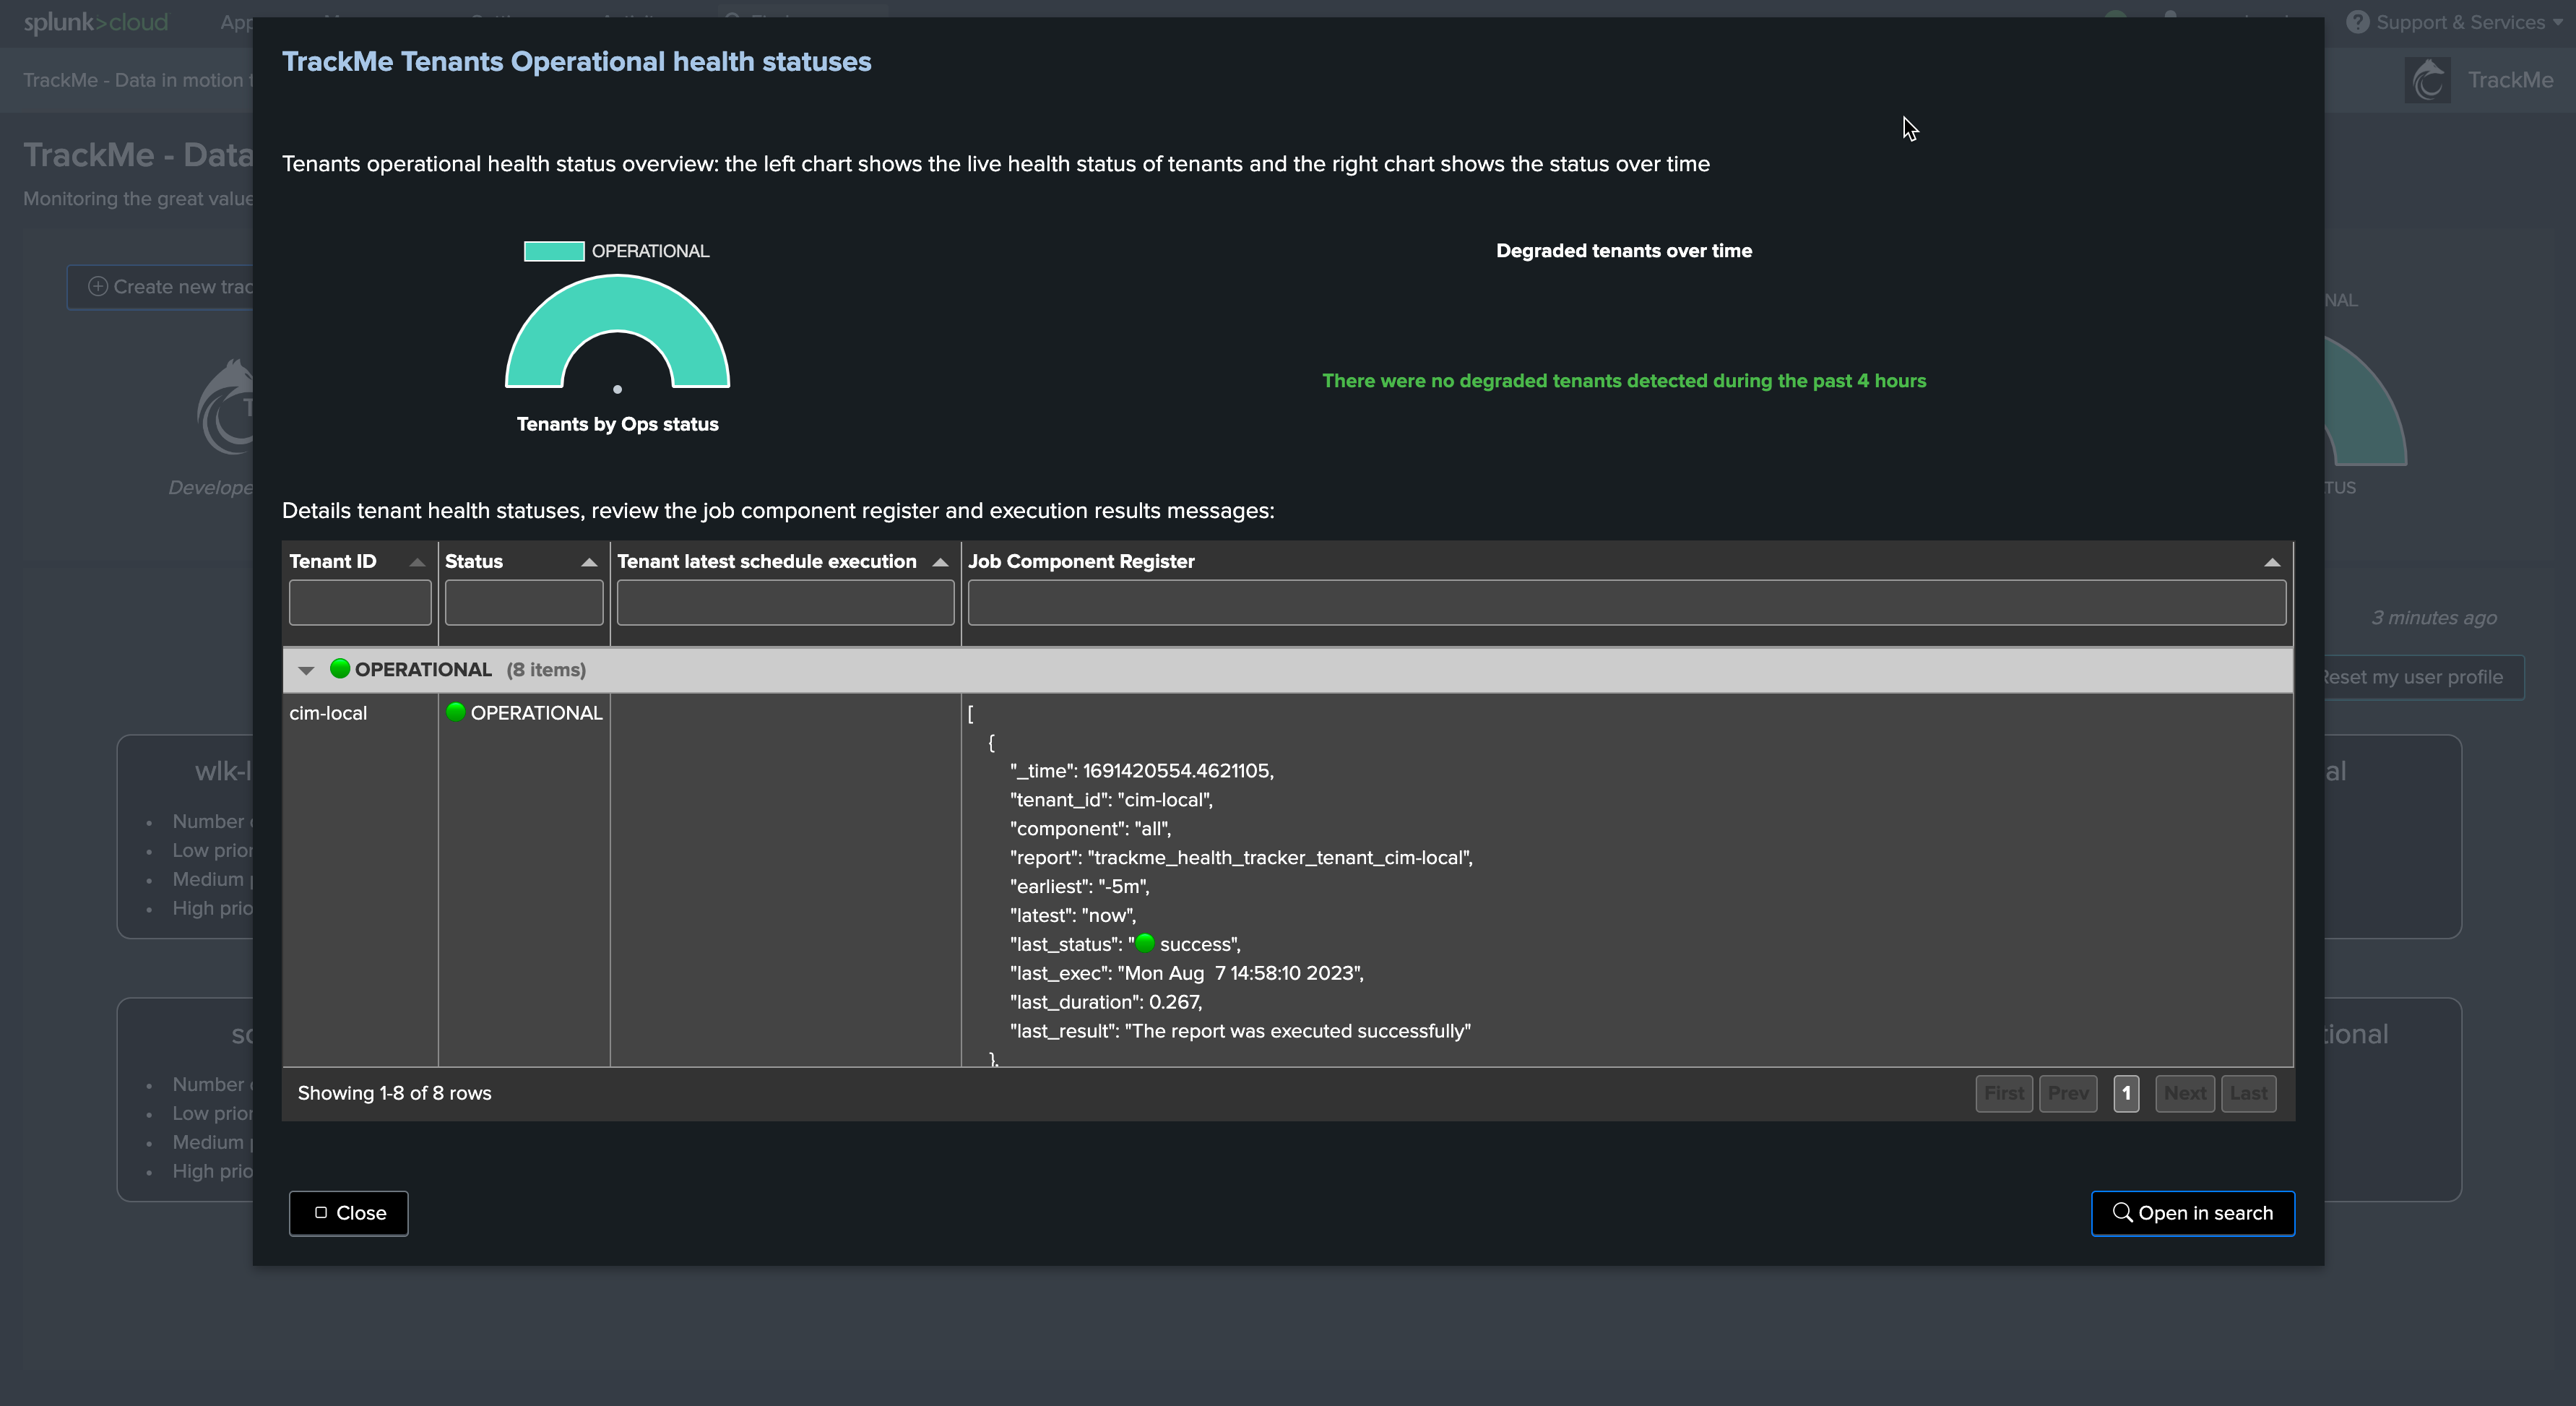
SLA compliance
In TrackMe, the SLA compliance purpose is to track the level of quality from the lens of the percentage of time spent in green state for a given entity.
This Key Performance Indicator (KPI) is a concept that you can then rely on to report the level of quality of the Splunk data availability according to your context.
To access the SLA dashboard from a Virtual Tenant, click on the “SLA overview” button from the tenant welcoming screen: