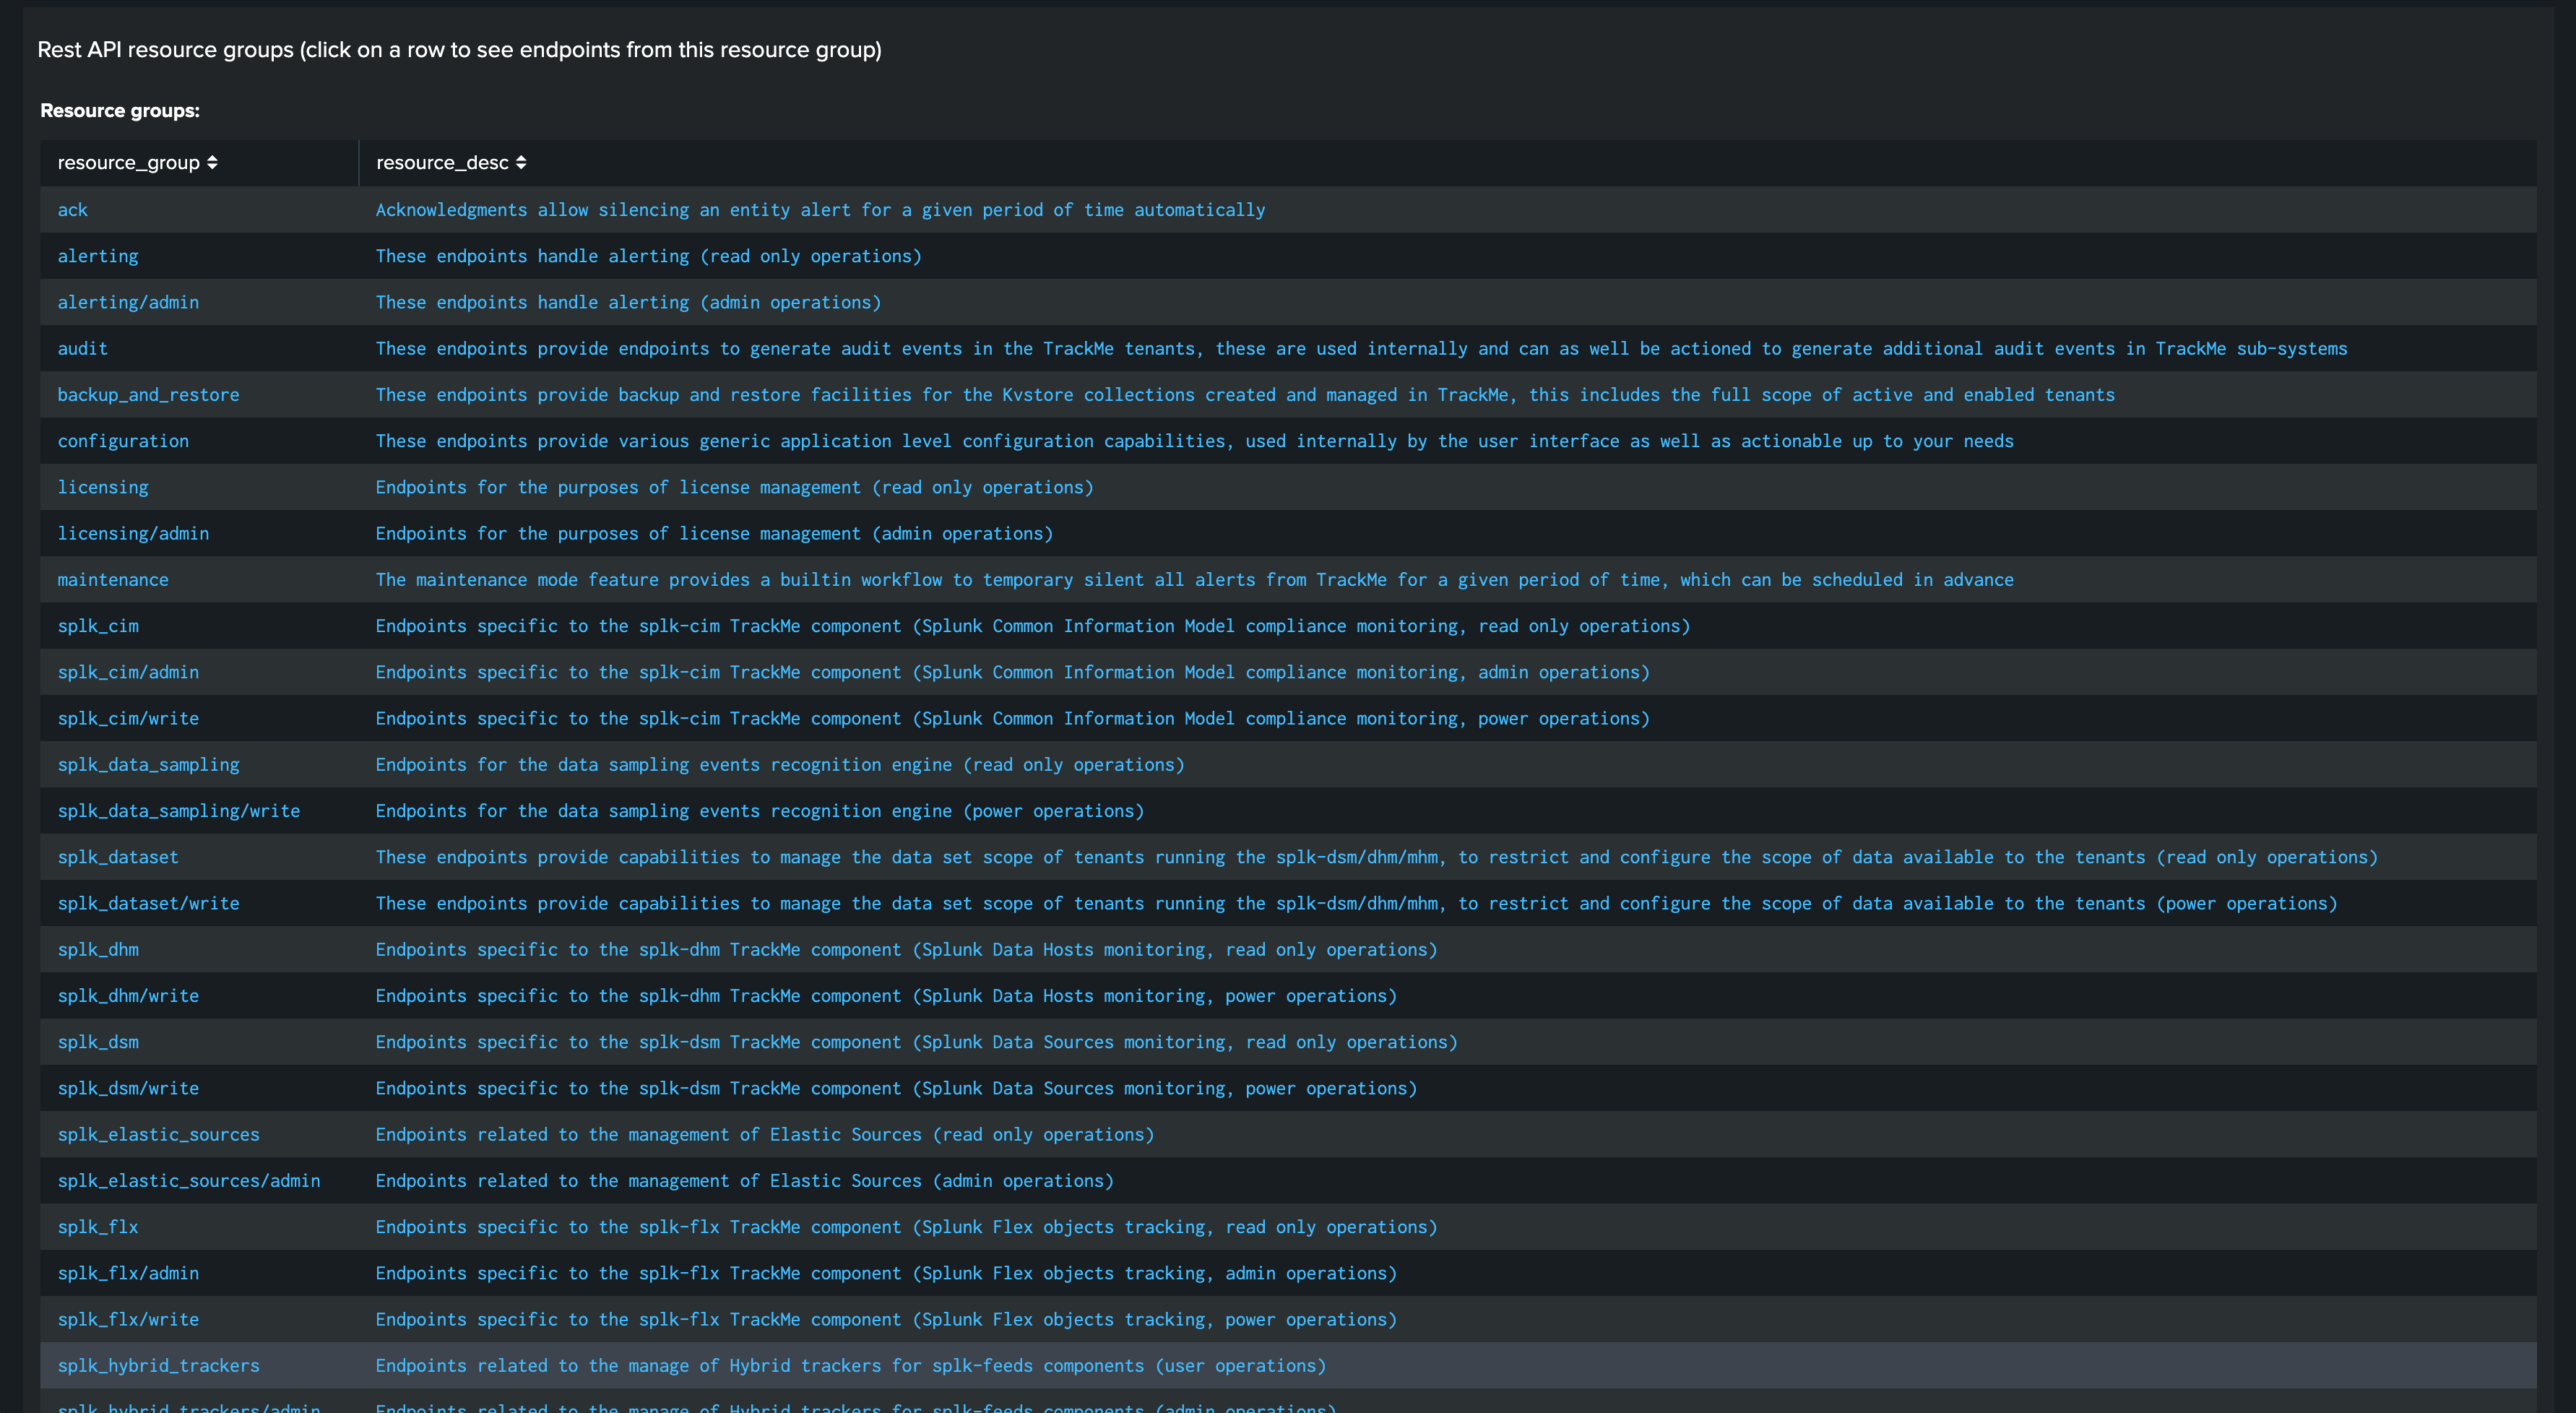
splk-cim - Creating and managing CIM Trackers
Introduction to CIM Trackers
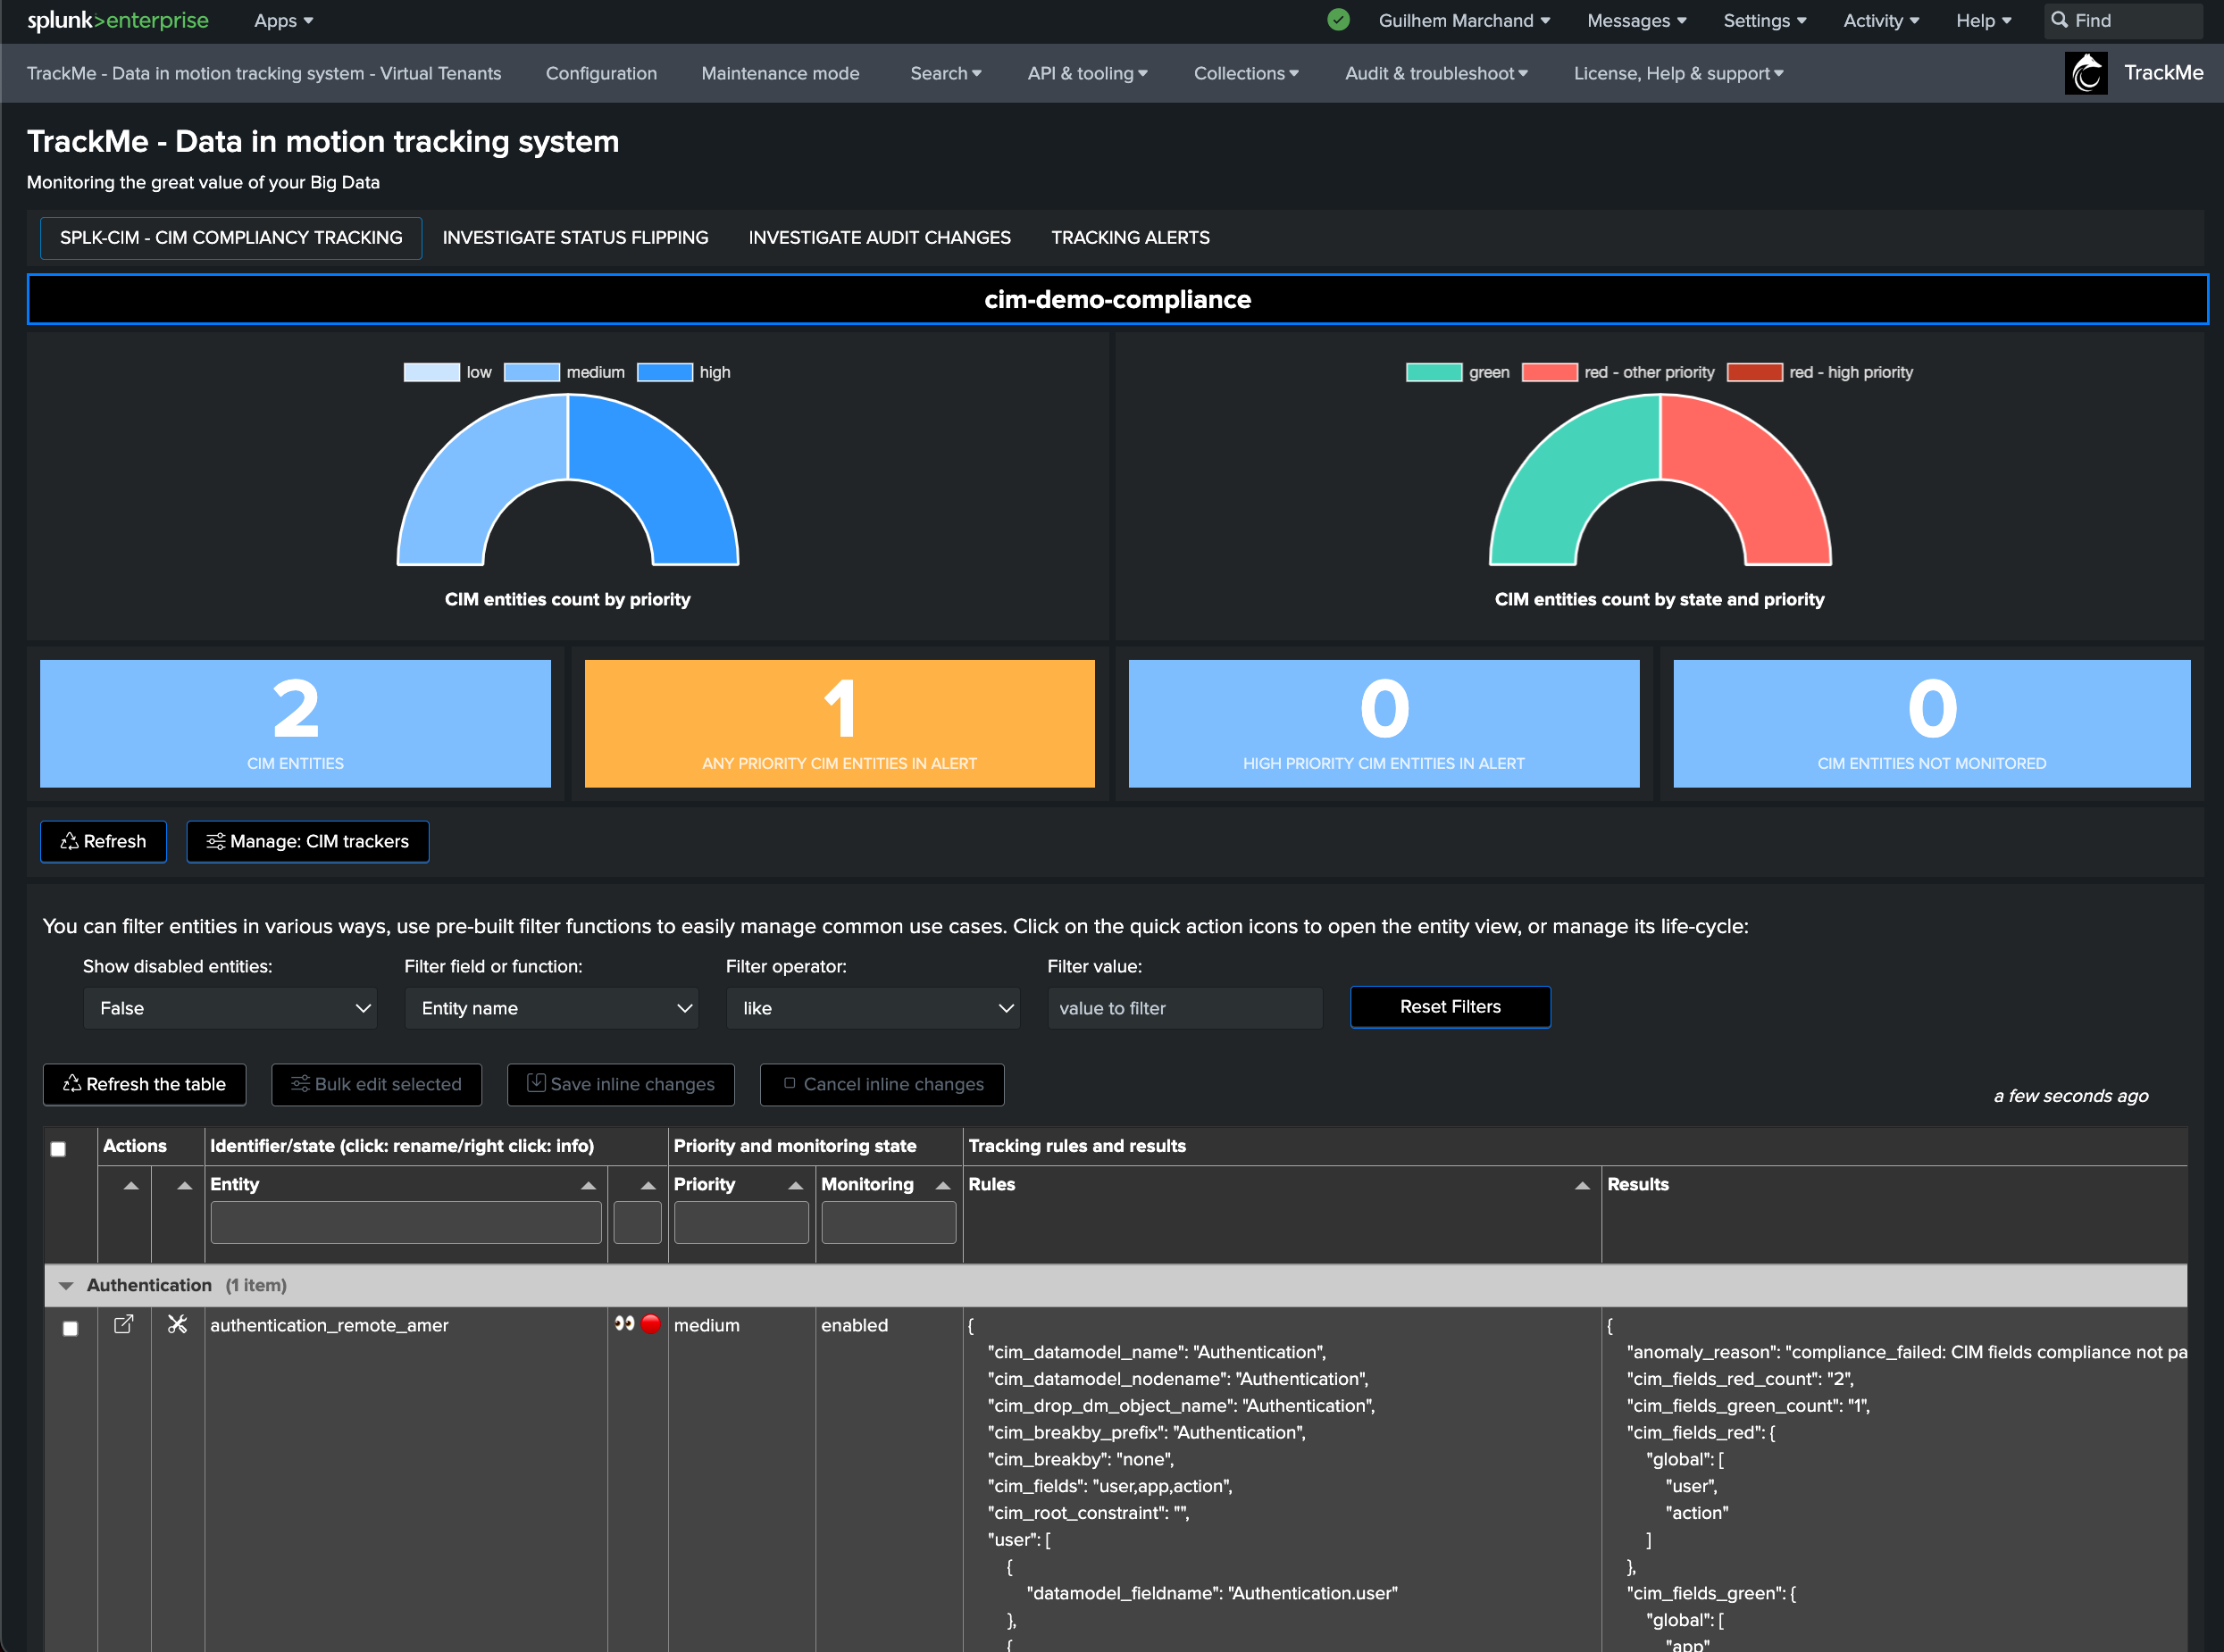
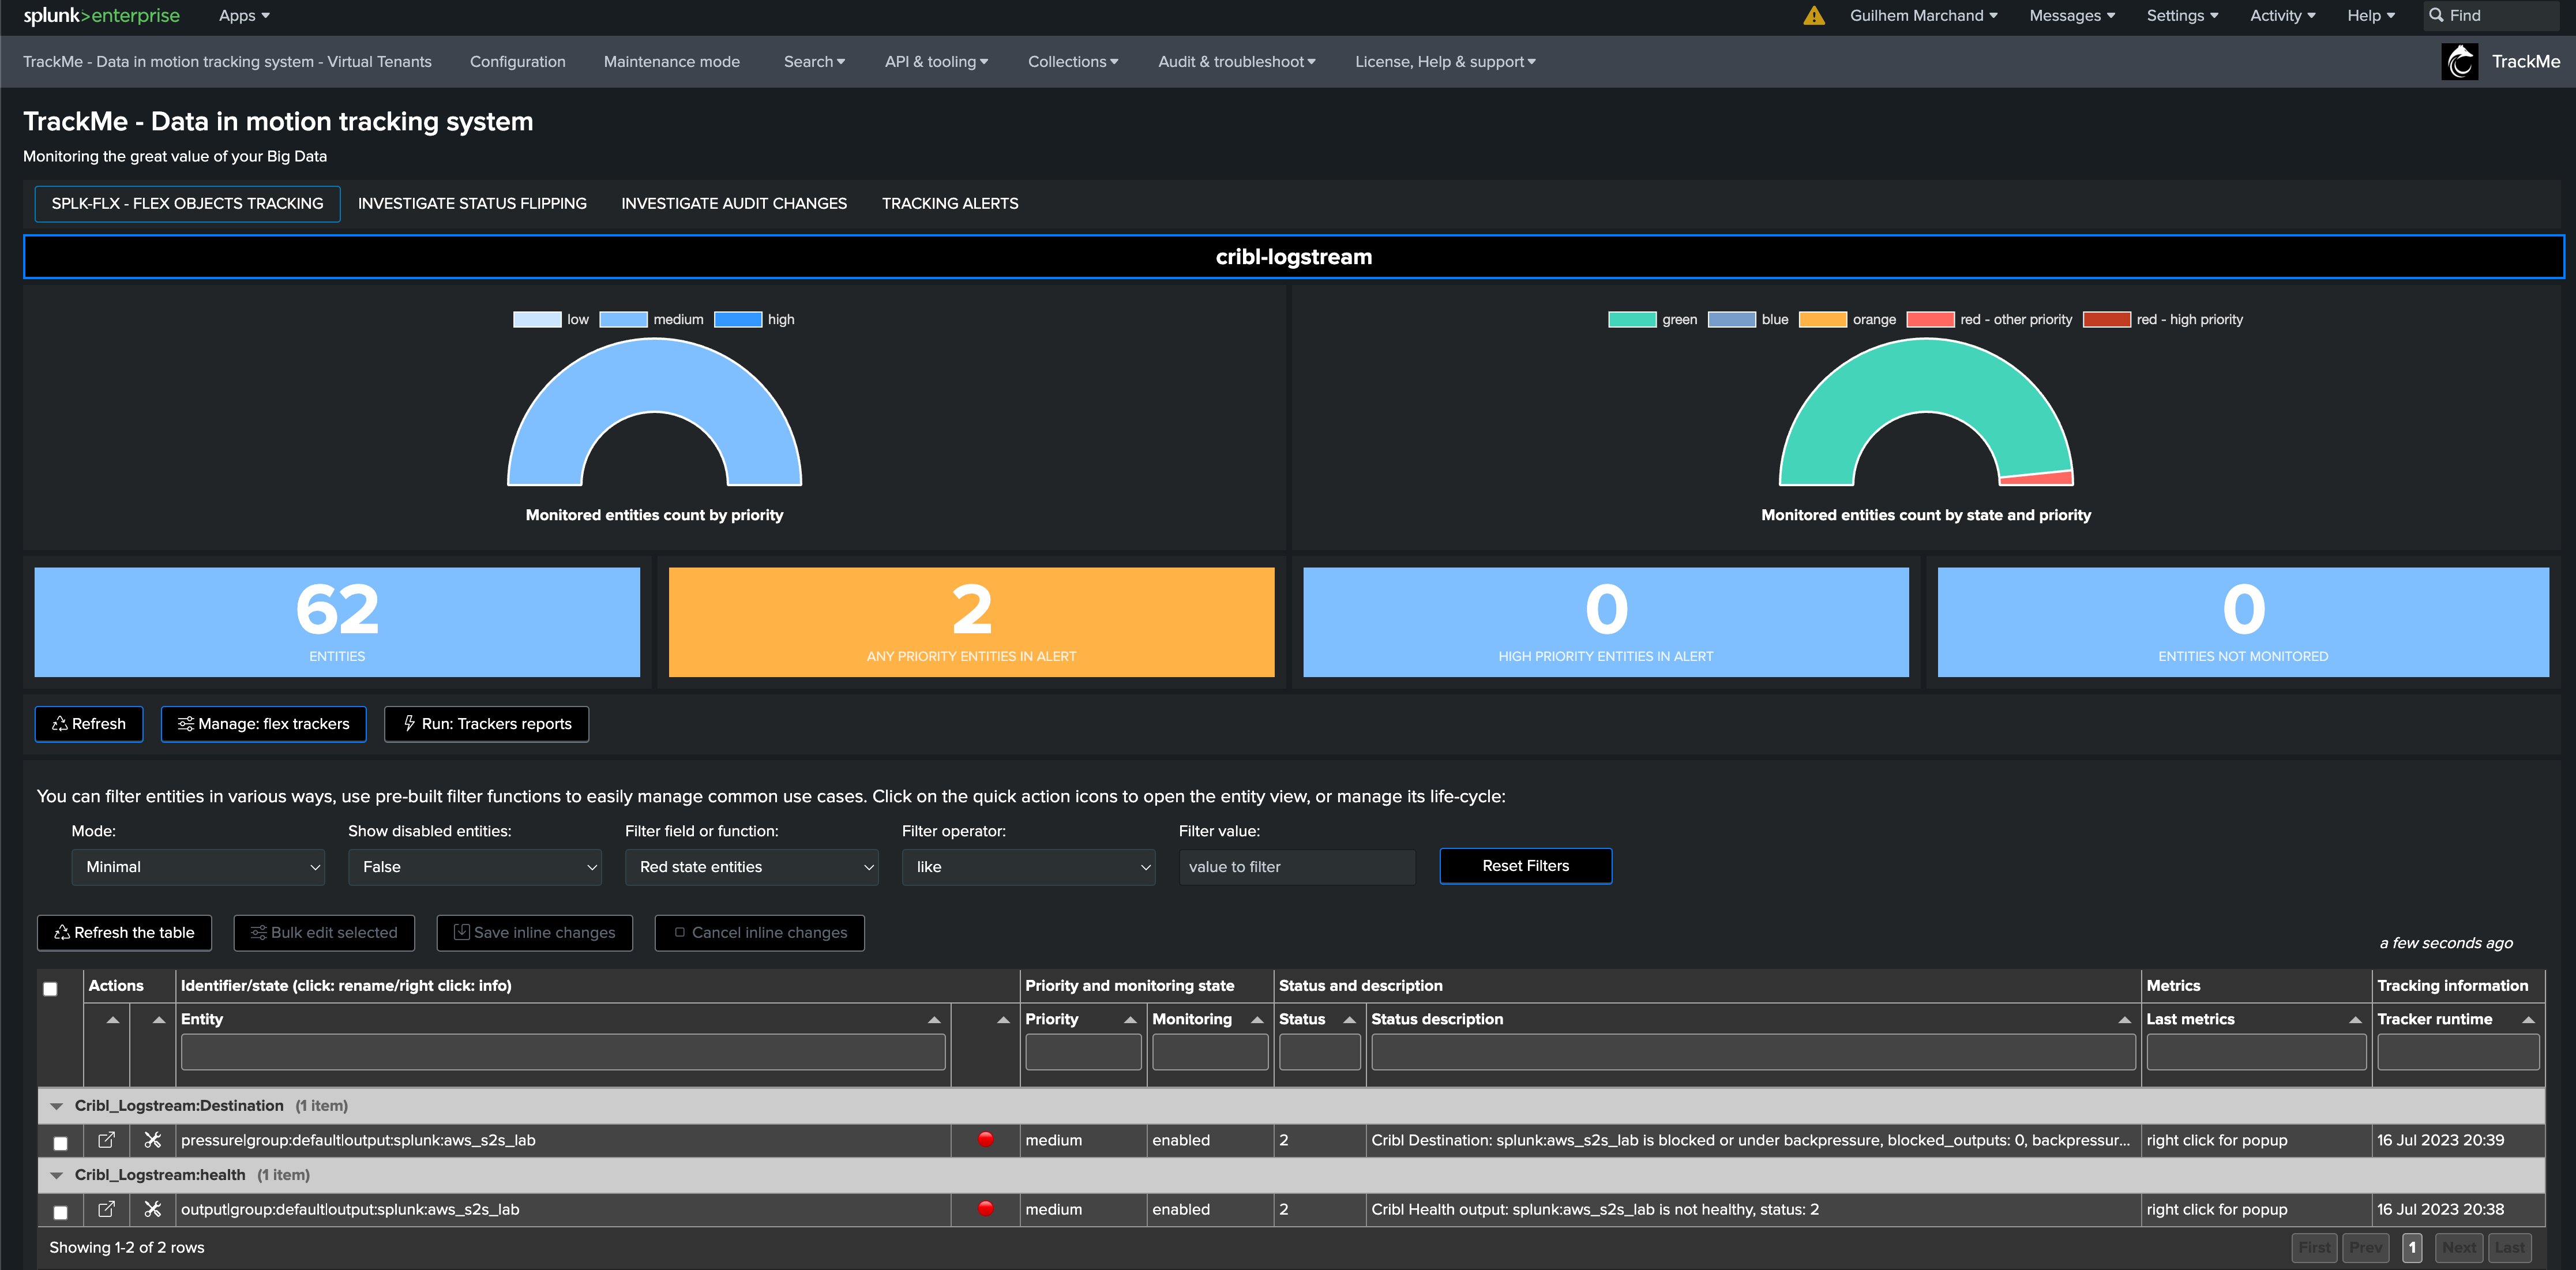
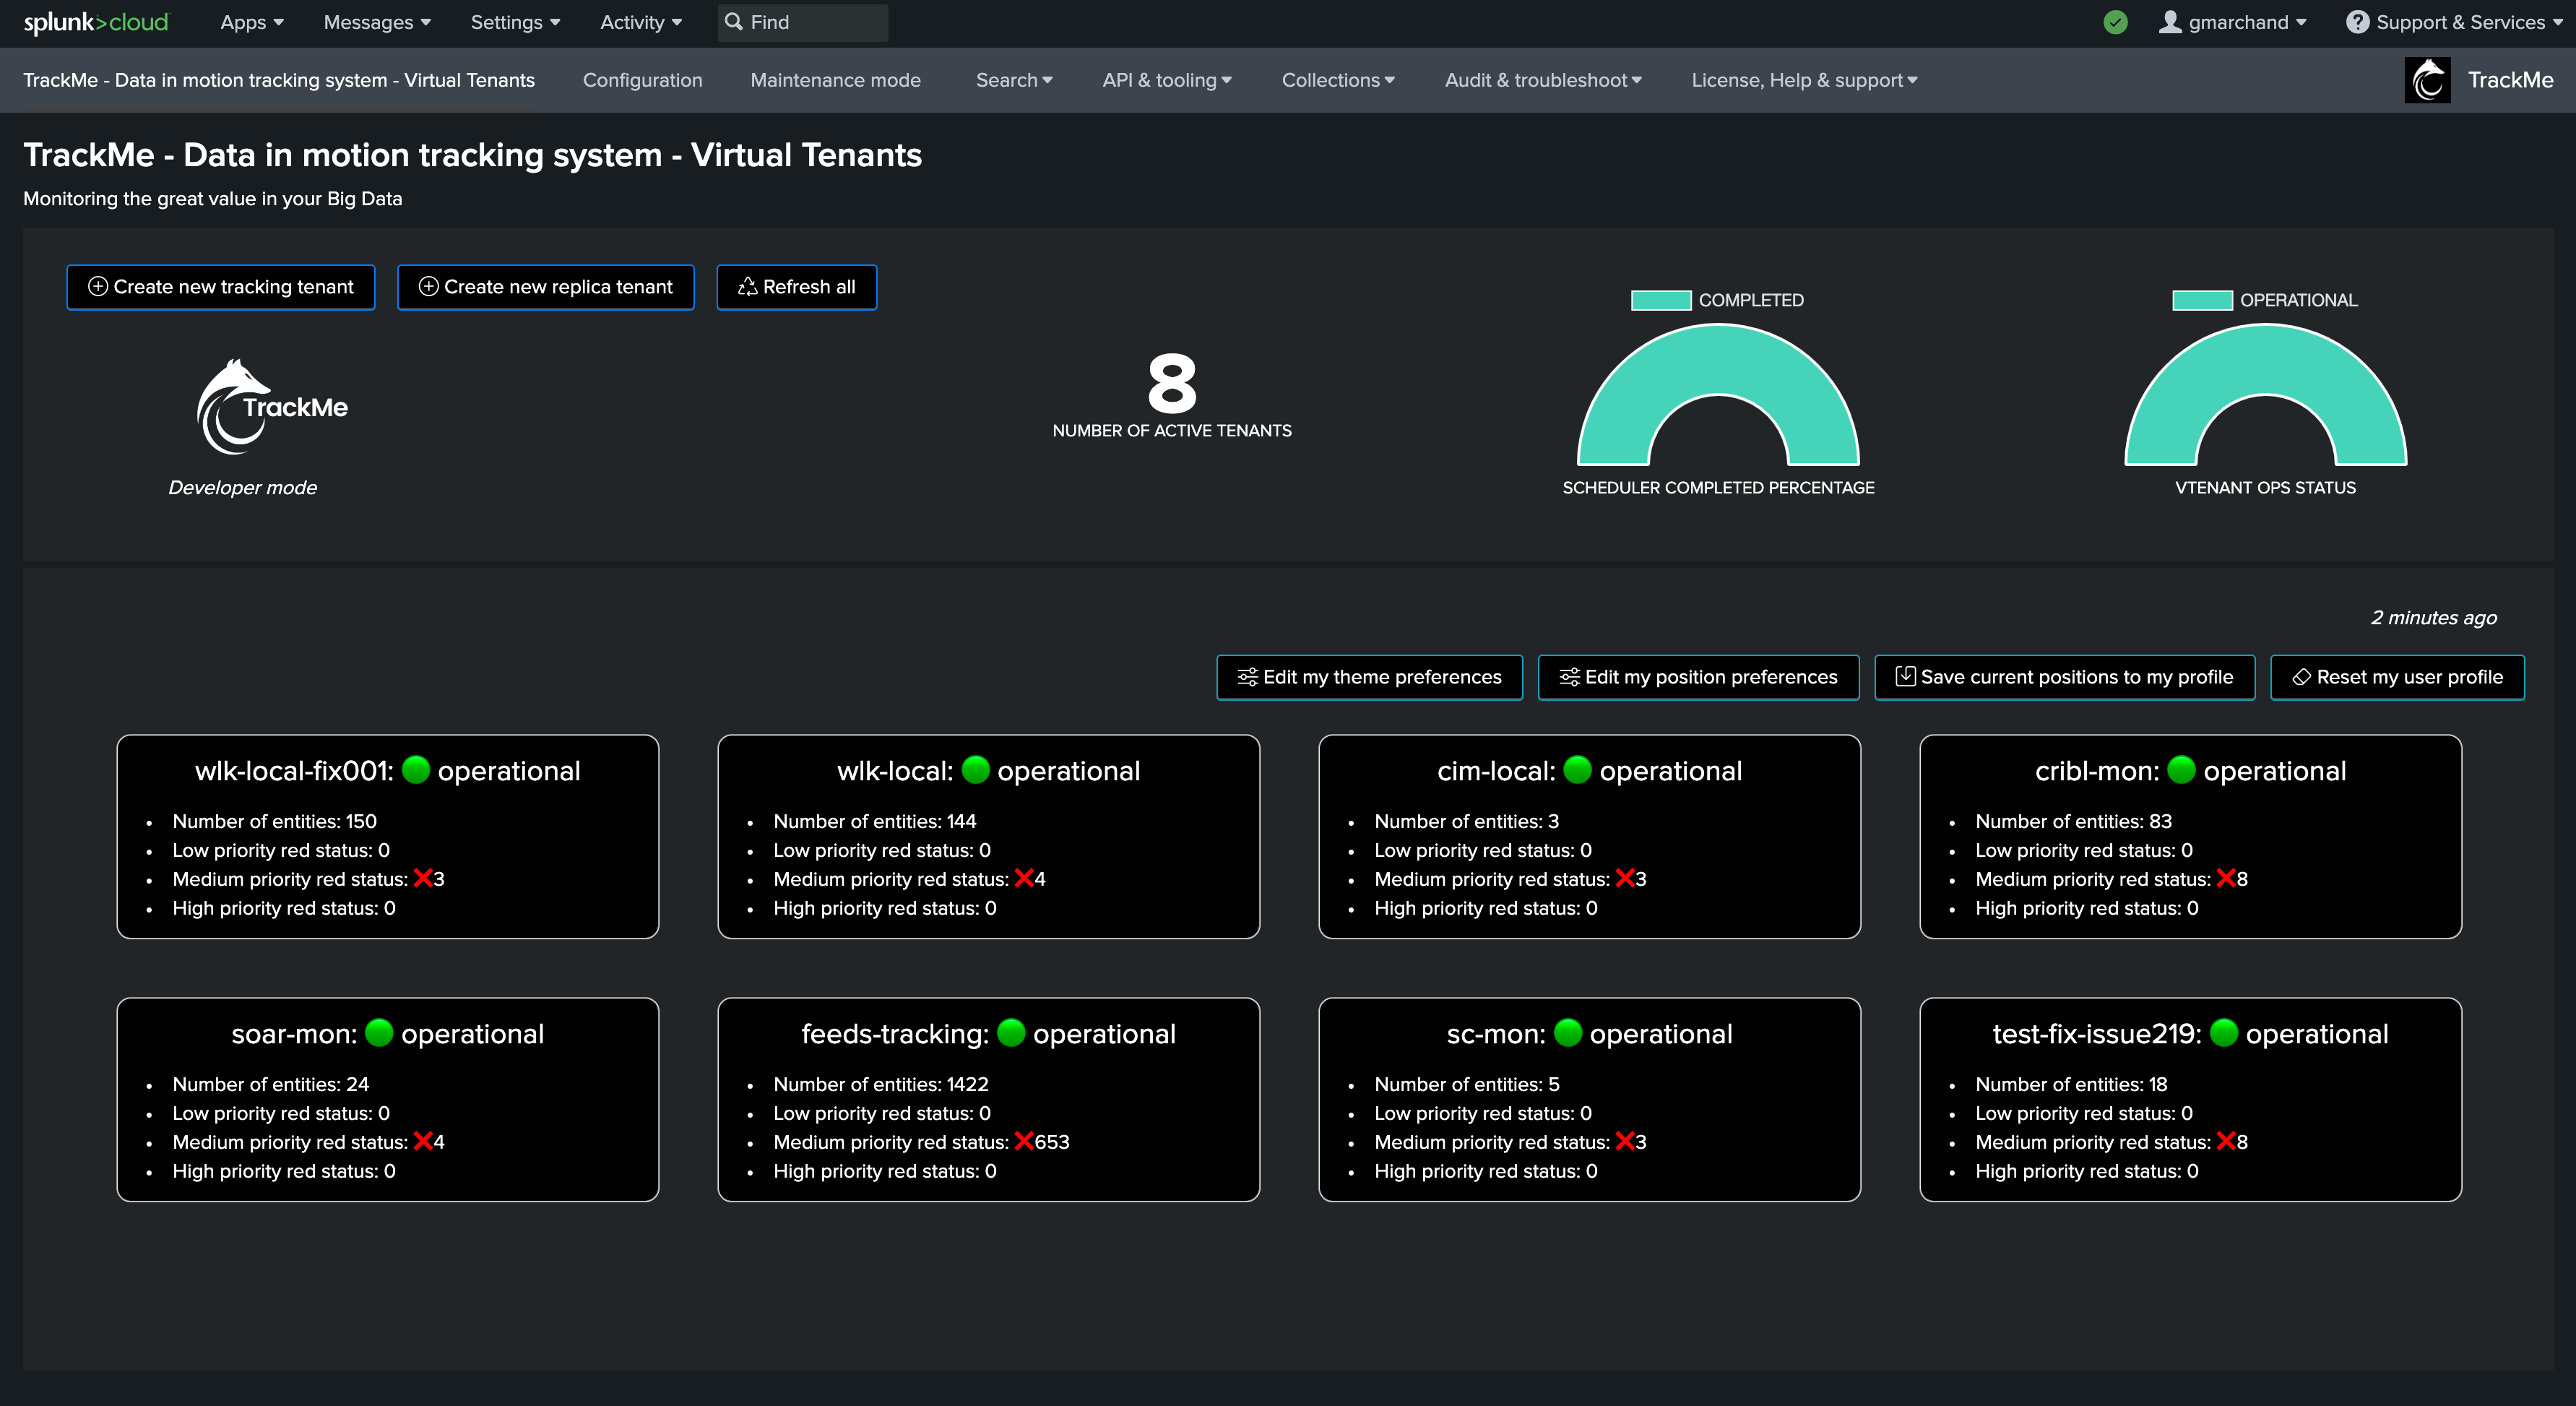
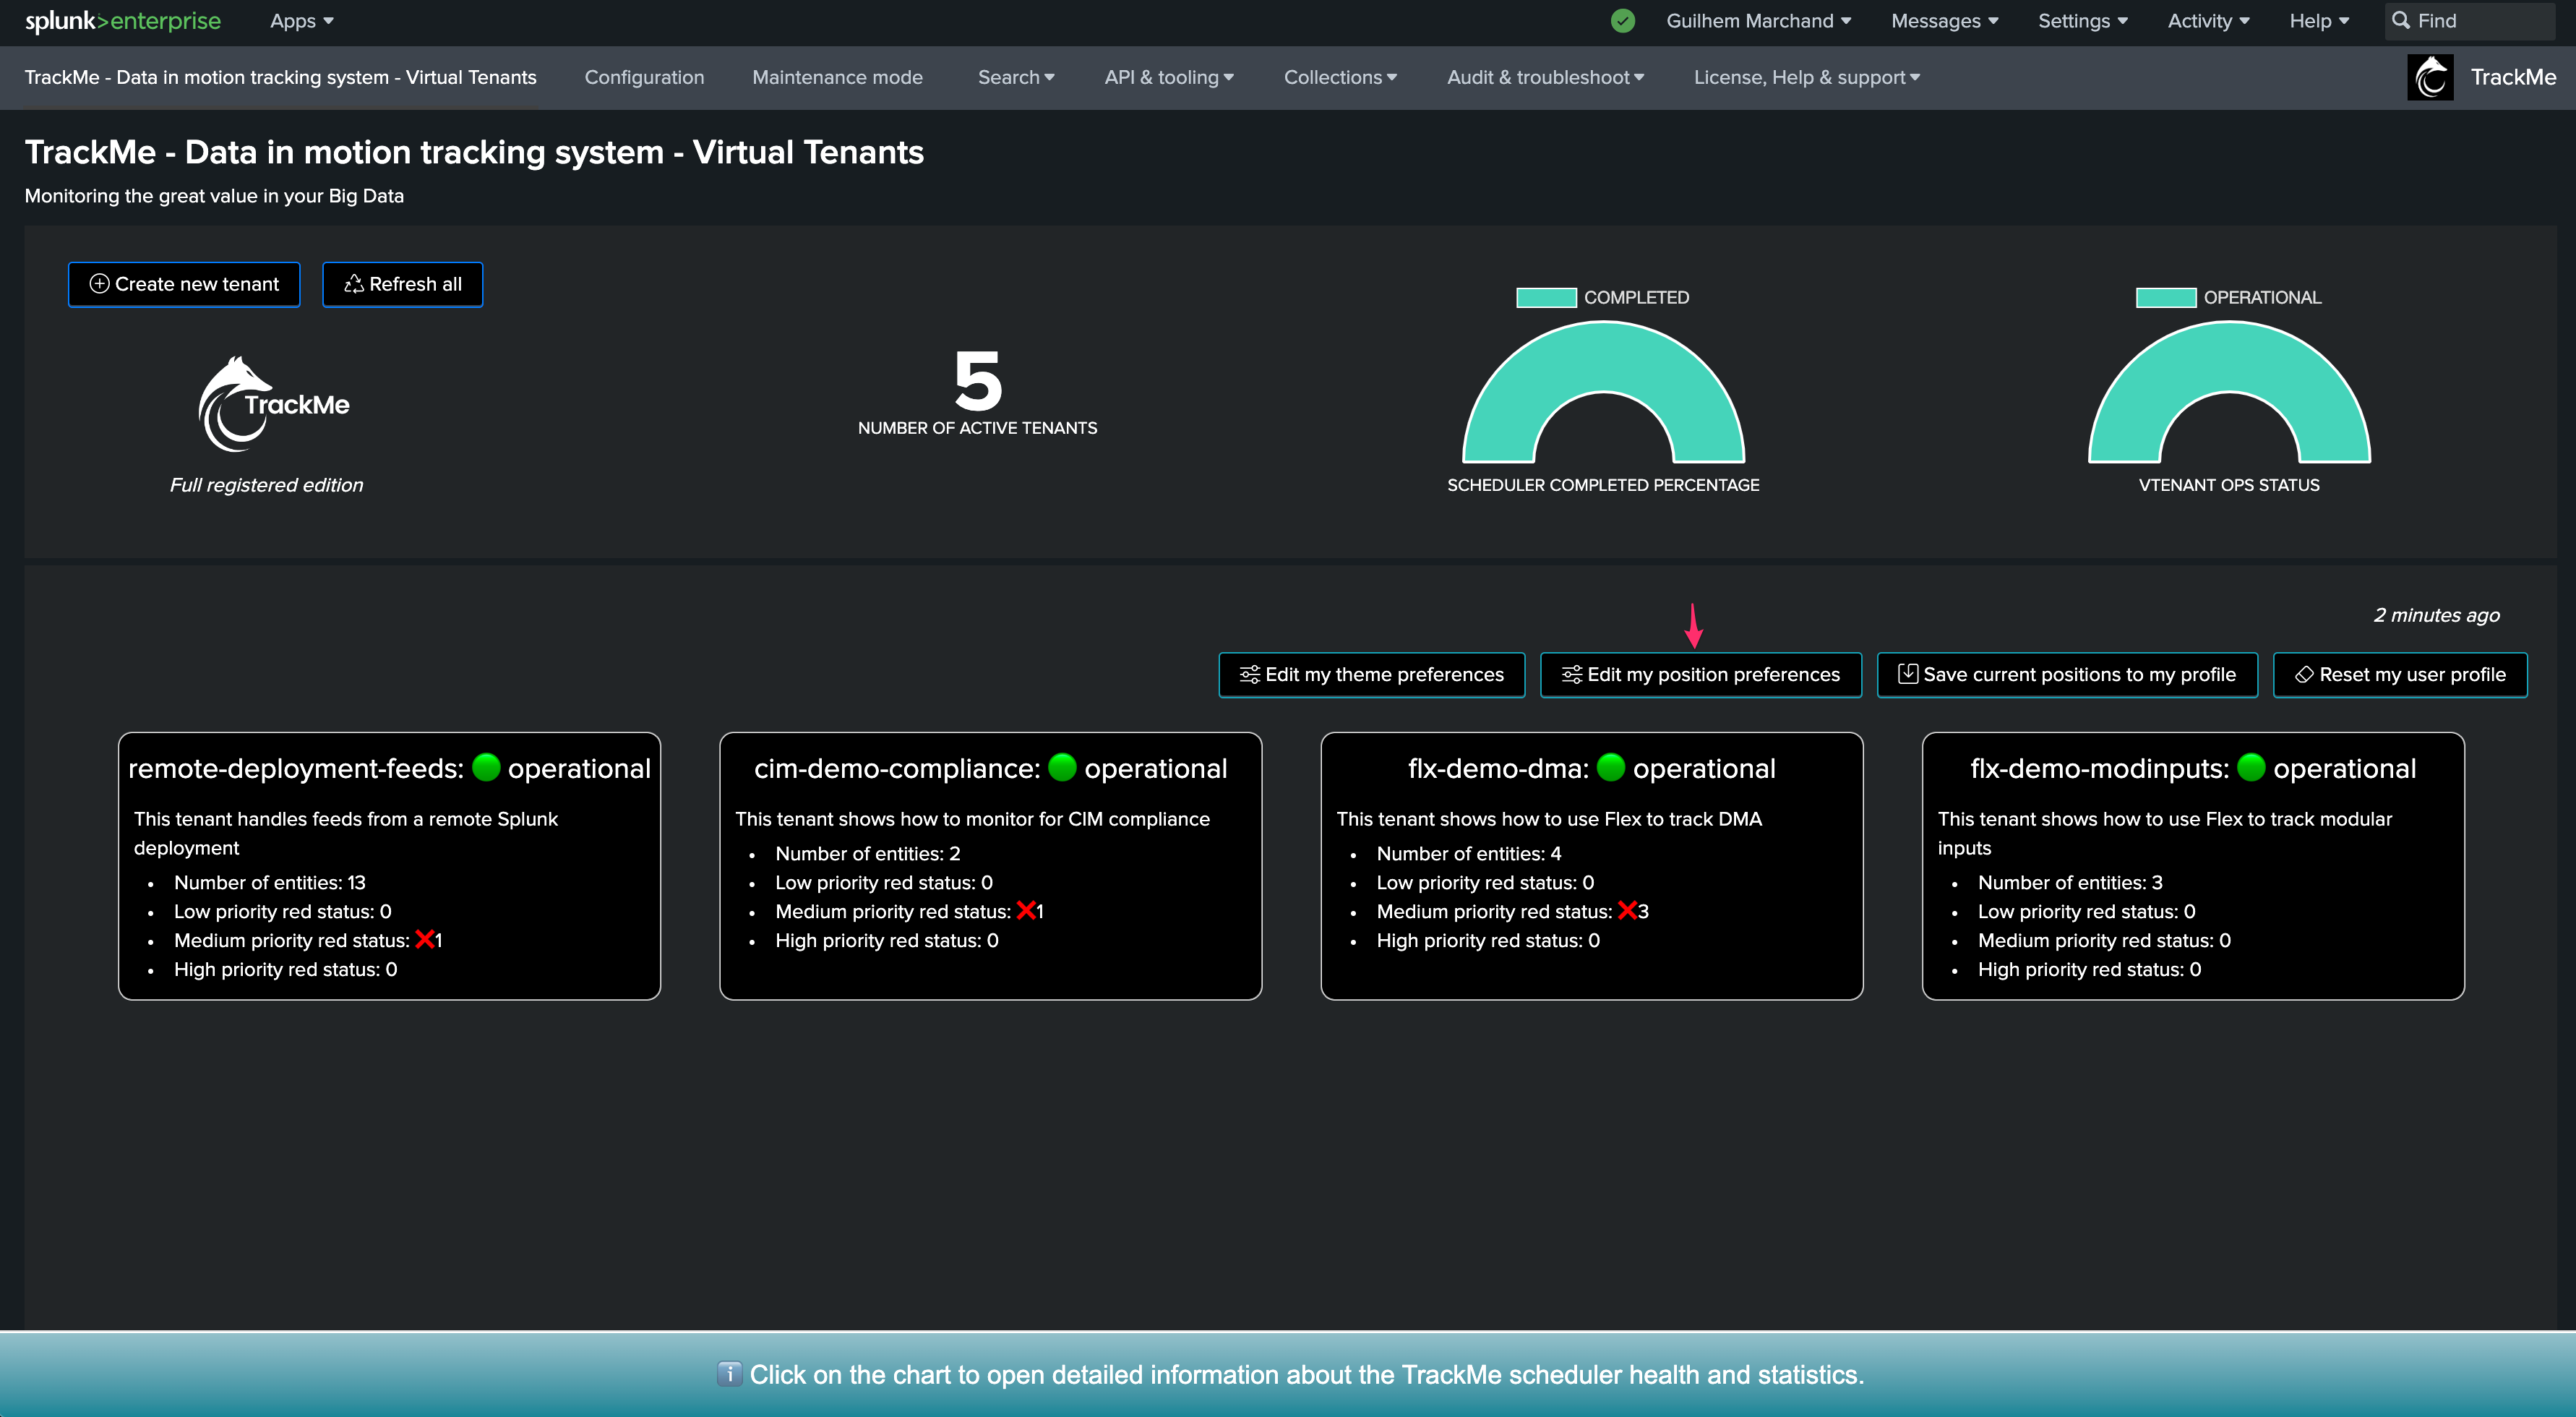
CIM Trackers are created and managed through TrackMe, these are scheduled backend jobs orchestrating the entities discovery and management for the TrackMe splk-cim component:
The splk-cim component stands for Common Information Model compliance tracking
This component allows tracking the compliance of your CIM parsing from the perspective of the CIM data models
Tracking CIM compliance is a challenging task from various aspects, from the point of view of its complexity as well as scalability and computing costs consideration
TrackMe uniquely tackles these challenges using a powerful set of techniques and backend custom commands able to consider each field individually at scale, applying highly configurable rules in a robust and flexible workflow
TrackMe provides with a suggest regular expression for each CIM field which you want to monitor in a given data model, storing the tracking rules in a JSON dictionary
For each CIM field to be monitored, you can specify the regular expression validating the format, the minimal percentage of compliant results, as well as the maximal percentage of unknown results
A single Tracker can manage a few, or many CIM field in single data model
You can update CIM tracking rules at anytime, while creating CIM trackers you can as well upload existing templates that you would have previously define, or clone tracking rules from an existing CIM tracker
When creating a trackers, the related knowledge objects will be owned by the owner defined at the Virtual Tenant level
TrackMe keeps records of the knowledge objects related to the Trackers, therefore you need to manage its life cycle through TrackMe
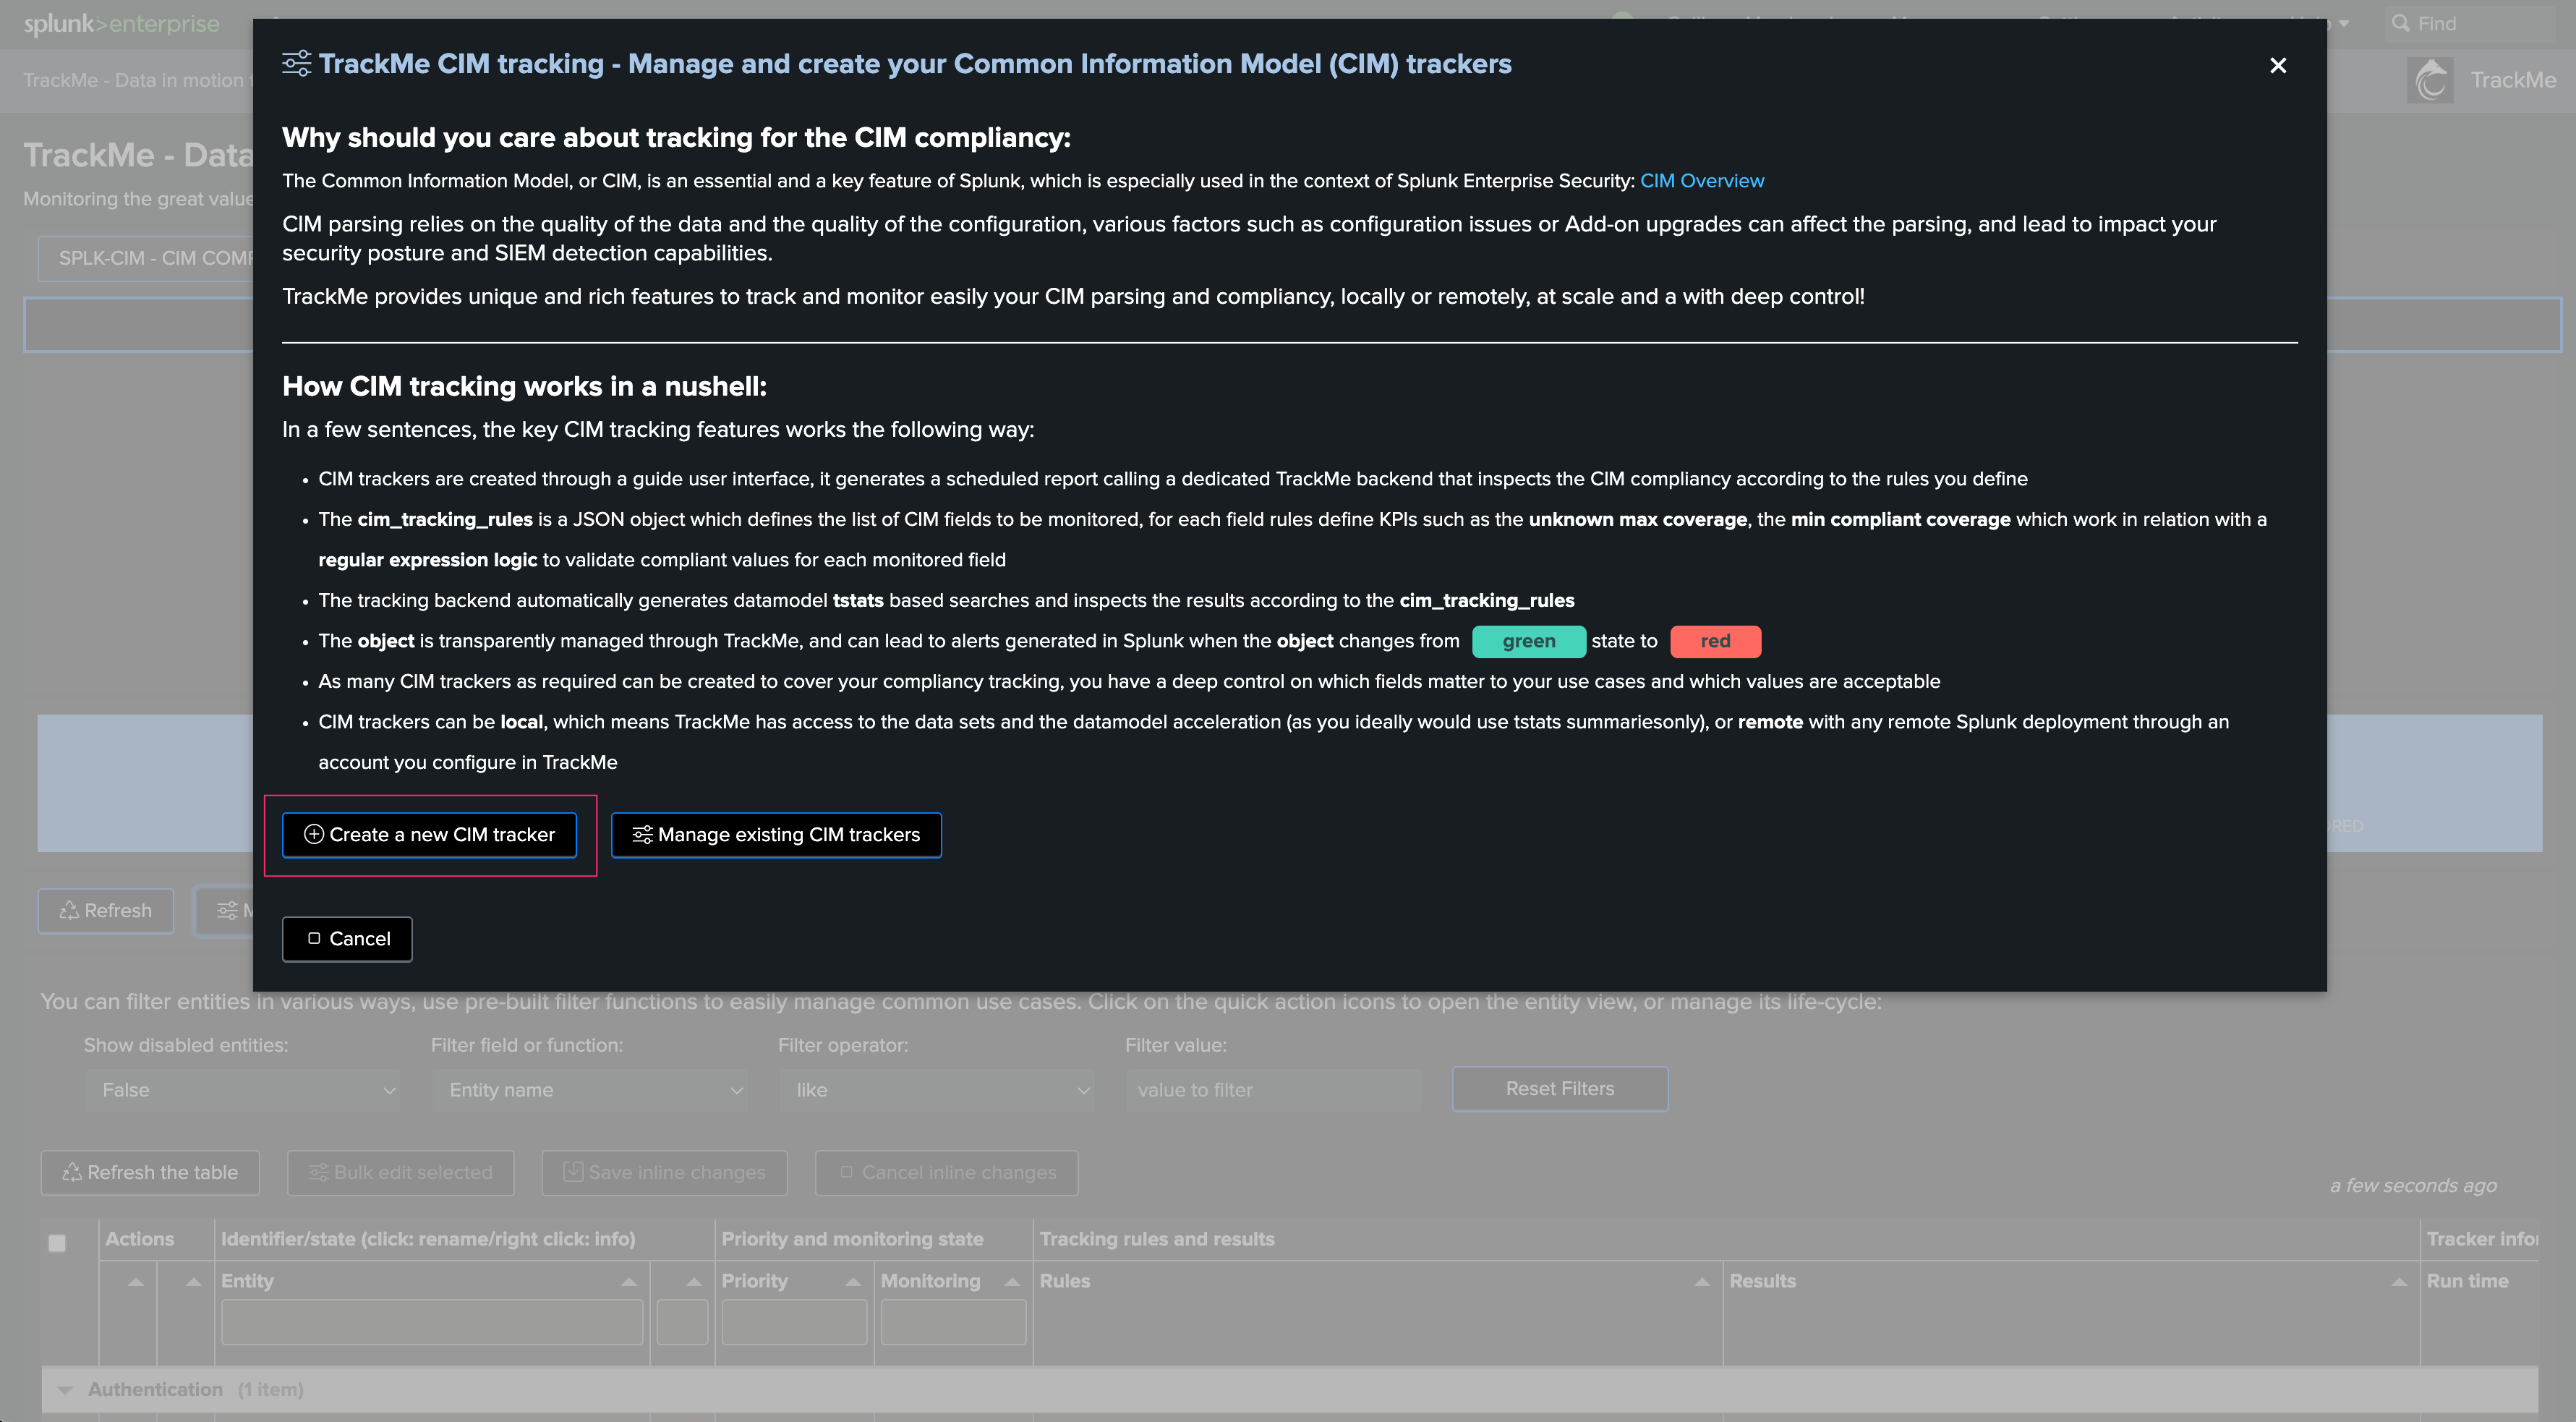
Creating a CIM Tracker
Once you have created a CIM Virtual Tenant, you can create one or more CIM Trackers:
Wizard creation welcoming screen:
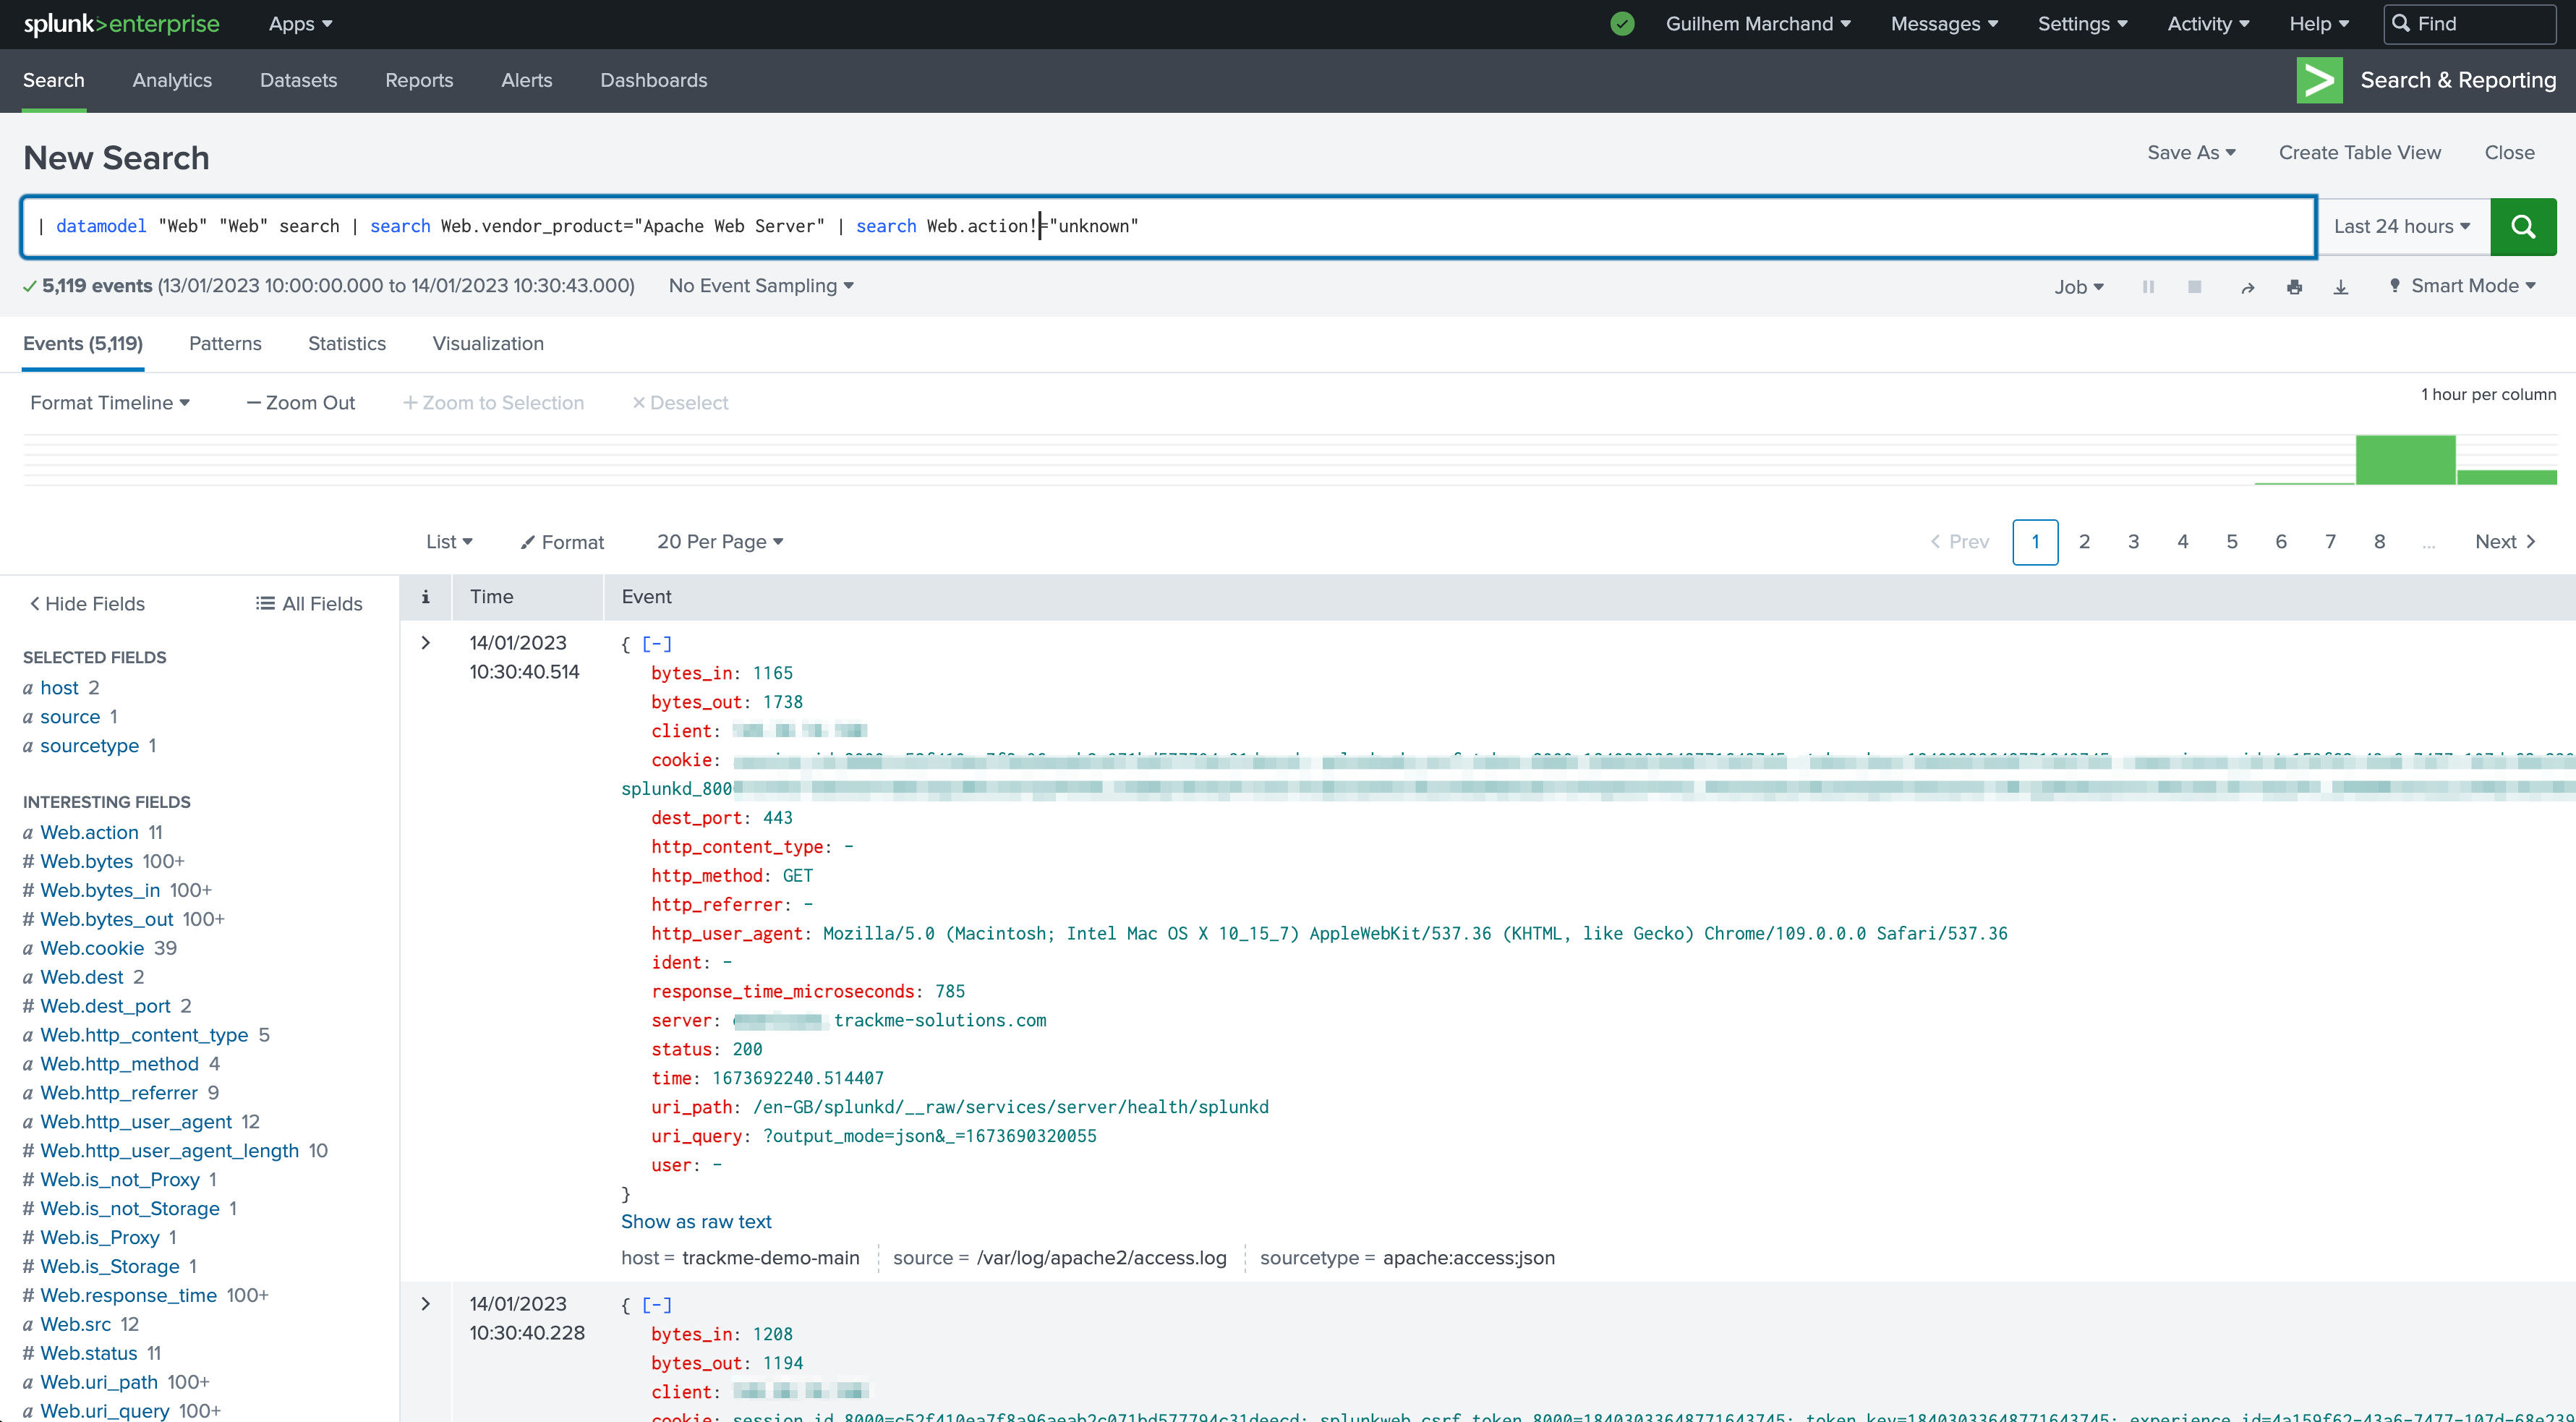
First step if so define the name of the CIM entity, in this example we will create a Web data model based entity to track Apache Web Access log compliance:
Then, define if the target is local or remote, in our example the DMA data is locally available but it could be equally a remote Splunk deployment:
Define the Data model name and the Data model node name, consult the data model stucture if needed, in our example:

Add search filter according to the Data model context and your target, in our case we will leverage the vendor_product Data model field:
Note: You can add any search filter as long as it is available in the context of the Data model, you must use the data model field name
Define the drop Data model context, this field is automatically pre-filled, in complex scenarios you can add multiple node name drop definition (as a comma separated list of values):
Define if we should require only accelerated data, this is highly recommended for optimization and compute costs purposes:
Optionally define a break by field logic, in most cases use none to keep the default behaviour, in some advanced cases you can use this field to manage many entities from a single Tracker such as using a custom cim_entity_zone concept you have added to the Data model:
The wizard shows a search preview for your information only:
Before continuing, you may want to verify that these return the expected data:
The next step is to define which fields should be monitored, as what are going the rules for these:
There are basically 3 options here:
You can upload a previously define JSON template containing the CIM tracking rules structure, if you have already defined a schema then you can rely on this option to easily repeat the creation process
You can clone the CIM tracking definition from another existing CIM tracker
You add field by field the CIM fields to be monitored
Assuming this is your first CIM tracker, we will add fields manually and explain the different options:
In our example, we are going to monitor a selected list of fields to be monitored, we selected the most important fields as these are the fields that for instance you would use in your security use cases, especially at the level of the tstats root search or the break by statement:
These are examples for the purposes of the documentation, you should be maintaining a dictionary of your use cases and identify which CIM fields are mandatory for your security use cases
action
bytes
dest
dest_port
src
status
url
url_domain
url_length
When adding a CIM field, the wizard automatically defines the node name according to your previous settings, as well as a pre-configured regular expression and defaults acceptable values:
Note: these values can modified and updated later on once the CIM tracker is created
consider the following example, during our initial data on-boarding setup, we started to ingest Apache access logs with the standard Apache logging format, which wasn’t compatible with the Splunk TA requirements for CIM parsing:
If our security use case (our Splunk Enterprise Security) expects a proper format or specific types of values, the use case would simply not be functional or unexpectedly exclude this very important Web server!
This is the purpose of the CIM compliance tracking, ensuring that efforts that were put in the use case developments are worth, and that the CIM parsing remains compliant to what was qualified, once we fixed our on-boarding issues:
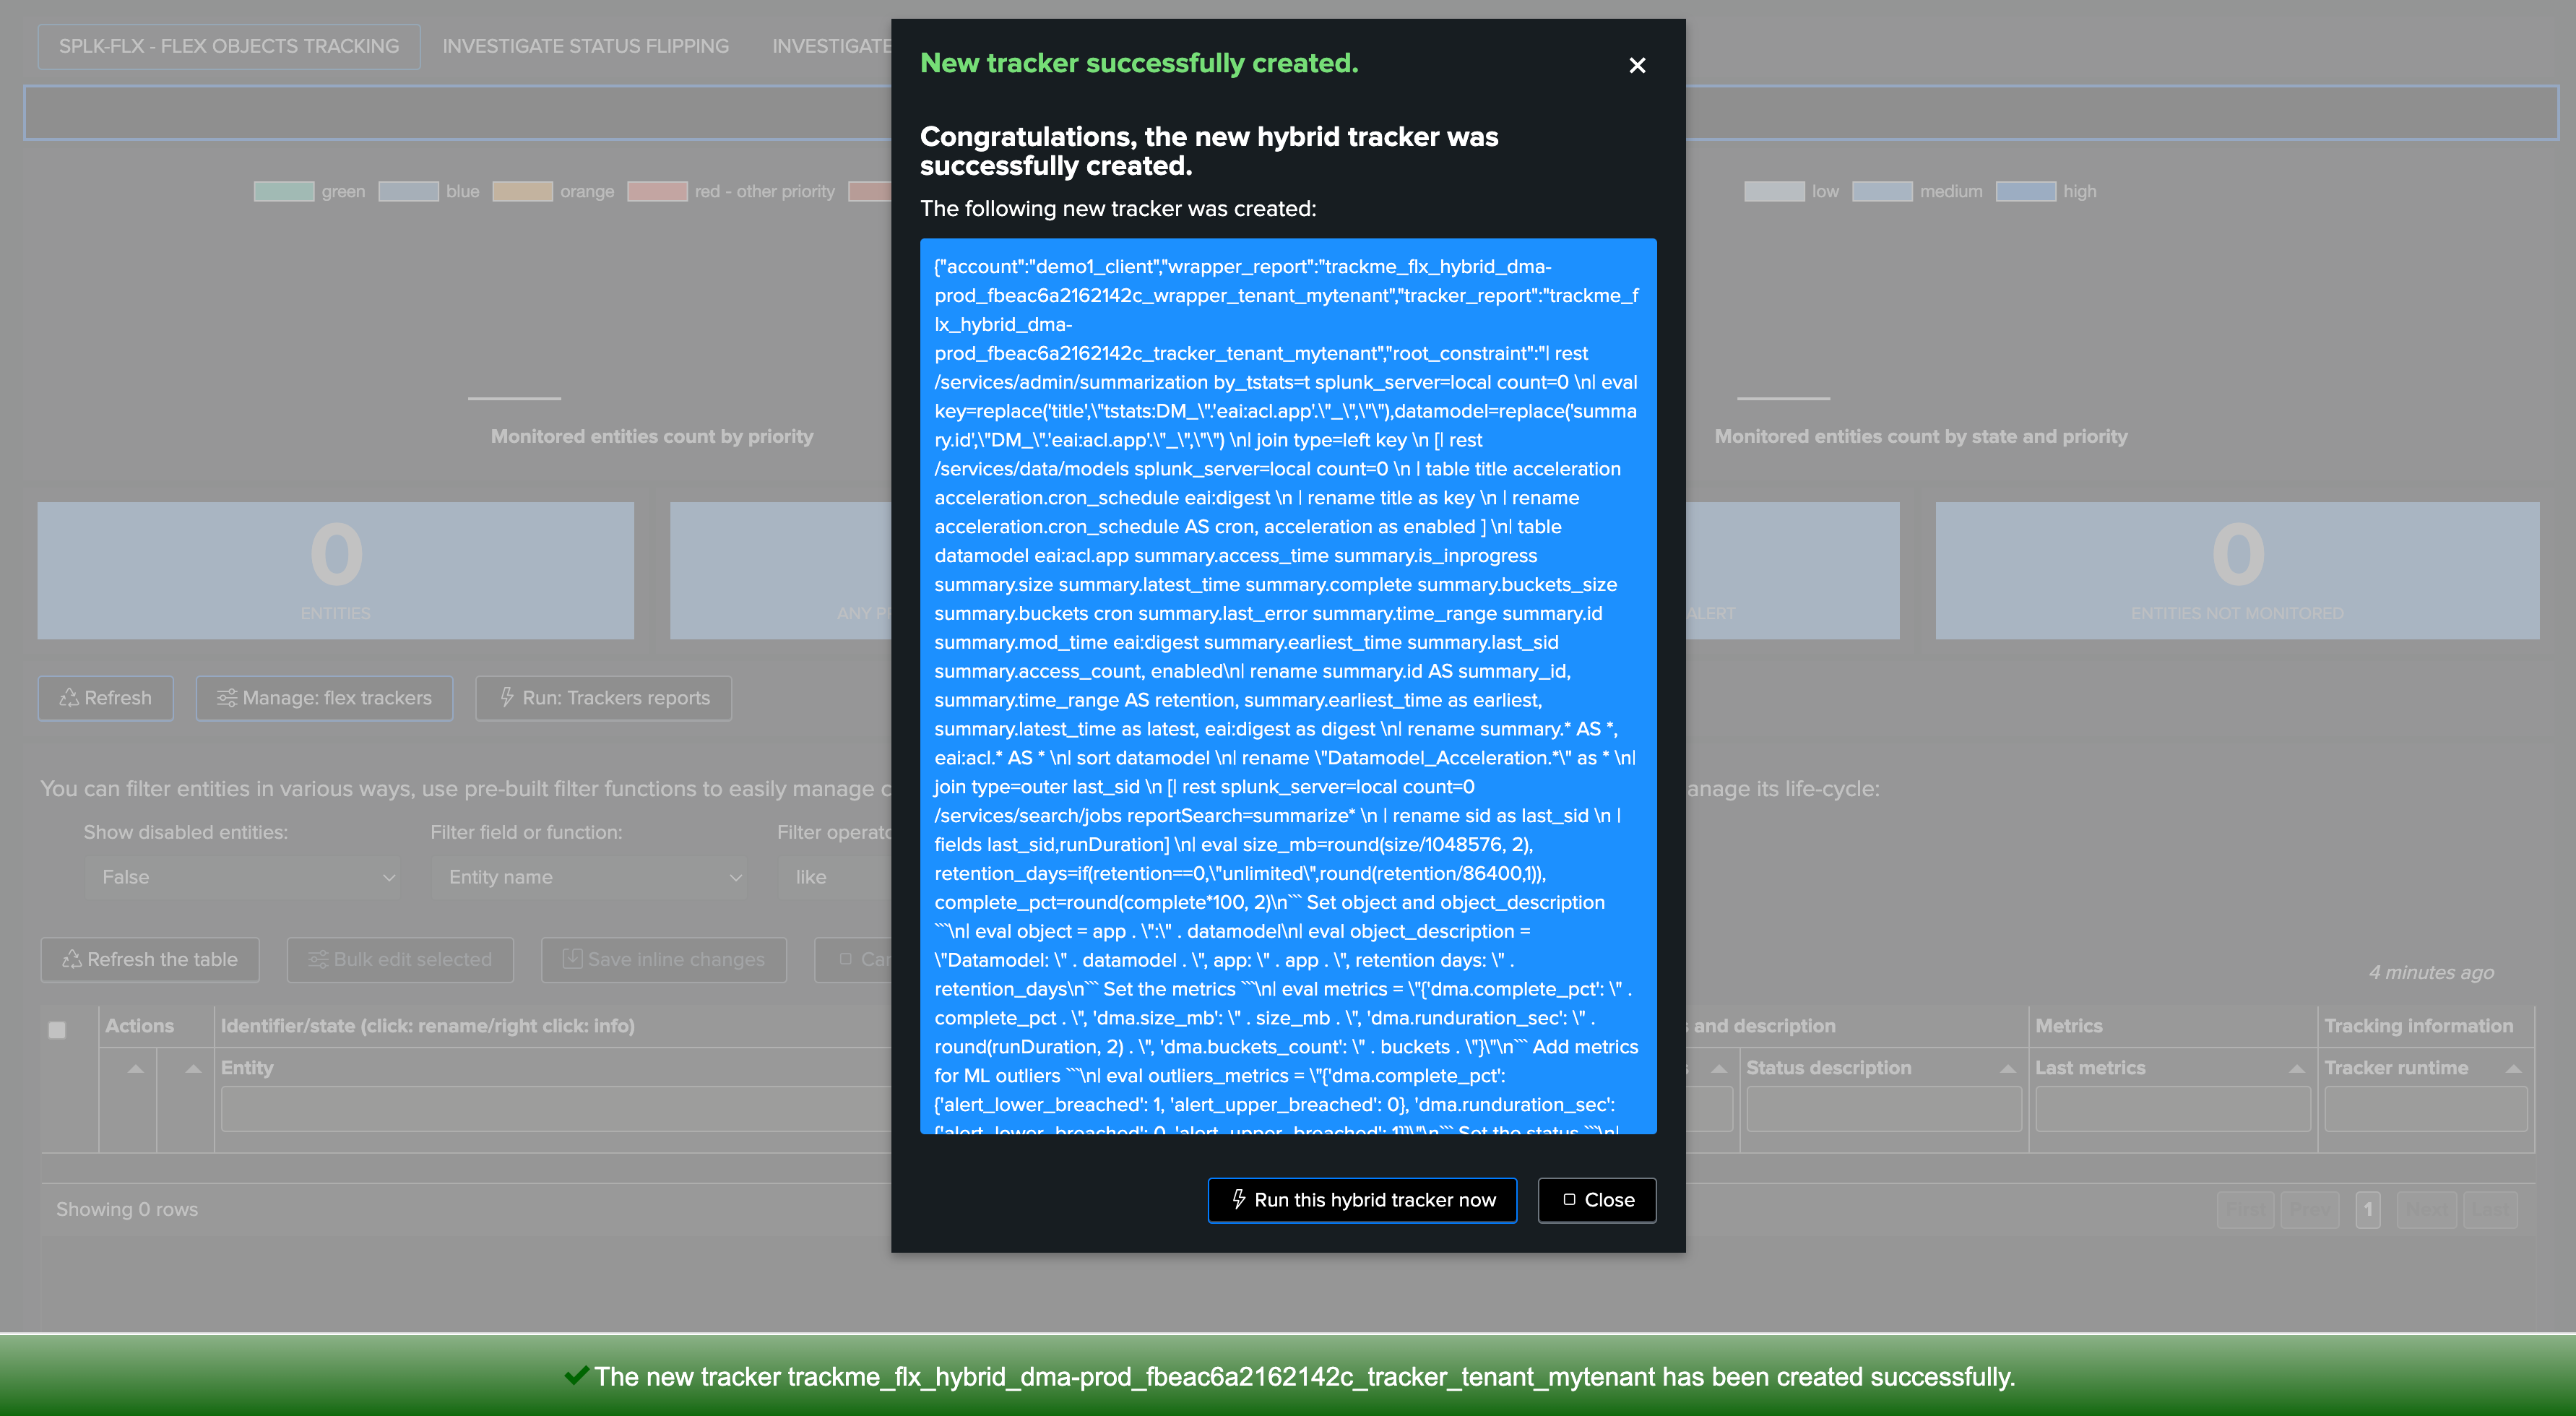
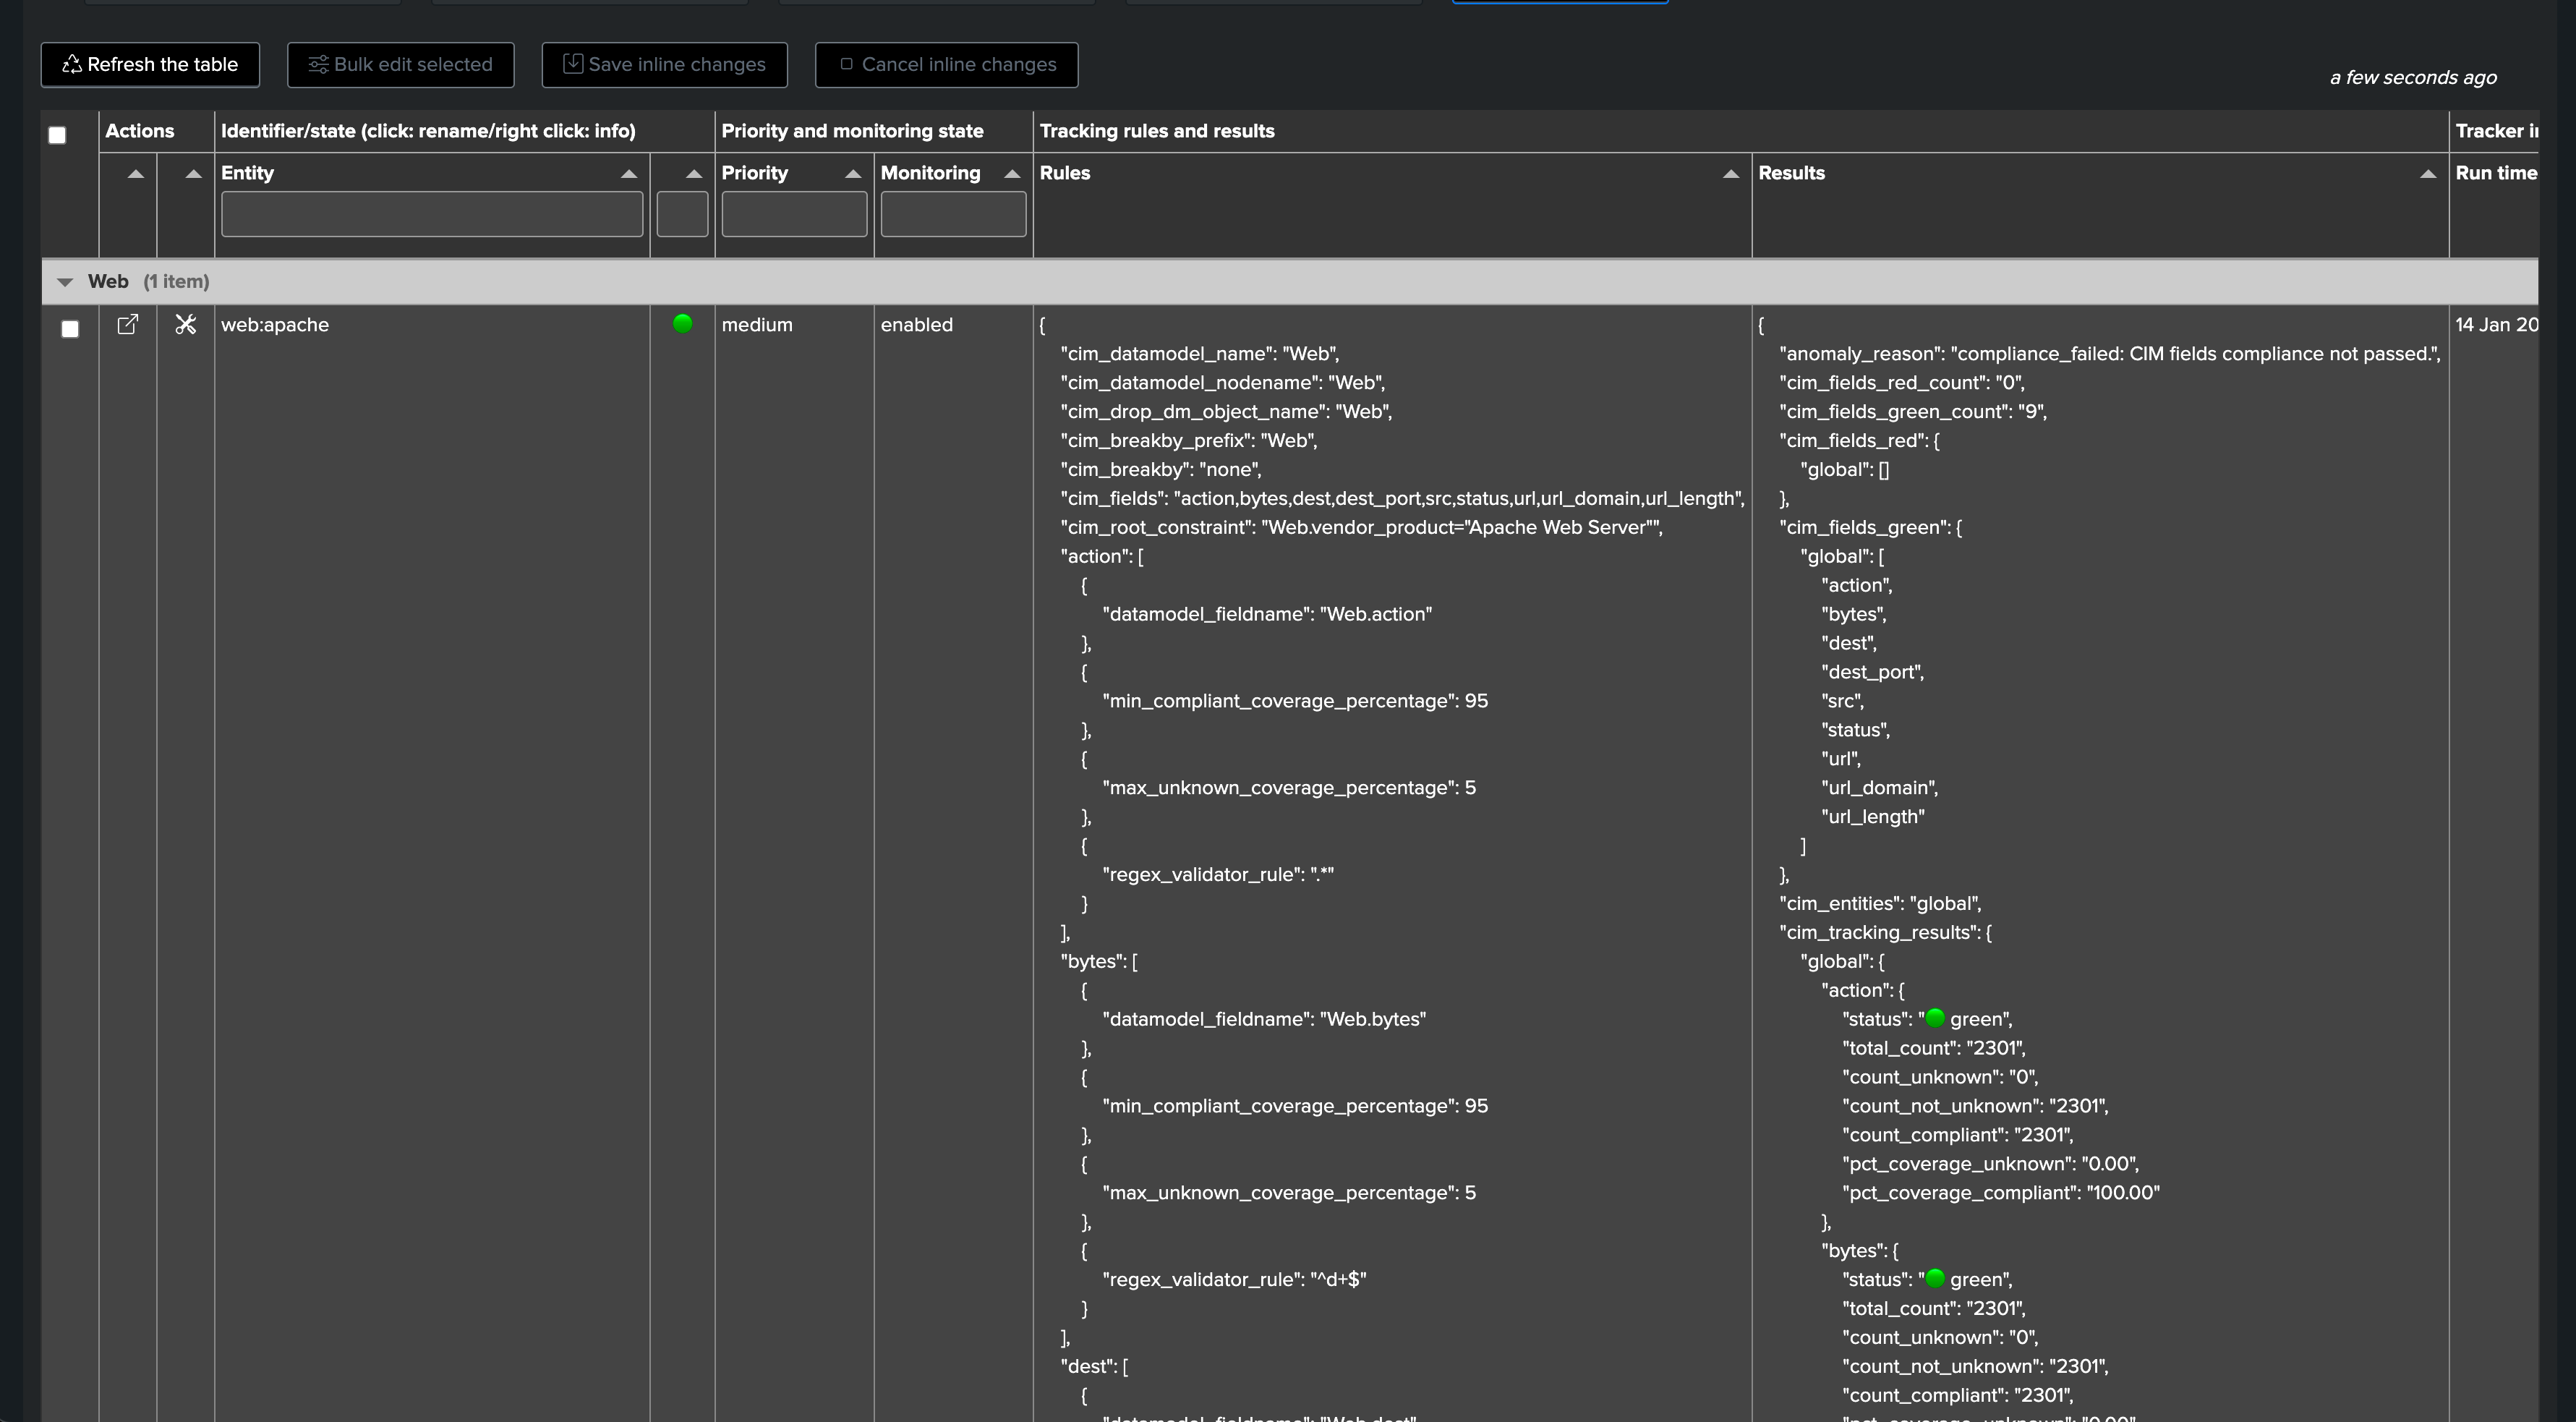
Once we have added all the fields we want to monitor, a JSON preview shows the CIM Tracking rules structure and details:
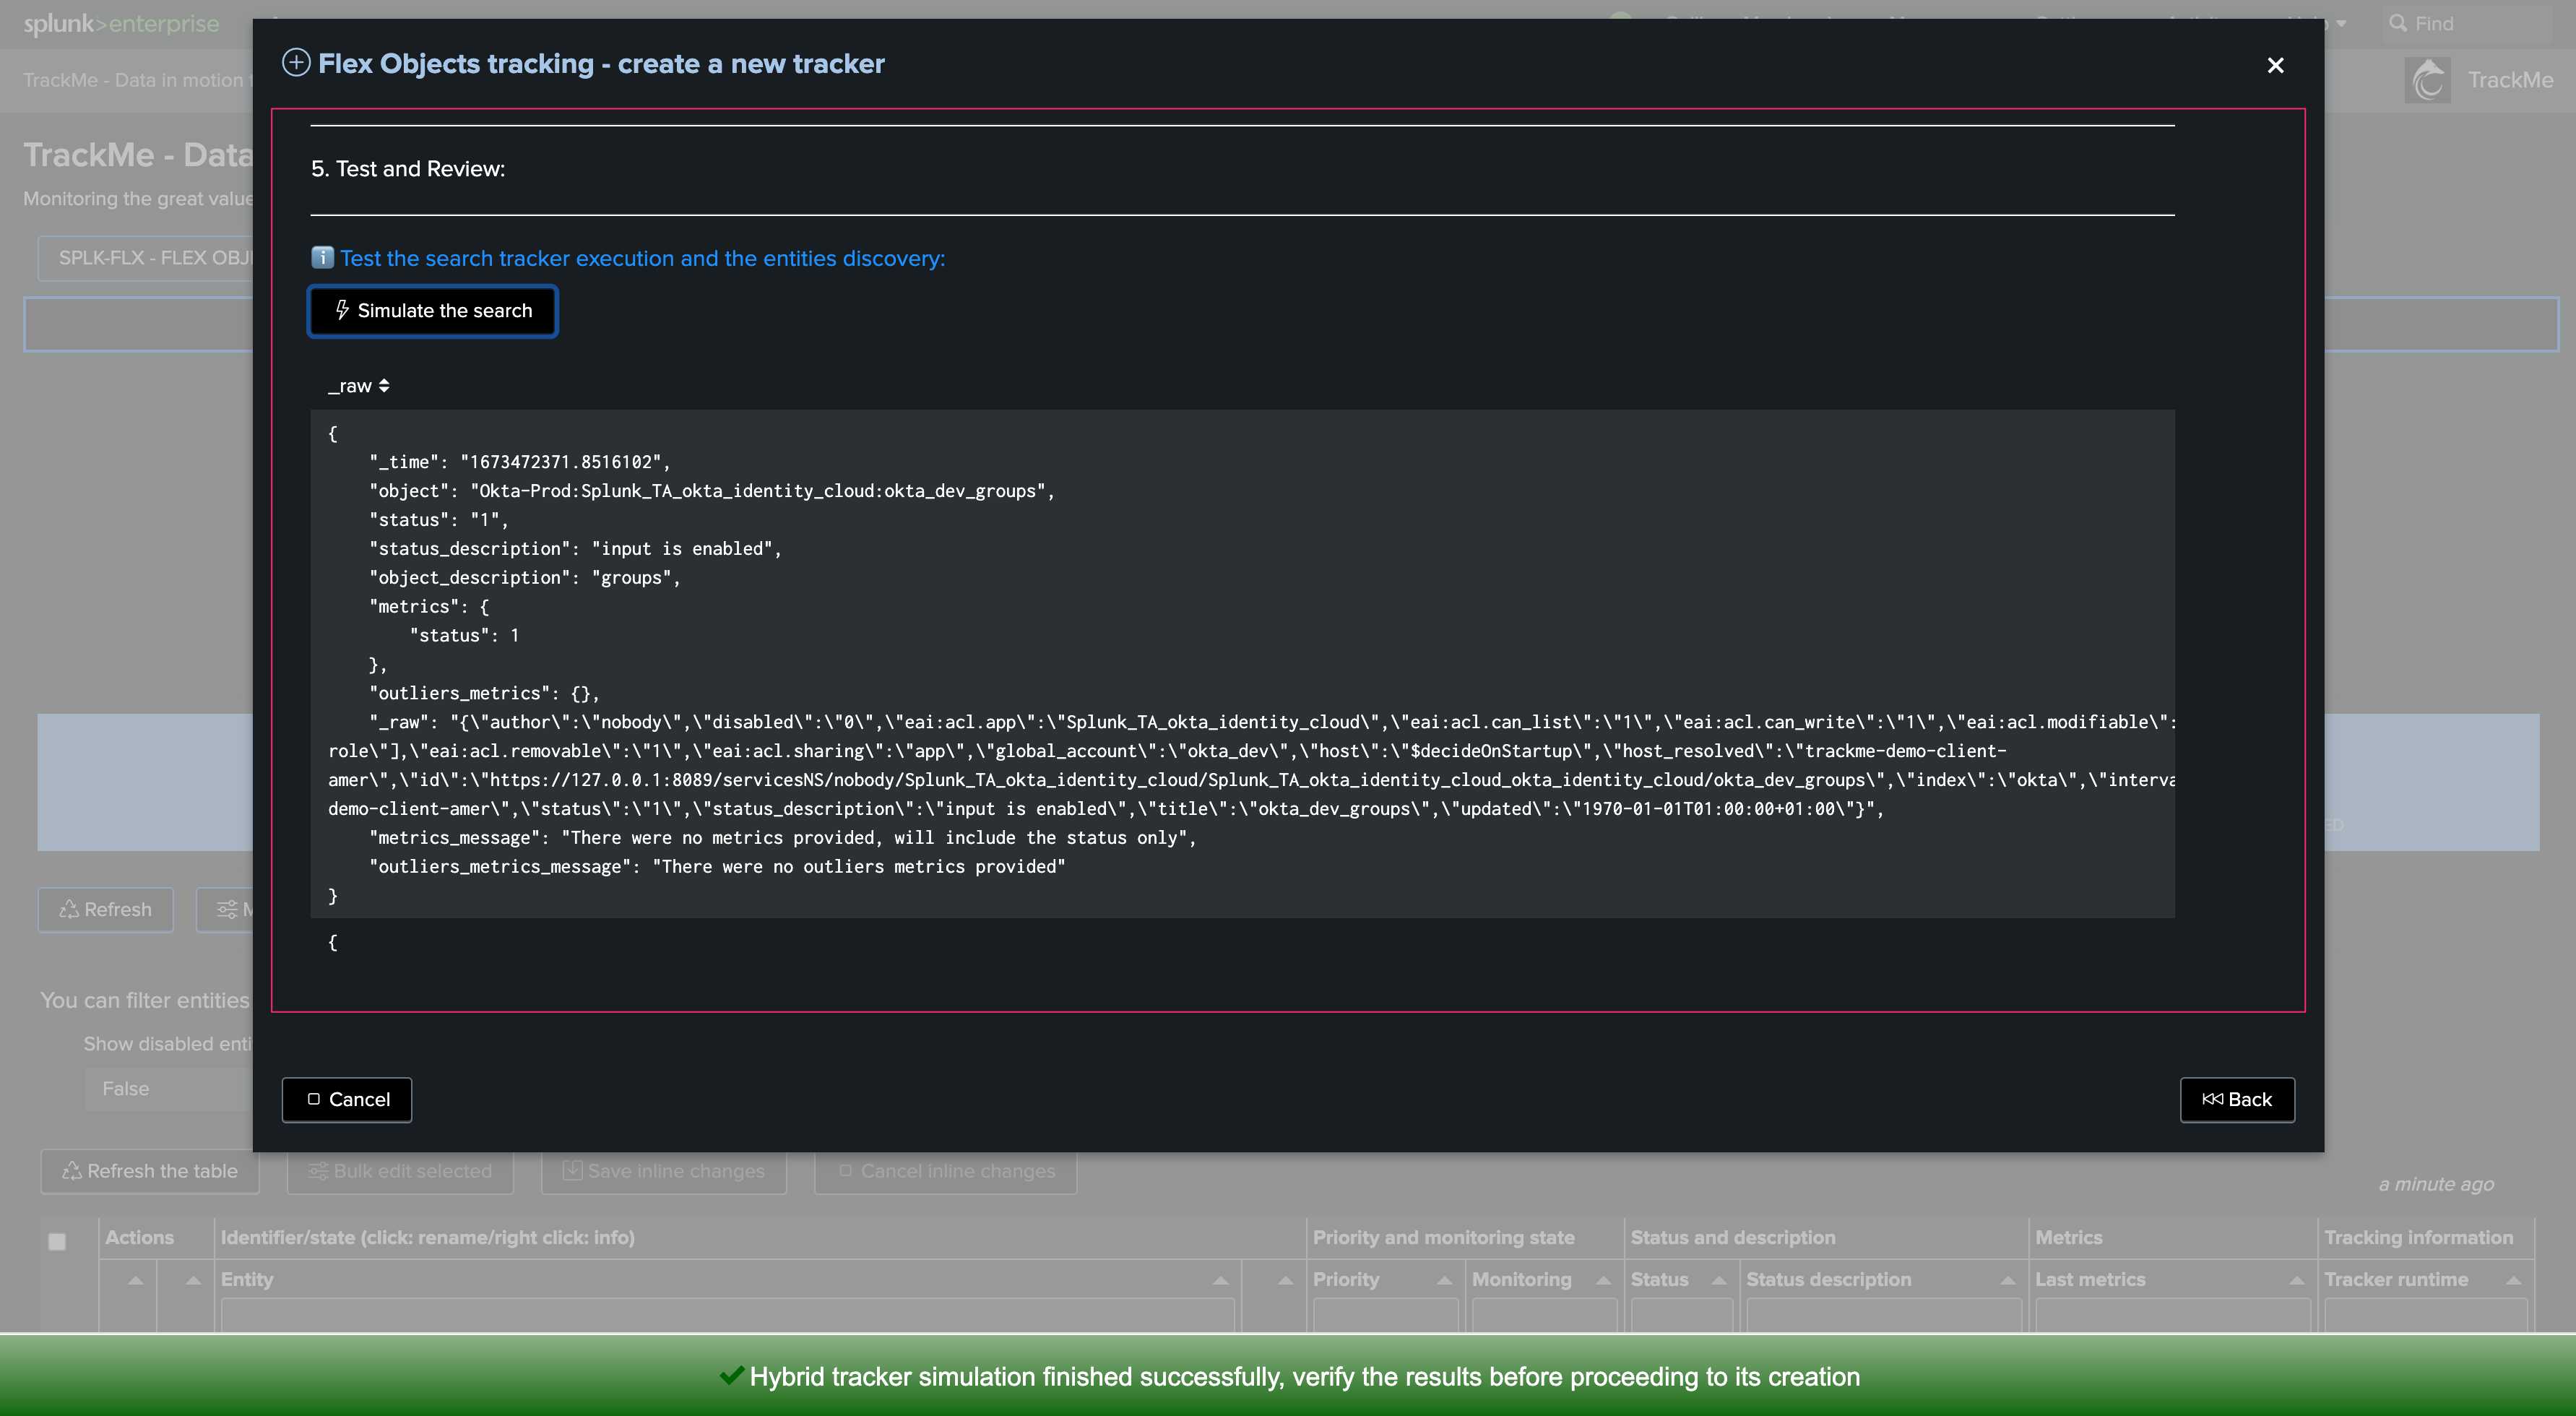
We can now simulate the CIM Tracker creation, this step ensures that the JSON structure are well formed and will be accepted by the TrackMe REST API endpoint:
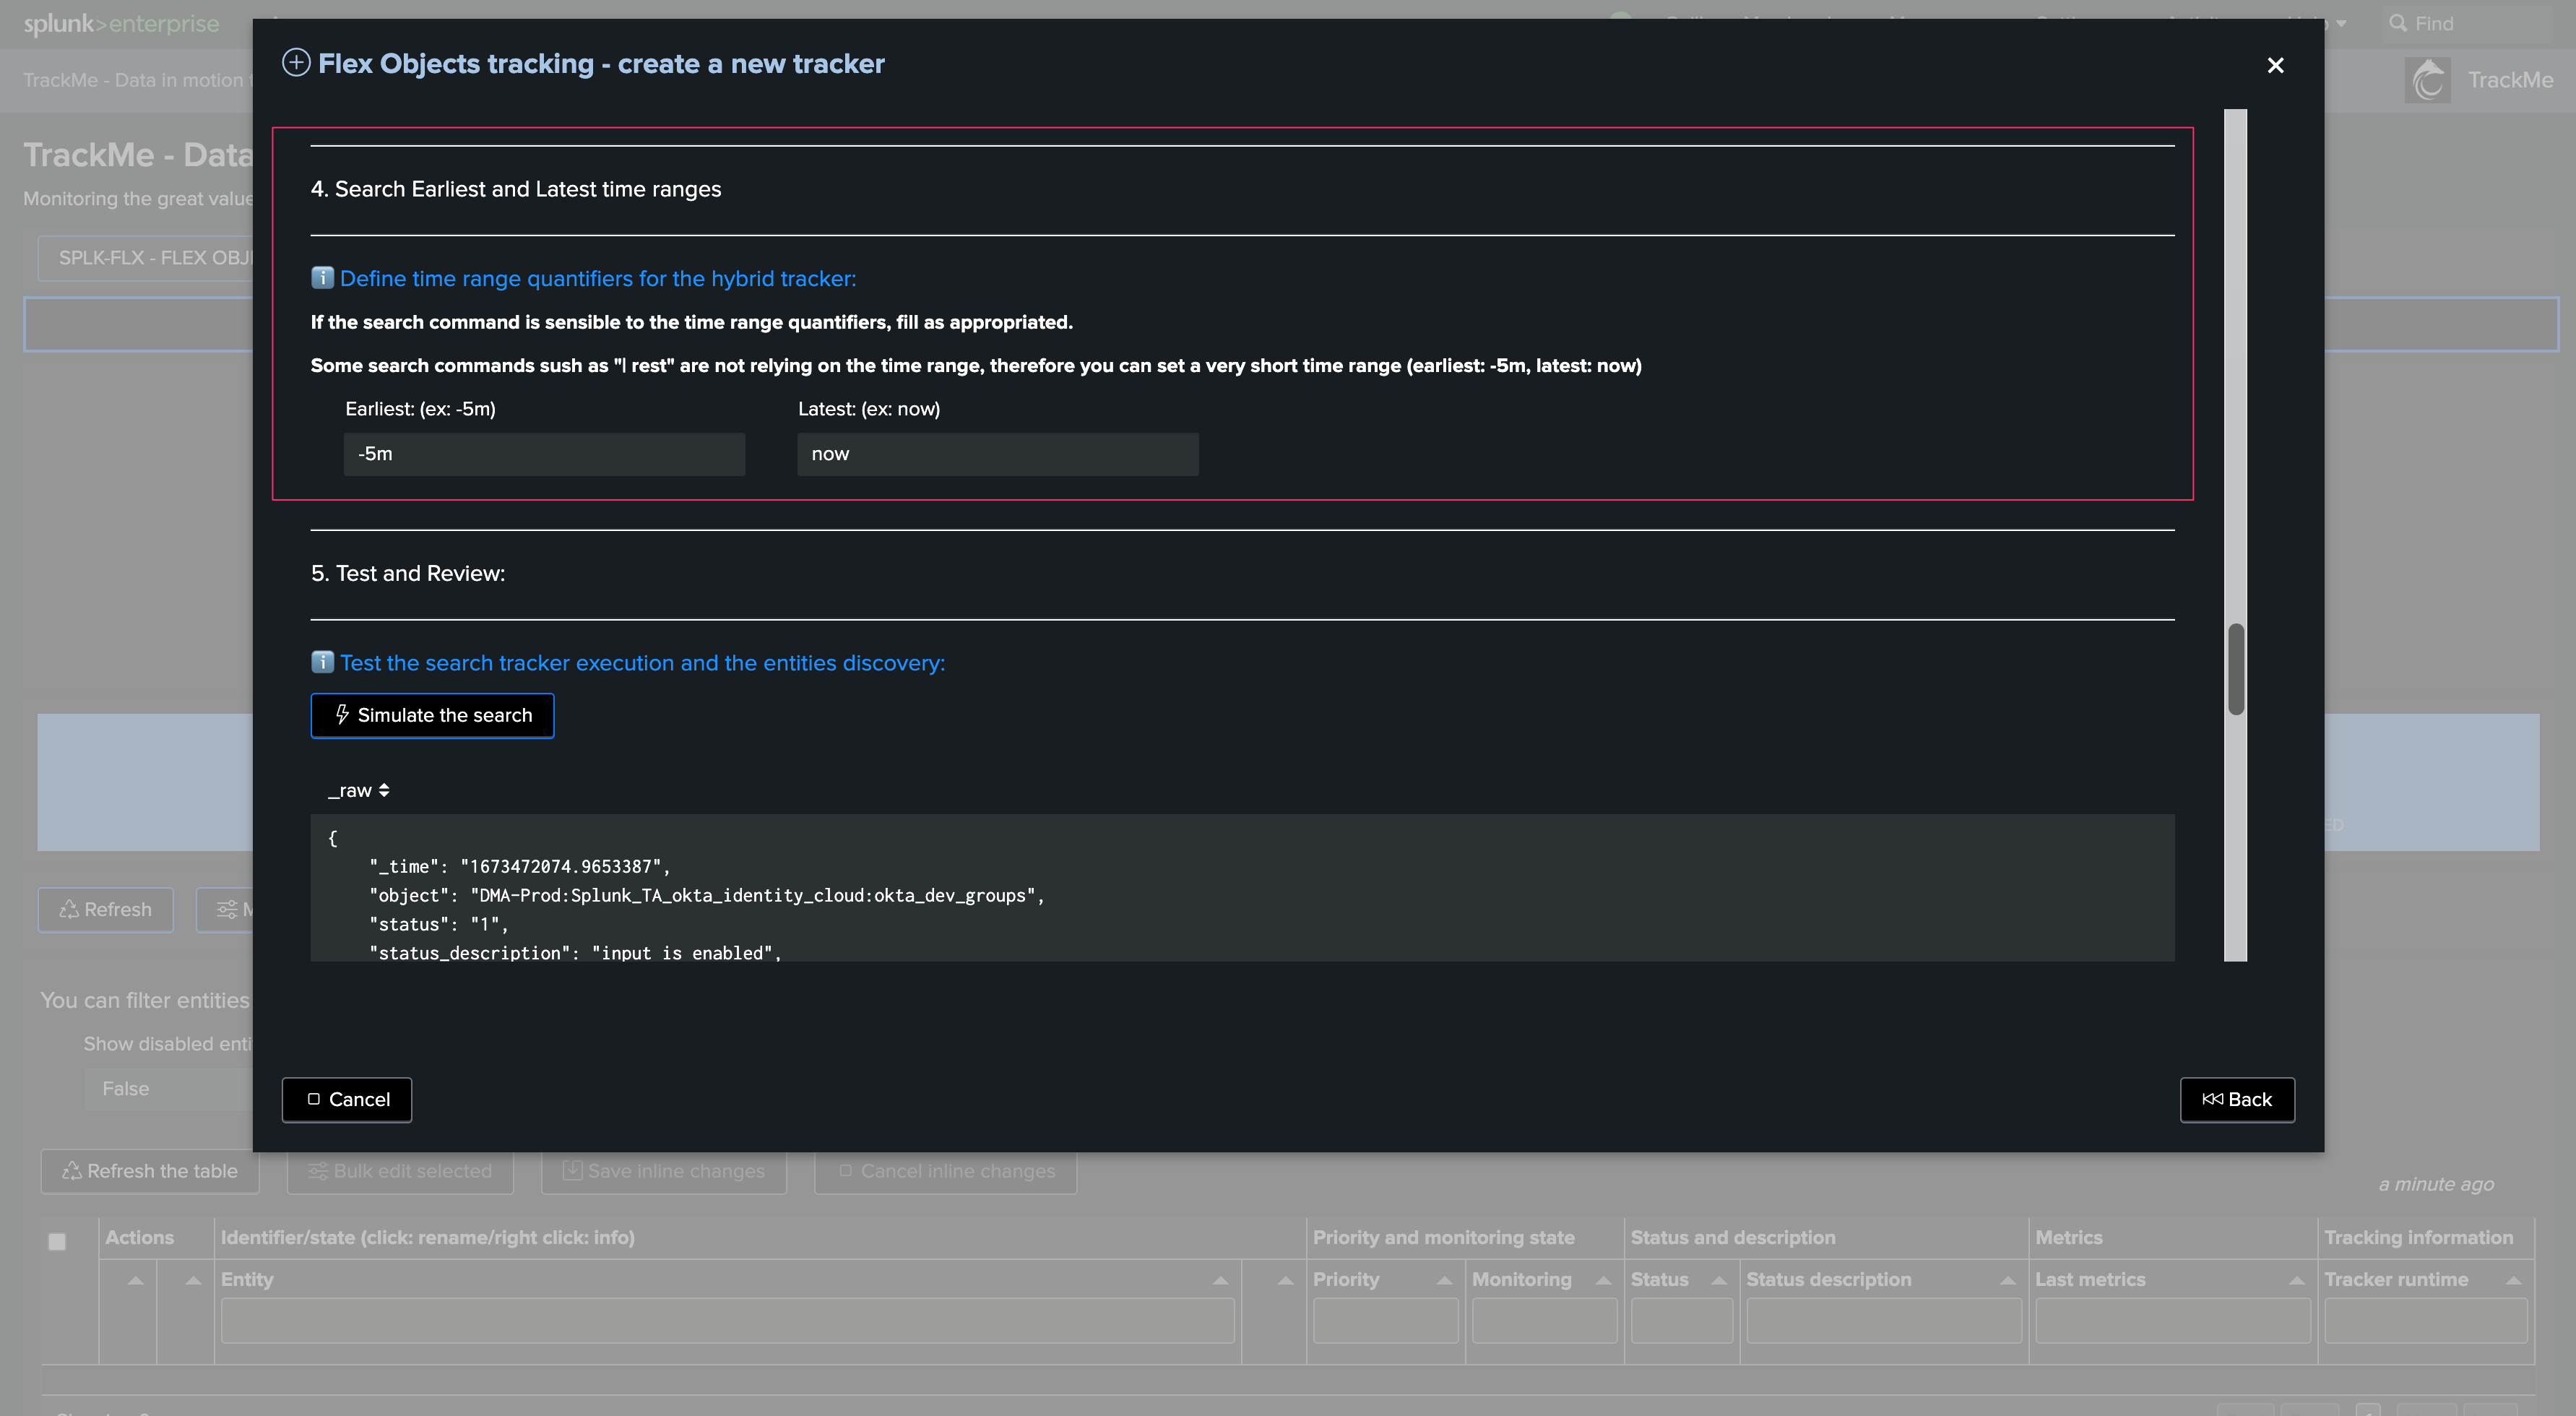
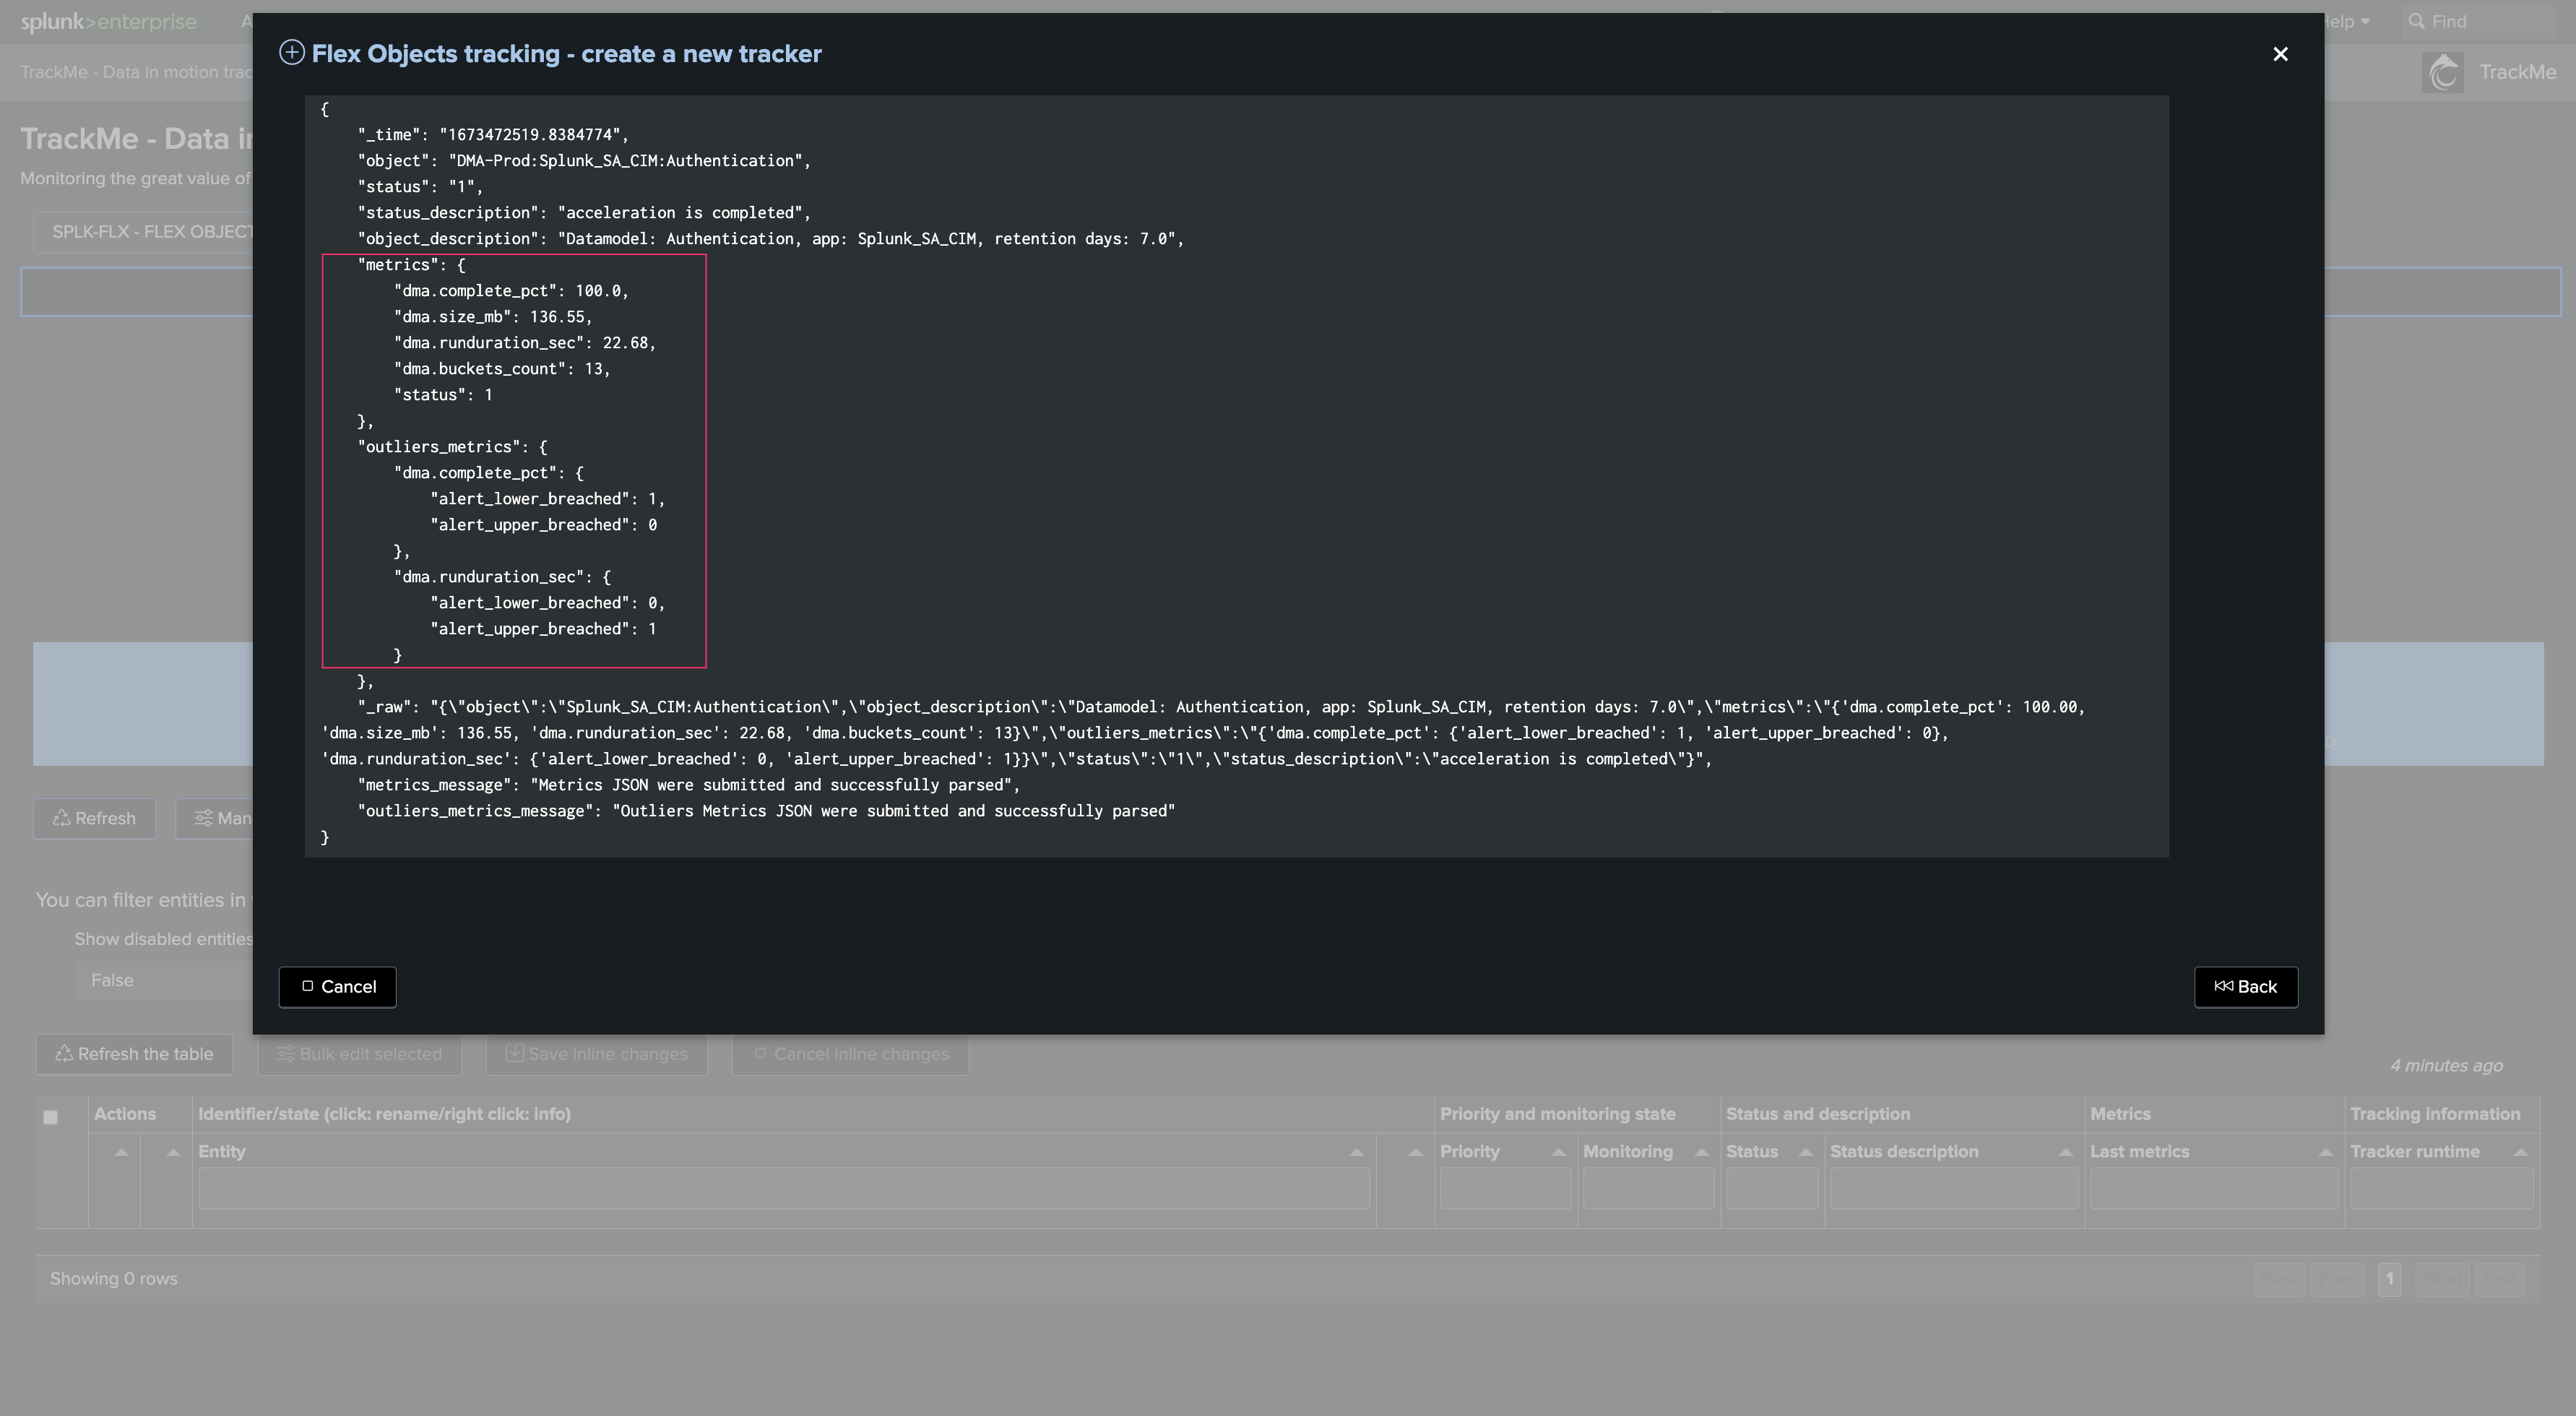
Next, we can simulate the Tracker execution and review its performance and results, you can at this stage define earliest and latest time quantifiers:
Update tracking rules during the simulation
You can update the tracking rules during the simulation, go back to the previous step, edit the rules and click on apply

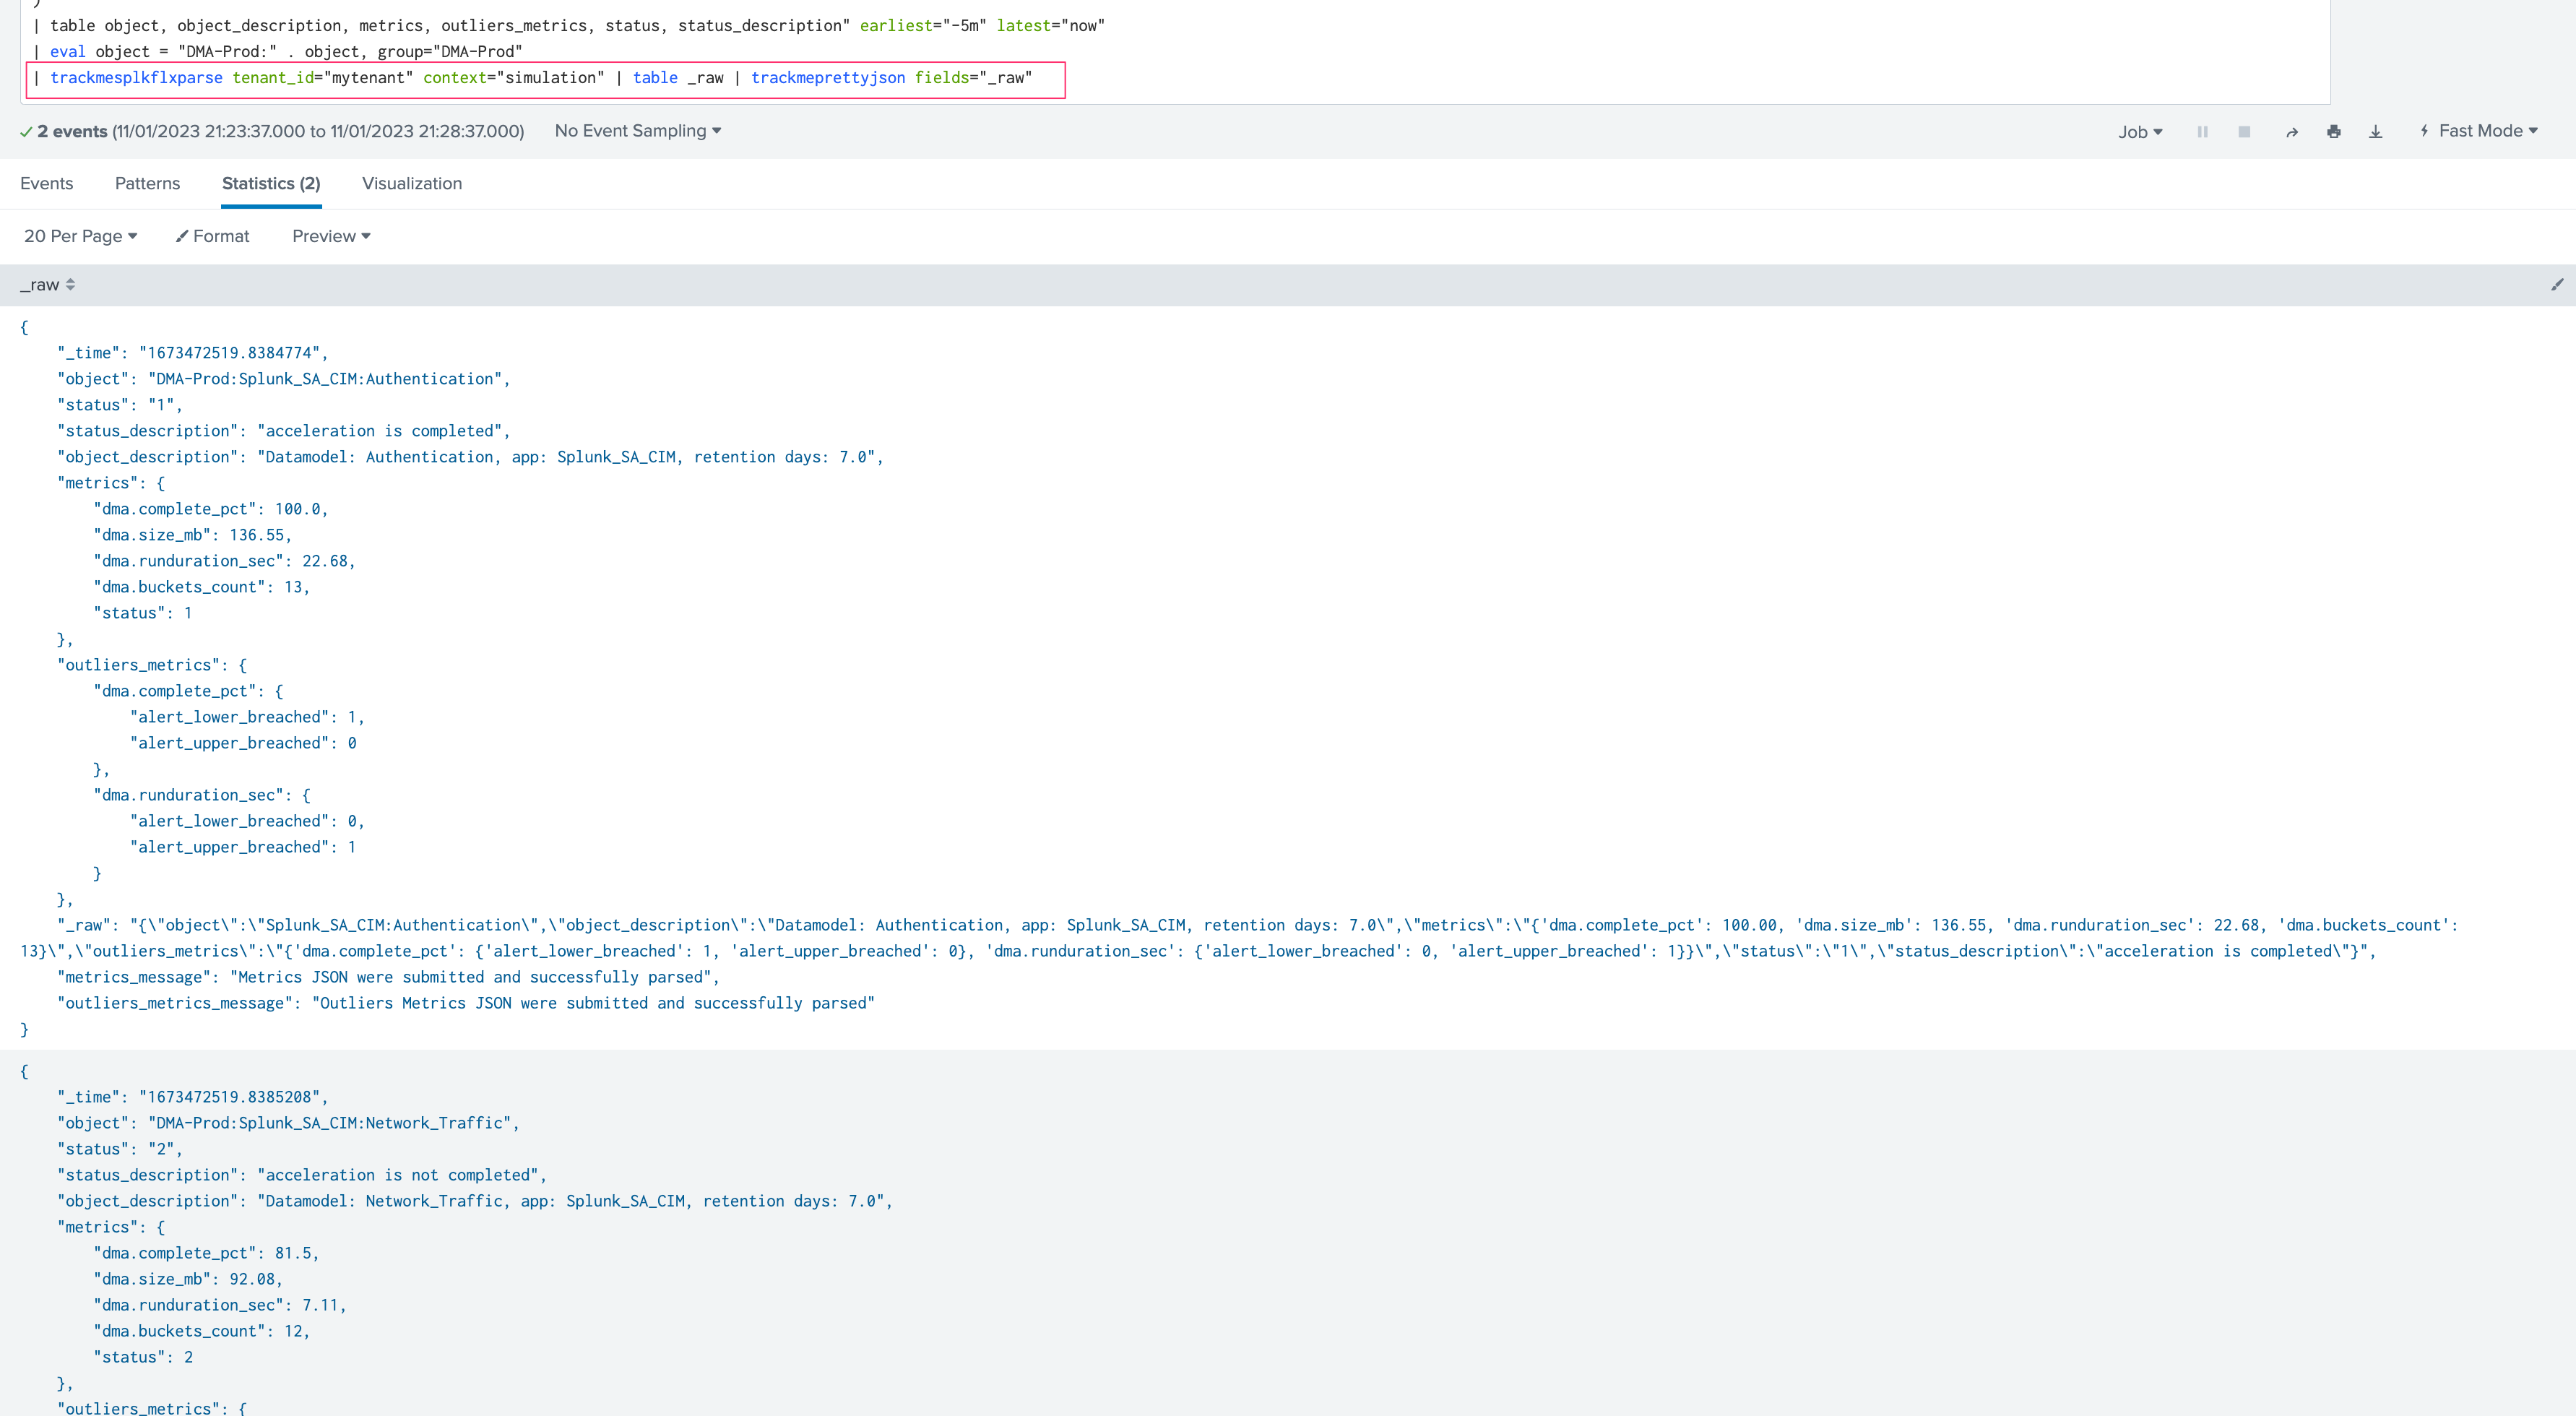
Carefully review the Tracker performance and result, in our example and for the purpose of the demonstration, shall we increase the time range to capture when we were having CIM parsing issues, the entity would return in a red state, this is totally expected as we identified and fixed these on-boarding issues!
We can observe different fields causing troubles:
Once everything done, we can define earliest and latest time ranges, and the cron schedule, click on promote to create the CIM Tracker immediately:
After the tracker creation, you can execute it now:
The Tracker is now active, and the entity available in the Virtual Tenant:
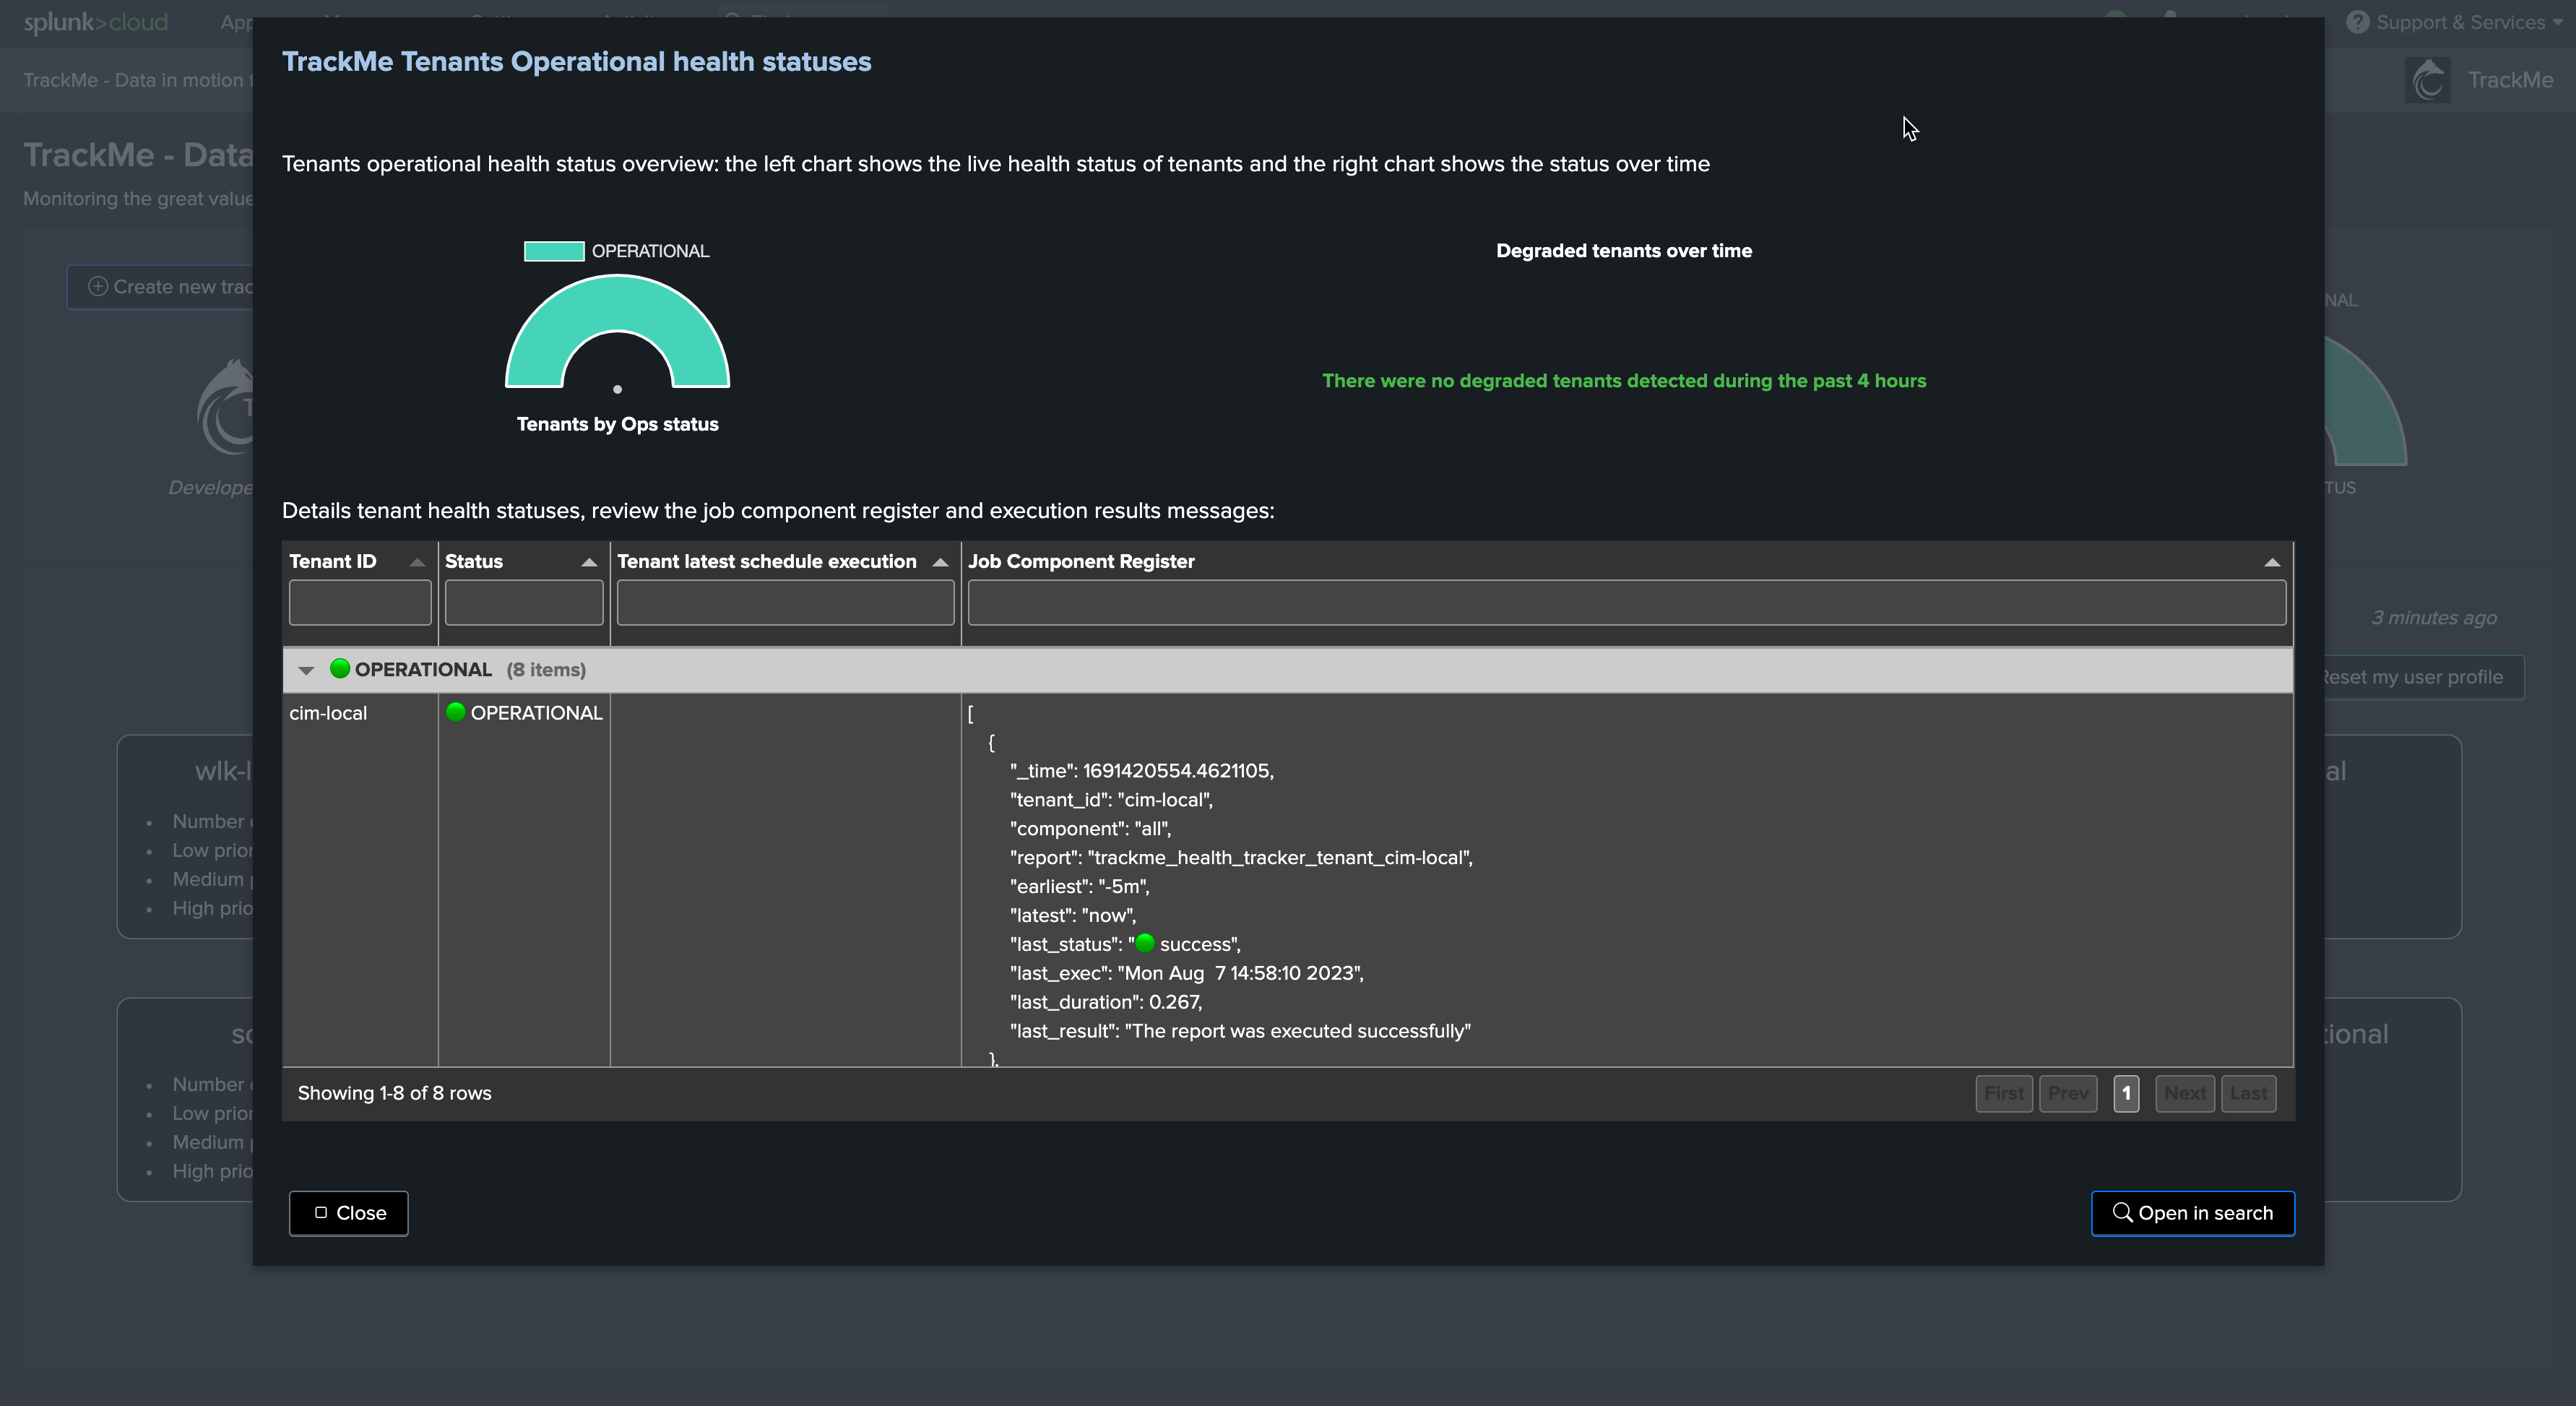
Managing CIM Trackers & advanced options
Custom entity break by
When creating a CIM tracker, you can optionally set a custom break by entity, by default, the custom entity defaults to none which is translated as the global entity in the JSON results of the CIM tracking:

Use cases for a custom CIM break by
Consider the following example, say you have an indexed field which represents a region which is mapped to the cim_entity_zone field.
Some customers will update and customise the CIM data models to leverage the cim_entity_zone field, and will add this as an additional field in the data model.
Your security use cases can therefore filter on and/or break by the cim_entity_zone to distinguish the originating region from a result within a single correlation search in Enterprise Security, in a simplistic example:
| tstats count from datamodel=Web where (nodename = Web) by Web.cim_entity_zone
From the TrackMe perspective, without a custom break by you would need to create one tracker per region, however leveraging the custom break manages this automatically by associating the custom break by field to an entity concept:
Once created, the Tracker shows one top JSON entity per region:
Updating the CIM tracker JSON rules
You can update the CIM tracker rules by editing directly the JSON structure, open the CIM entity edition:
Edition can be made by:
Uploading a previously defined JSON template
Manually editing the JSON structure
Downloading the CIM tracker JSON rules for the use of template
The same screen allows you to download the CIM tracking rules of a given CIM entity, for the purposes of using it as the JSON template or manual edition:
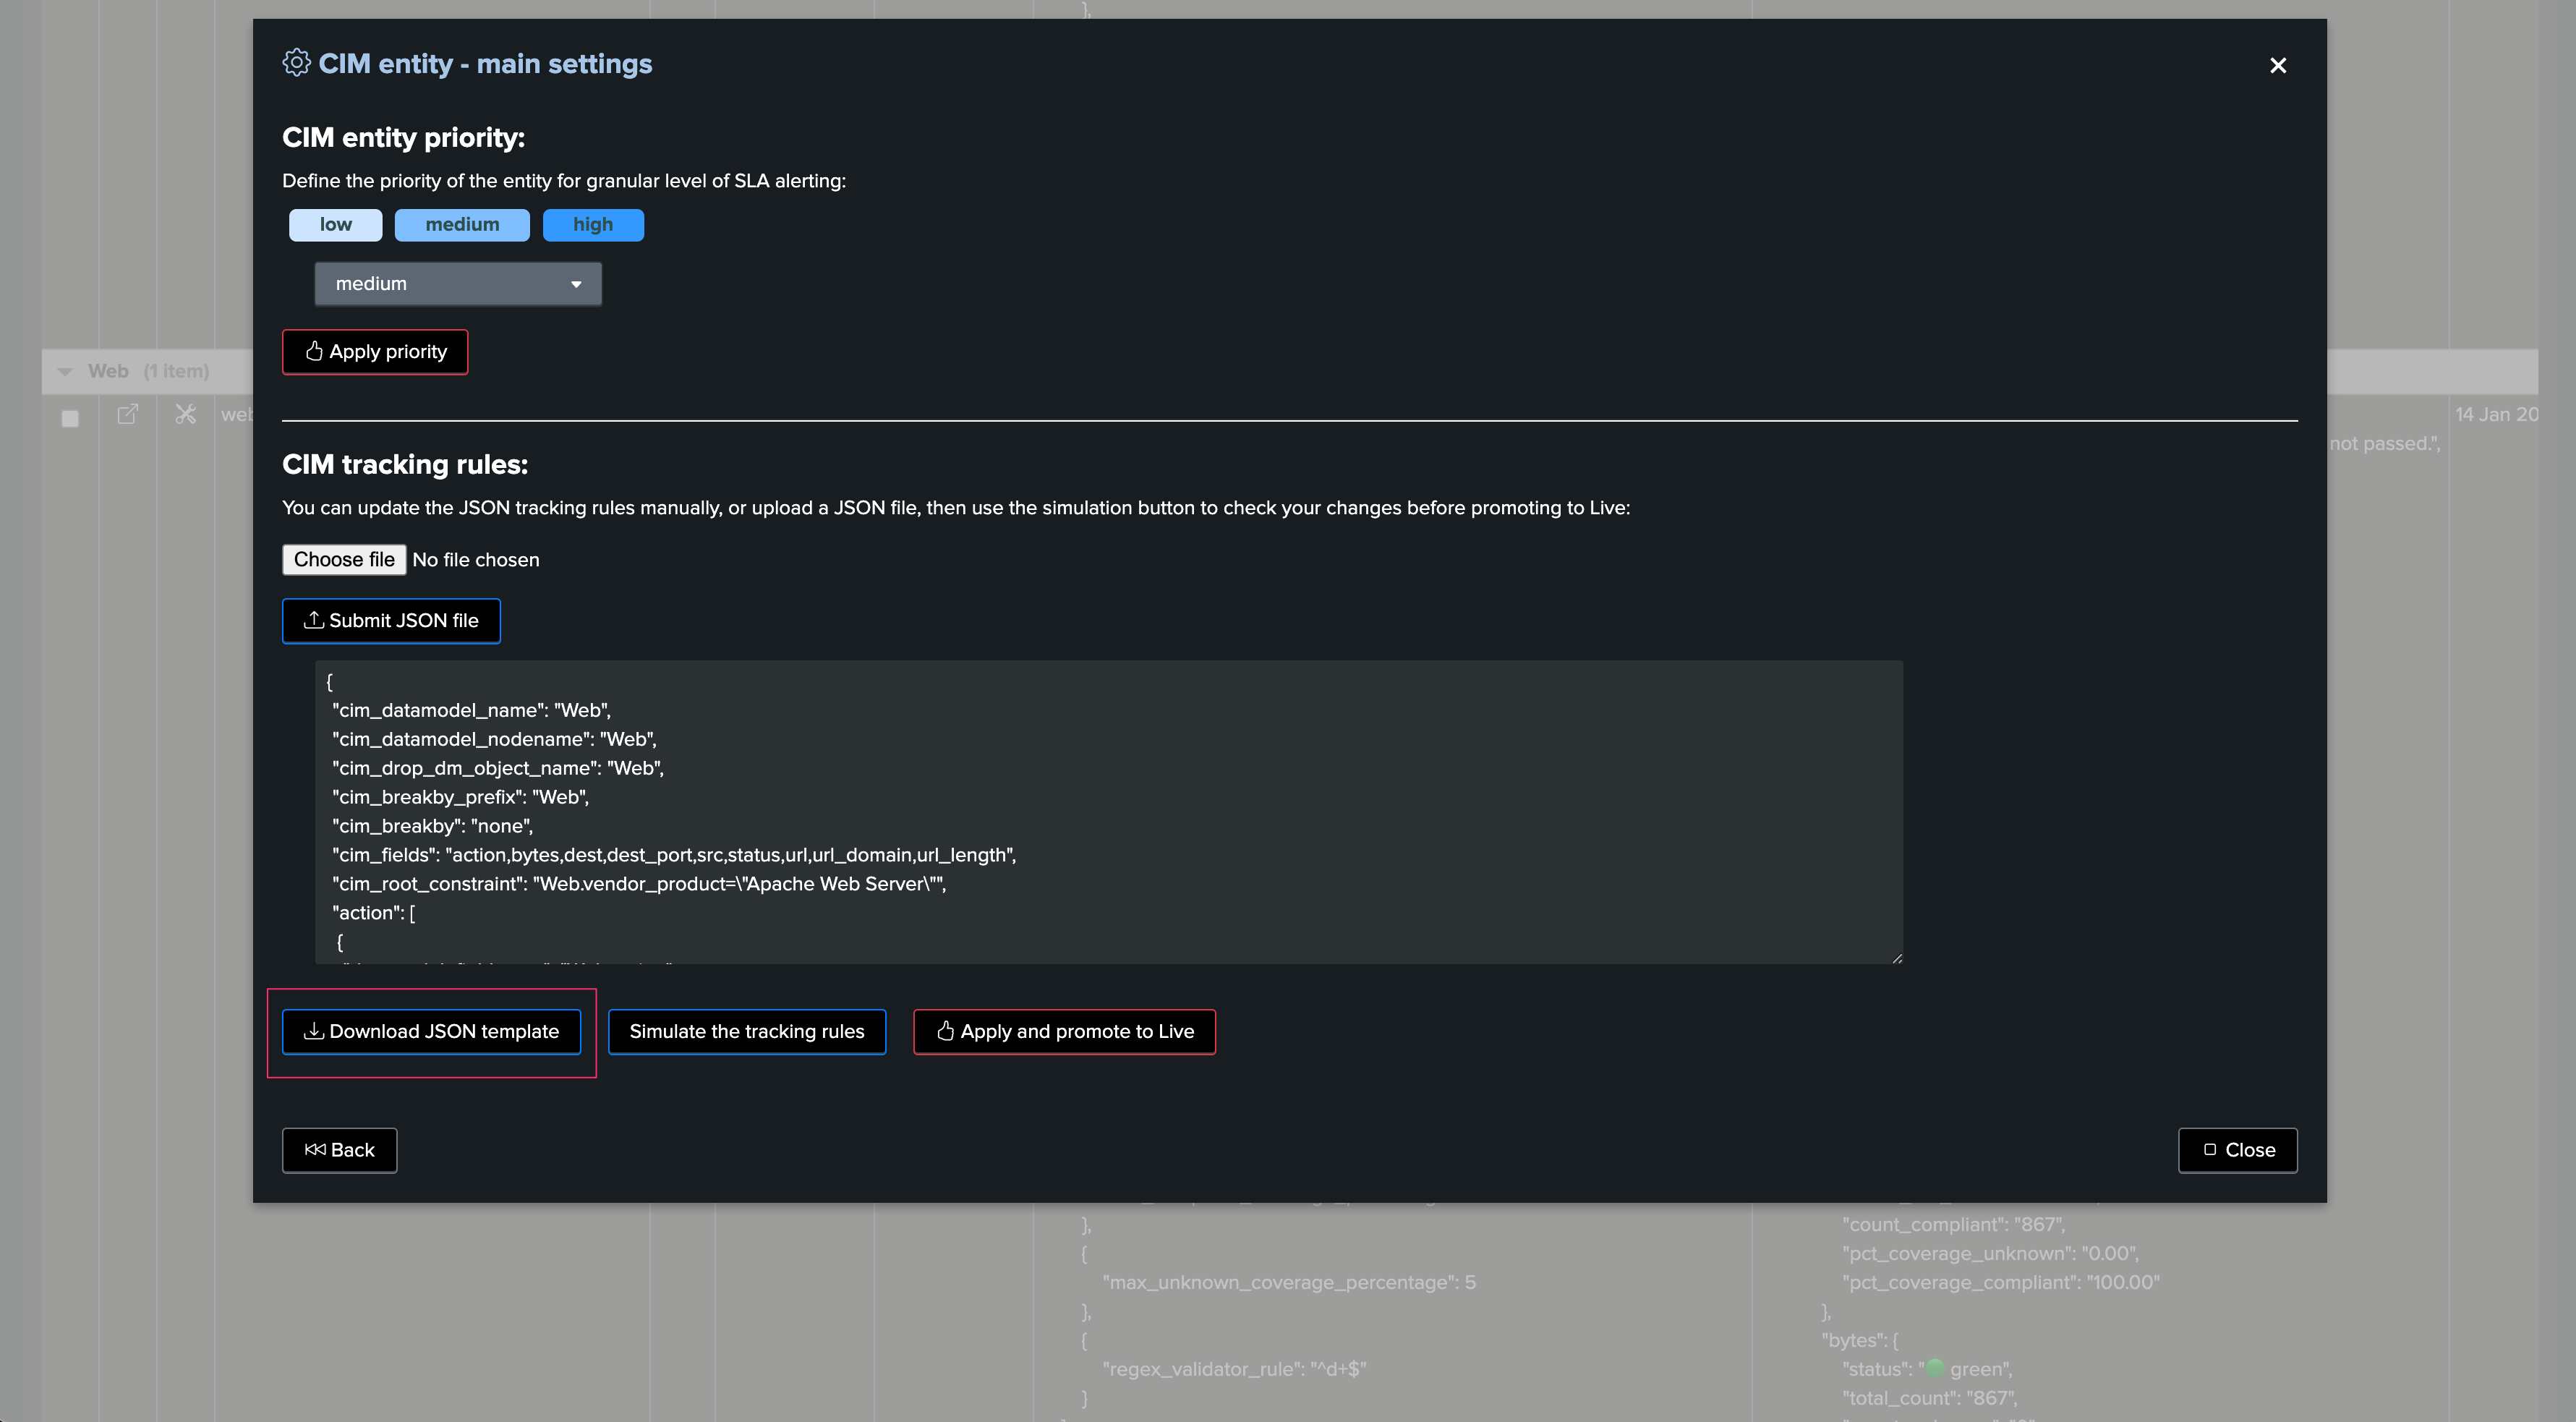
CIM tracking JSON structure
The following JSON structure is expected:
{
    "cim_datamodel_name": "Web",
    "cim_datamodel_nodename": "Web",
    "cim_drop_dm_object_name": "Web",
    "cim_breakby_prefix": "Web",
    "cim_breakby": "none",
    "cim_fields": "action,bytes",
    "cim_root_constraint": "Web.vendor_product=\"Apache Web Server\"",
    "action": [{
            "datamodel_fieldname": "Web.action"
        },
        {
            "min_compliant_coverage_percentage": 95
        },
        {
            "max_unknown_coverage_percentage": 5
        },
        {
            "regex_validator_rule": ".*"
        }
    ],
    "bytes": [{
            "datamodel_fieldname": "Web.bytes"
        },
        {
            "min_compliant_coverage_percentage": 95
        },
        {
            "max_unknown_coverage_percentage": 5
        },
        {
            "regex_validator_rule": "^\\d+$"
        }
    ]
}
JSON top structure:
cim_datamodel_name: the name of the CIM data model
cim_datamodel_nodename: the node name of the CIM data model
cim_drop_dm_object_name: a comma separated list of node names to be dropped
cim_breakby_prefix: if using a custom break by, the break by field prefix needs to be set
cim_breakby: the name of the field if using a custom entity break by, defaults to none which corresponds to the global entity, see TBD
cim_fields: the comma separated list of CIM fields to be monitored
cim_root_constraint: the root search constraint when performance the tstats searches
For each CIM field, a JSON dictionary defines:
datamodel_fieldname: the data model field name including the data model nodename
min_compliant_coverage_percentage: the minimal compliant coverage percentage, if the percentage returned from the current execution for that field falls below the threshold, the CIM entity turns red
max_unknown_coverage_percentage: the maximal percentage of unknown value for that field (a common practice in the data model is to set the field value to “unknown” if it is null), if the percentage returned in the current execution falls below this threshold, the CIM entity turns red
regex_validator_rule: a regular expression used to validate the compliancy of CIM values for a given field
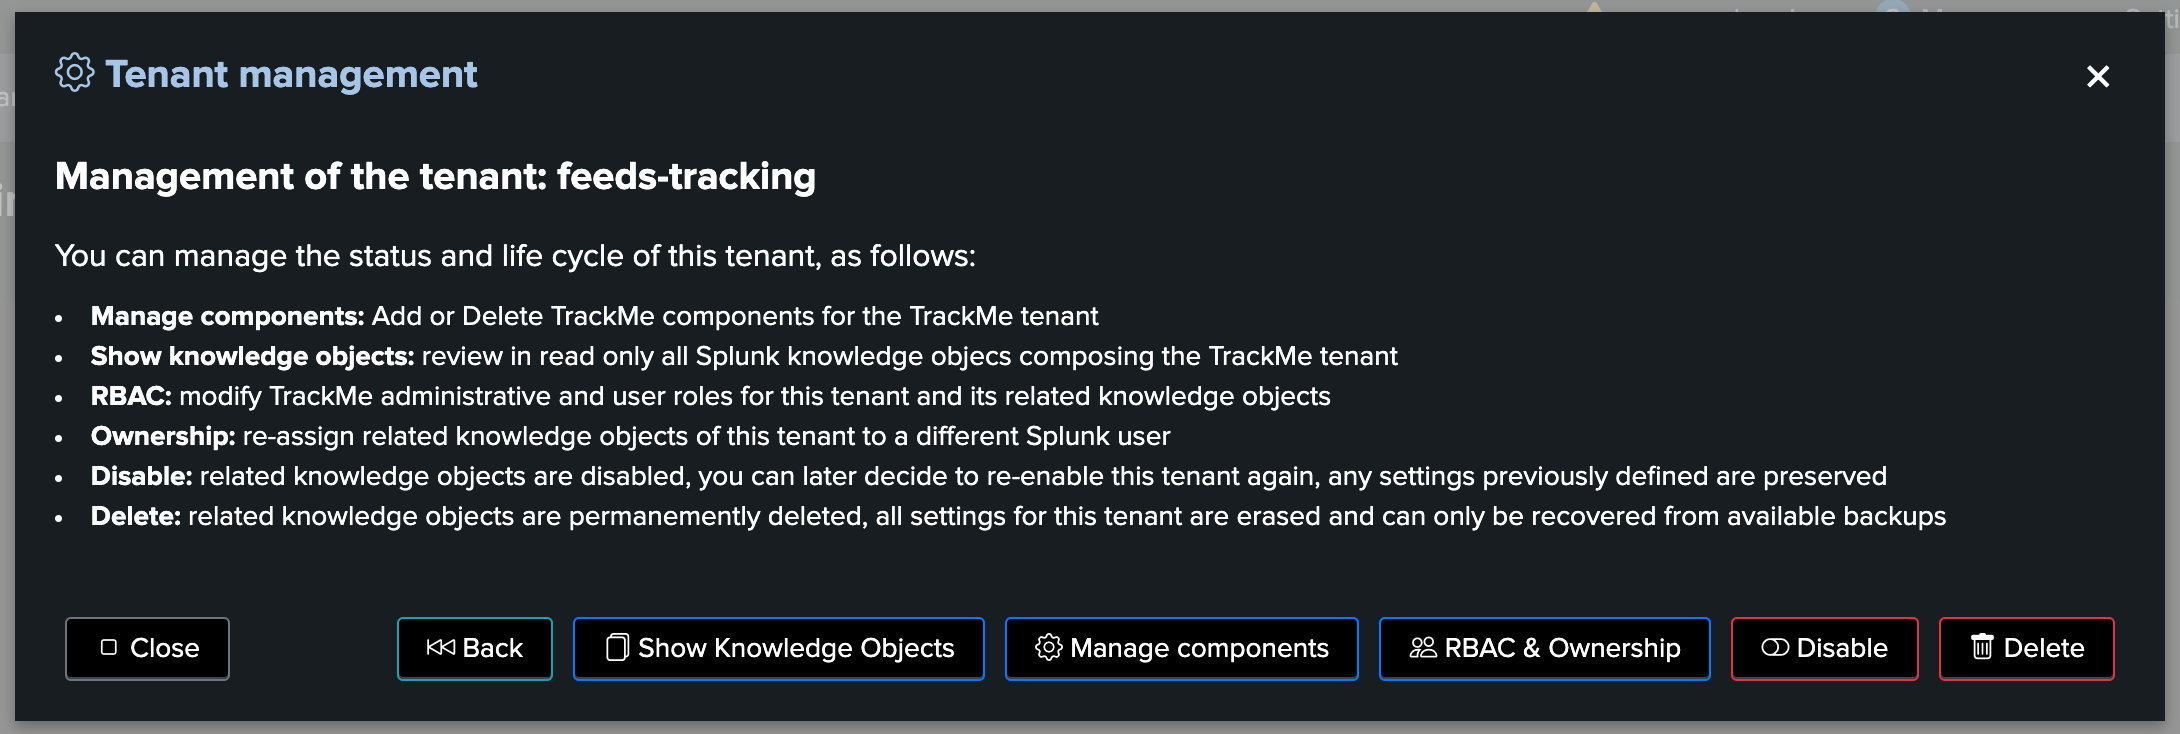
Deleting a CIM Tracker through the UI
If you want to delete an existing CIM Tracker, this operation must be done via TrackMe.
The reason is that the application keeps track of all knowledge objects that were created for a given tenant, to honour various features such as managing the life cycle of the tenant (enabling / disabling, etc) or the life cycle of the tracker itself.
When deleting a CIM Tracker, the TrackMe entity associated with the Tracker will be automatically deleted.
Deleting a CIM Tracker through REST
You can delete a Tracker through the following REST endpoint, example in SPL:
| trackme mode=post url="/services/trackme/v2/splk_cim/admin/cim_tracker_delete" body="{'tenant_id': 'mytenant', 'object_list': 'web:apache'}"